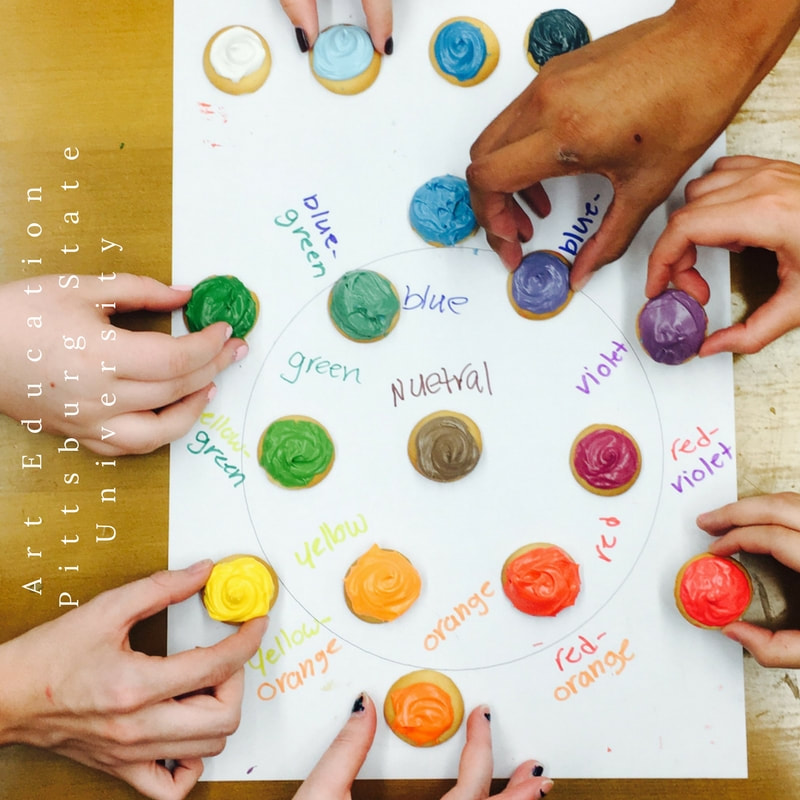
 Today was one of my favorite days in Art Education. It’s edible color wheel day! I have been doing this project for years and it is always a hit. After lecturing on the color wheel, color schemes, and color theory to my class I like to take the next class to assess their knowledge with a group project. In class, each table of 4 to 6 students make their own color wheel with cookies and frosting. Here is what you will need: Materials (per group) 20 or so cookie wafers 1 can of white frosting food coloring in red, yellow, and blue (Take the green out of the box) black food coloring- 1 bottle at the teacher’s station has lasted for years! Spoons, plastic cups, napkins, poster board, and markers to label. 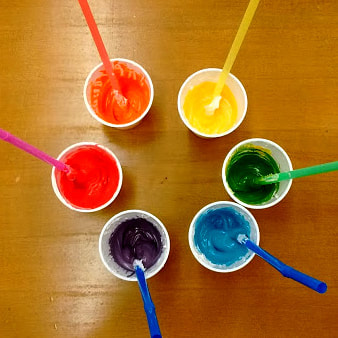 Step 1: As a group, draw the color wheel diagram on your presentation paper and frost 1 cookie with each of the 3 primary colors and place the cookie on your team’s poster board diagram of the color wheel. Step 2: As a group, mix each secondary color and frost a cookie to place on your diagram. (Note: Some primary colors may not be able to be "treated equally" - your color intensities will vary. See what works for your colors - and "fudge" a bit to get the best secondary colors possible) Step 3: As a group, mix the 6 tertiary colors. Then frost one cookie for each of these 6 colors and place them on the color wheel in the correct spots. 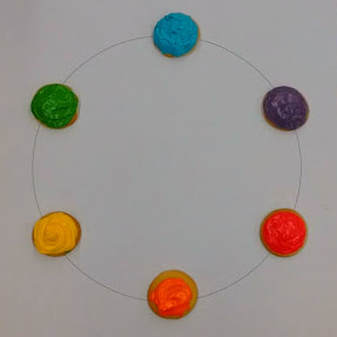 Step 4: As a group, mix any two complementary colors to make a Gray/Brown neutral and place that cookie in the middle of the color wheel. Step 5: As a group, mix tints and shades of one hue (red or blue work best) to form a 5 point value scale on the side of the color wheel. (black coloring available at the teacher’s station) 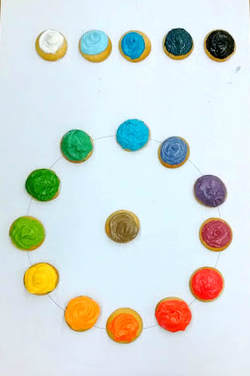
1 Comment
Art Education students are learning about the Elements of Art (Line, Color, Shape, Space, Texture, Value, and Time and Motion) and the Principles of Design (Balance, Contract, Repetition, Pattern, Emphasis, Movement, and Unity). To visualize symmetry, they made Alien Names out of their cursive writing. The students only had 30 mins to complete this artwork. Student learning objectives included fine motor skills, learning about symmetry, becoming familiar with the art room procedures, discovering new art materials, and of course, using their creativity.  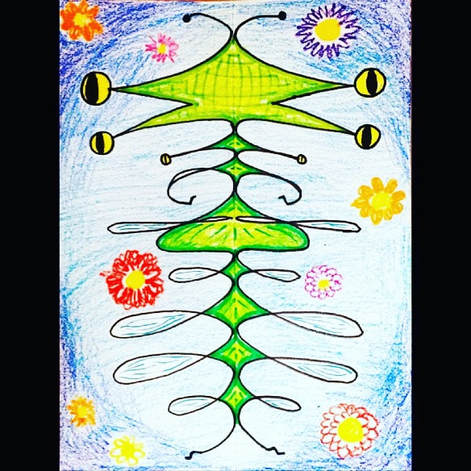 MATERIALS • Copy paper, 11″ x 17″ works well • Black Sharpie Marker • Crayons/Markers/Oil Pastels/Chalk DIRECTIONS 1. Students fold a large sheet of paper in half lengthwise. With the paper folded, they write their name in cursive, adjusting to fill the paper as much as possible. The bottoms of the letters should always touch the fold of the paper. Any descenders (such as the bottoms of g’s, j’s or y’s) need to be ignored for this project. 2. Students traced over the pencil lines with a large black Sharpie. They also trace the backside, fold, and trace again on the remaining side so they end up with one side of reflecting shapes. 3. Students turn their drawings into some kind of Alien creature. They can draw details with a thin marker and then color sections in with crayons. Remind students that for symmetry whatever color or pattern is on one side it must be repeated on the opposite side. 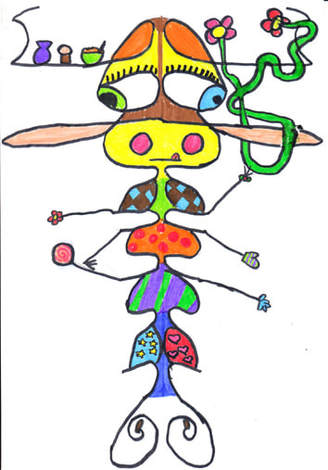 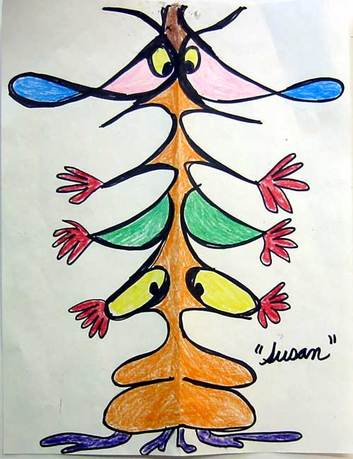 Today is the first day of school at PSU, aka- Syllabus Day. I could not go through that syllabus one more time, so I didn’t. Maybe some of this rebellion comes from my ten years of teaching college students, but how many times can you hear yourself say “absence policy?” My family and I went to an escape room over Thanksgiving and had a wonderful time. We even escaped with 6 minutes to spare. I take no credit for that escape; I have brilliant family members. Since that time, I have been musing how to create an escape room for my students. It didn’t turn out exactly how I envisioned, but they were working together and running all over the building instead of looking at me with glazed eyes, or the “donut look” as I like to call it. In that aspect......Mission Accomplished! 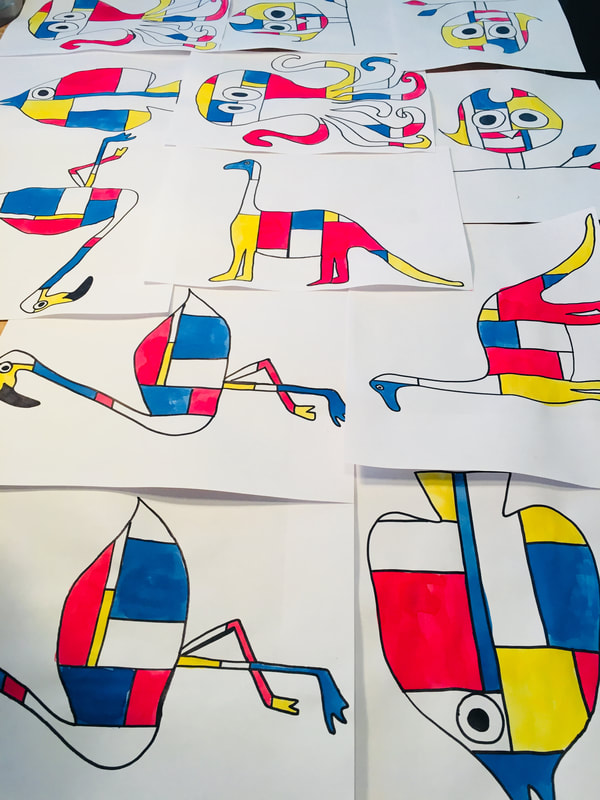 I found tons of ideas on Pinterest and from some of my favorite blogs, like cassiestephens.blogspot.com. I divided the class up into five groups by having them select colored paper out of a basket. They then had to move to find their group and sit at the table with the same colored basket. A Mondrian inspired puzzle was there waiting for them, which lead them to a matching poster around my classroom. On the back of the poster, I had an envelope with a hieroglyphic code and a location for them to find. One location leads to another location until they had found the art office, the gallery, the bathrooms, vending machines, and water fountains. Then the group returned to the classroom to answer questions about the late policy and office hours conveniently located in the online syllabus, and then some classroom procedures- such as, where to put wet artwork. (Hint- it’s on the drying rack)  I had a gloriously relaxing evening painting the game pieces with liquid watercolors and felt honored that a few students wanted to take their "game pieces" with them. I also feel strong about the fact that I am modeling teaching strategies for my students and hopefully they will remember these funny moments from Art Education and repeat them in their classrooms.
|