|
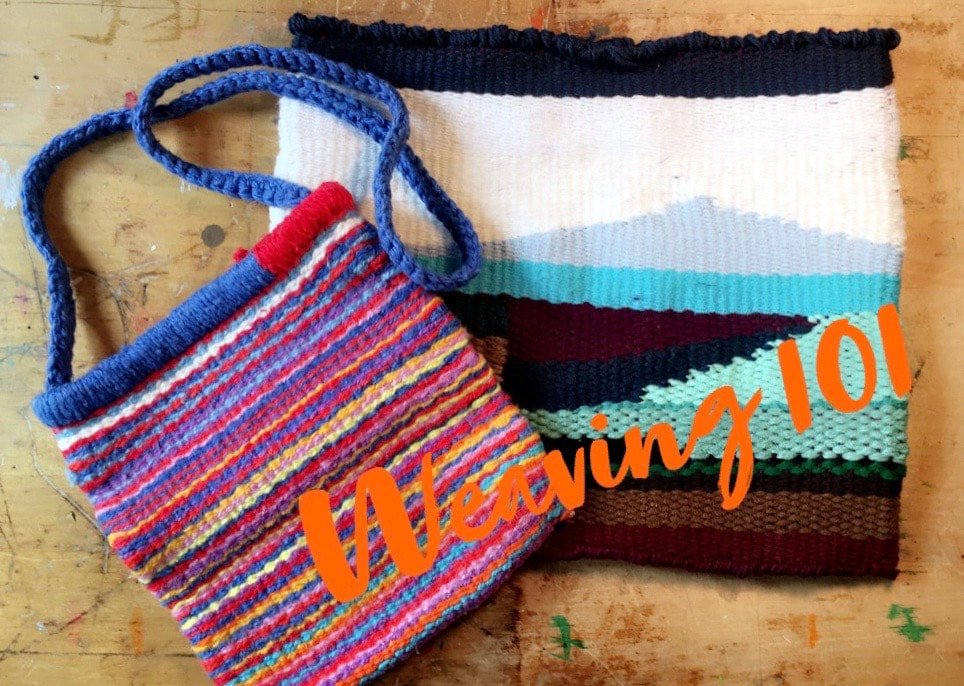
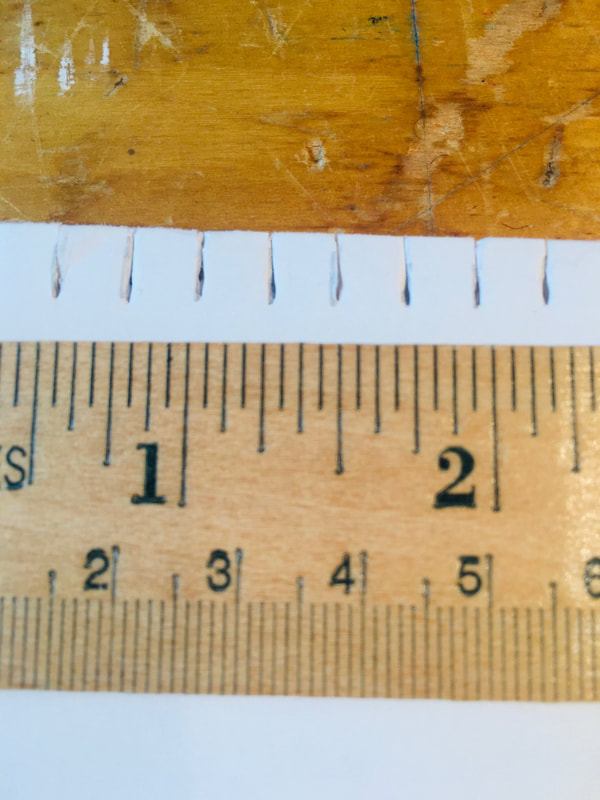
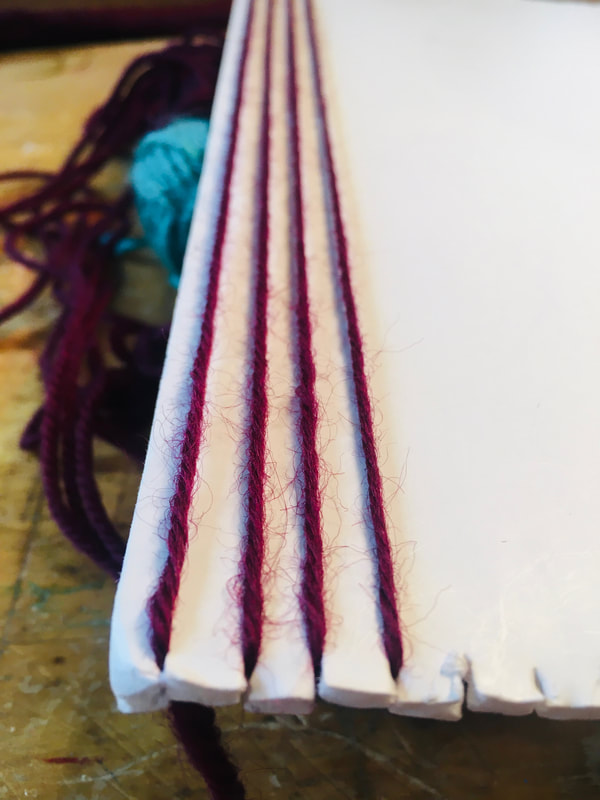
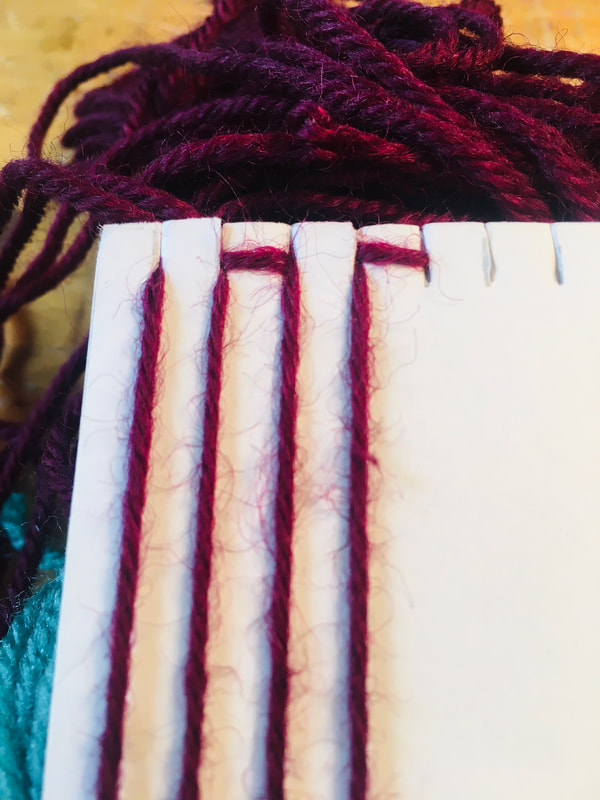
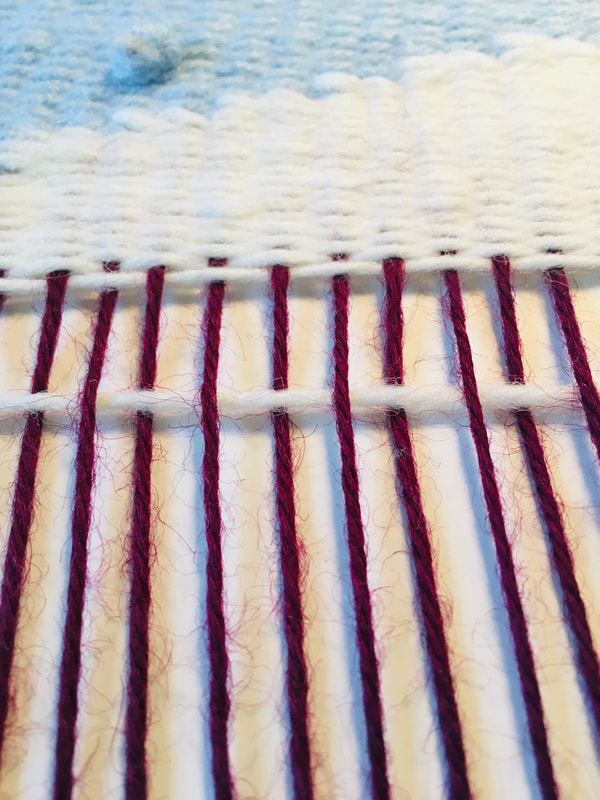
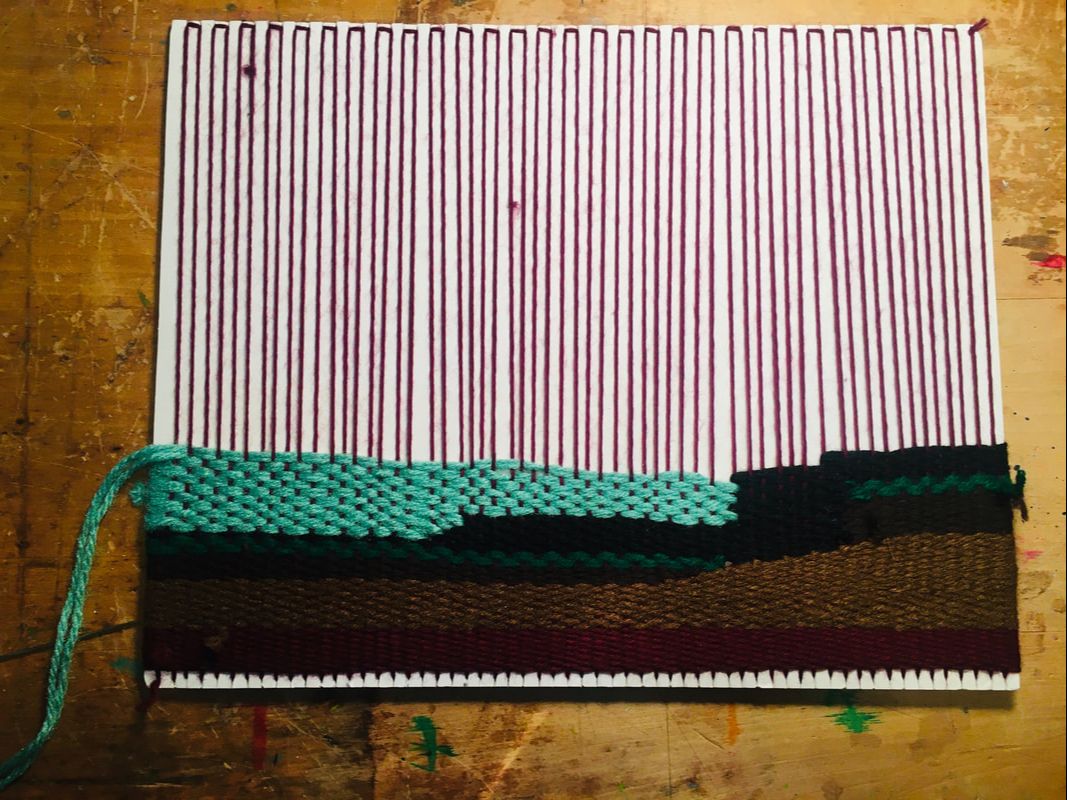
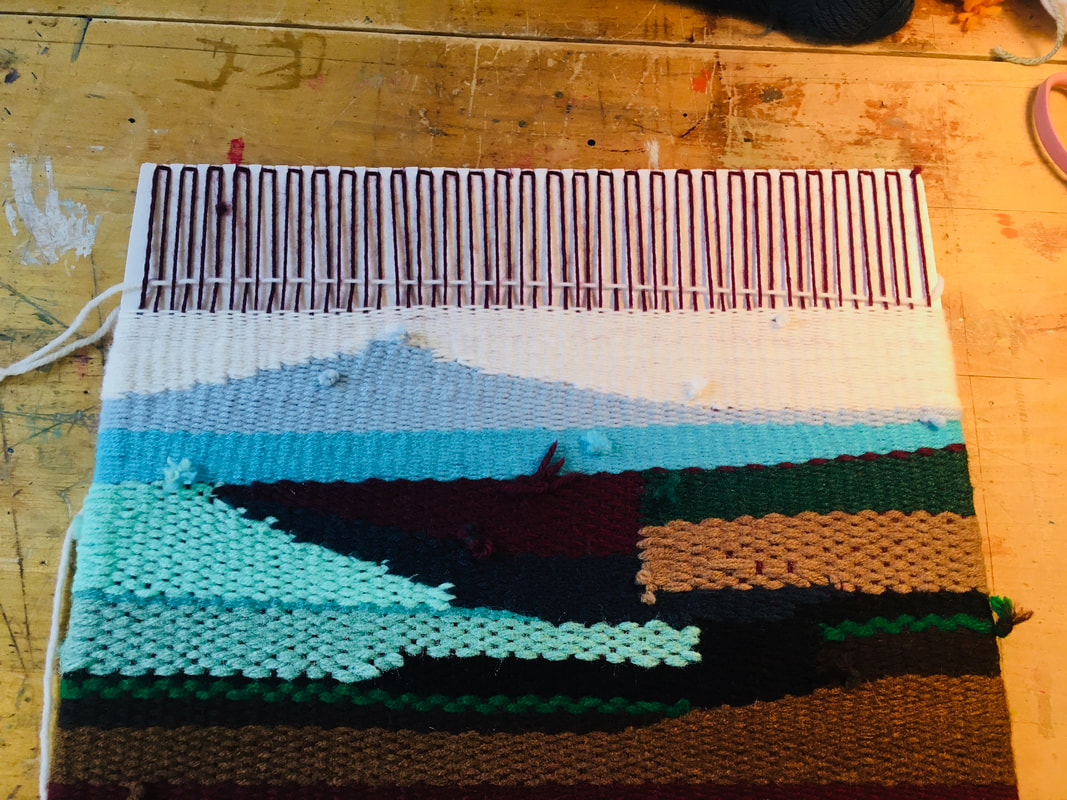
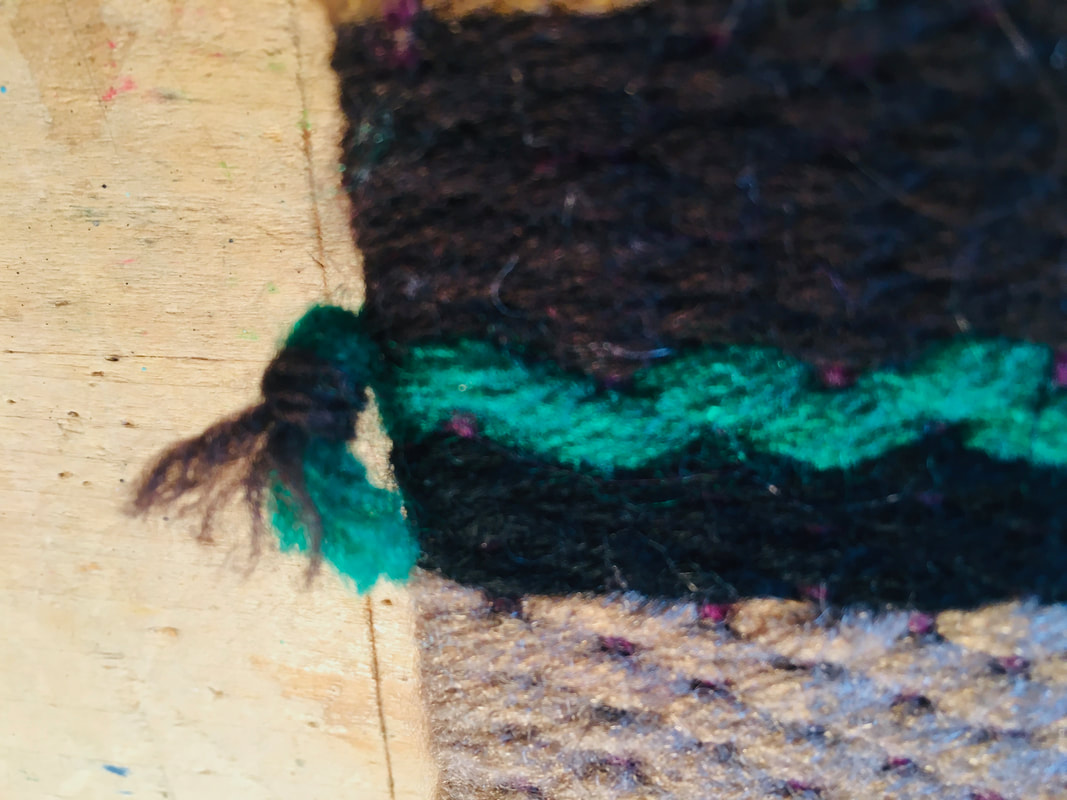
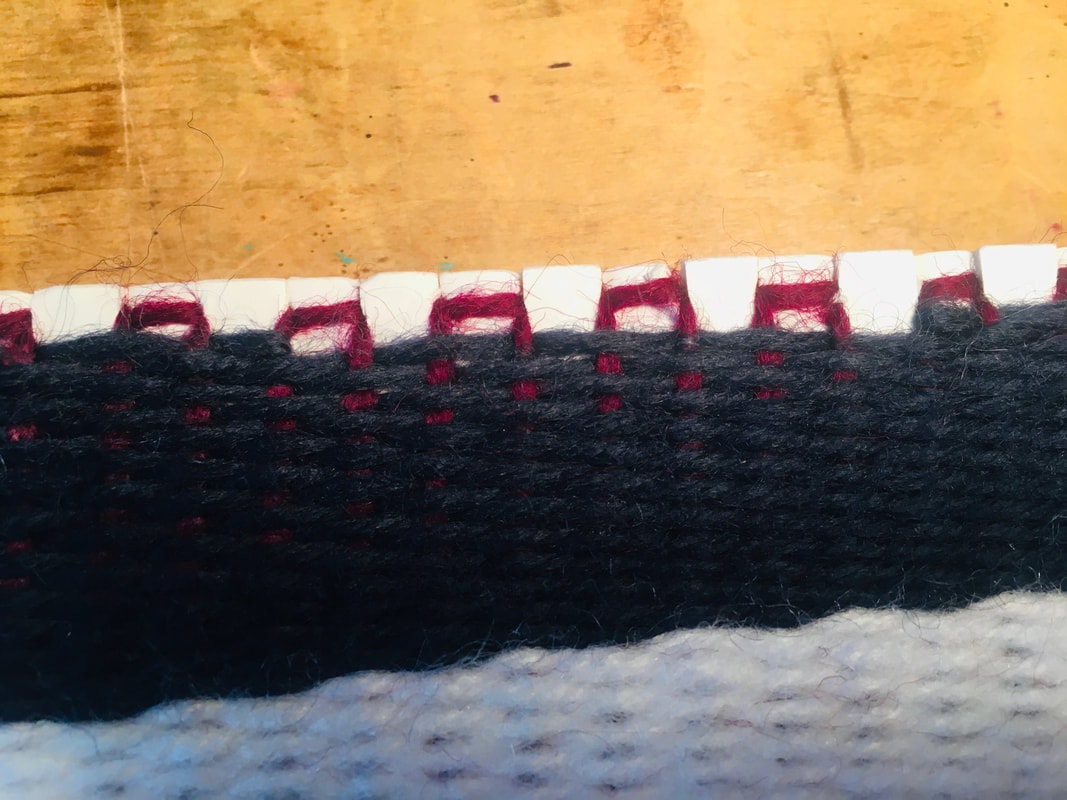
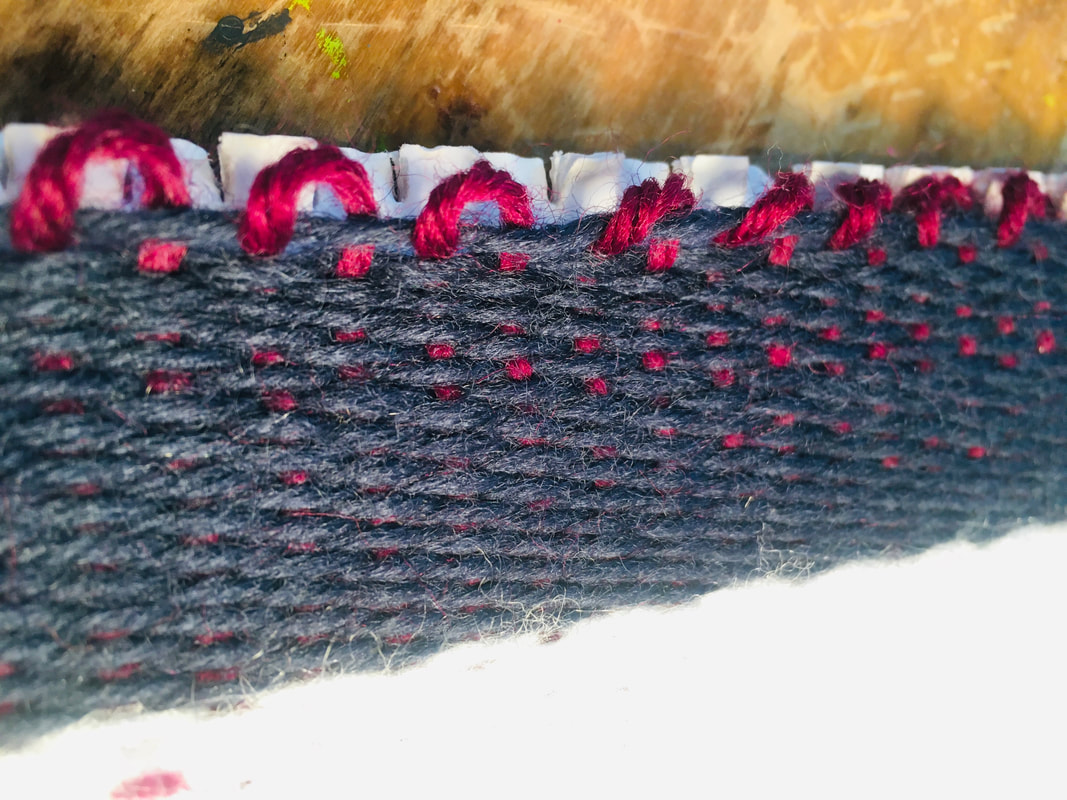
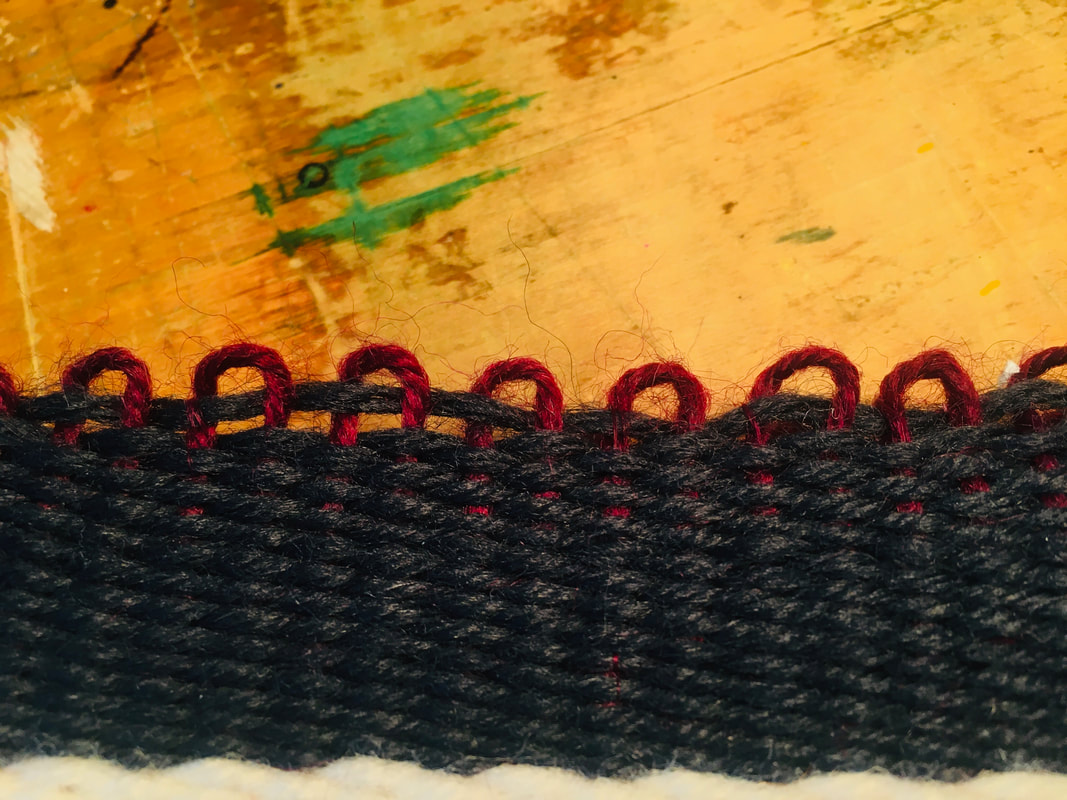
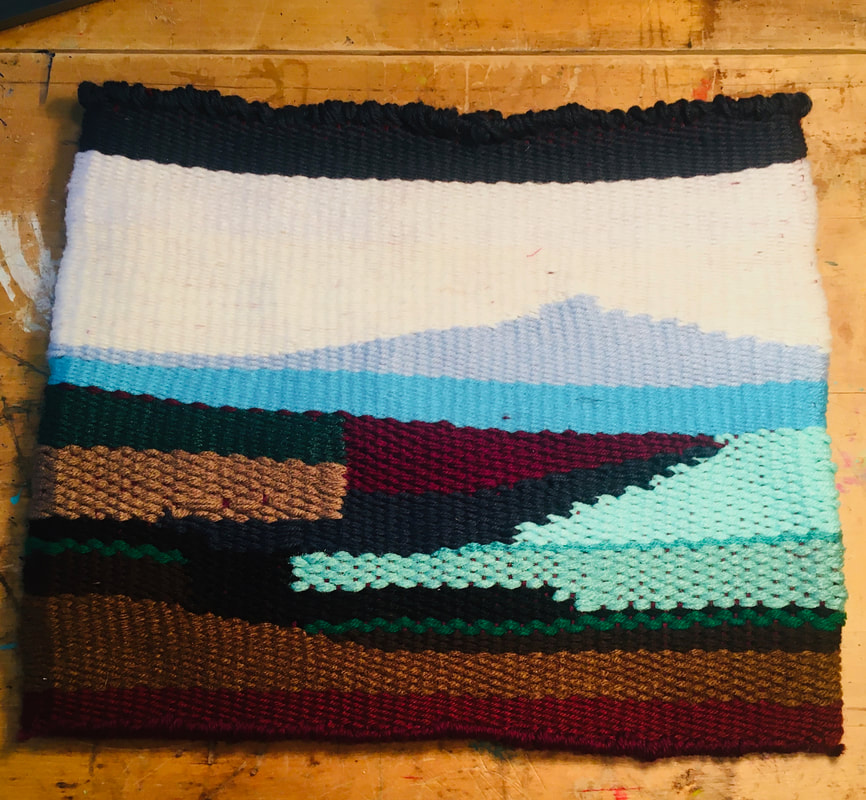
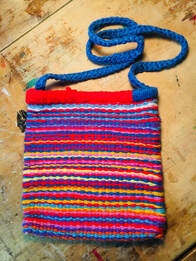
Weaving is a fun activity, and each time I do the project with my classes, I am always surprised at the students who take to the weaving process. There is always some football player in the back of the class that is barely engaged in class that is an amazing weaver and goes above and beyond on their project. Some students just naturally enjoy the rhythmic nature of weaving and that it does not take a lot of decisions and talent. As soon as they are taught the basic step and vocabulary, it is just about setting them loose for an extended guided practice section. There are many weaving tutorials, I generally begin with paper weaving, or I have seen many students do bookmarks and wall hangings with homemade looms. This process is to make a bag, which can be big or small but is a continuous thread and two-sided. Vocabulary First, some vocabulary: Warp- these are the strings that go north and south (vertical) and are stable on the loom. Weft- the strings that you the weaver add that go in and out through the warp, which go east and west (horizontal) in the weaving. Loom- any apparatus used to make fabric by weaving thread or yarn. Loom Select a piece of cardboard, mat board, or foam core and cut it to the size that you want your bag. I wanted something that would hold my 15” laptop, so I worked with a piece of matboard that was 10” X 16”. The first step is to mark every ¼ inch marks across the bottom and top of your loom and cut small slits for your warp threads to hold securely. Make sure you have the same number of notches at the top and the bottom. Warping the loom Warping the loom is your second step in which you are adding the vertical string to your loom. Begin at the bottom corner by going around the loom and tying the string to itself. You will now begin wrapping the warp string around the loom going down and up the same notch and then moving the thread over to the next side. You will have a string on both sides of your loom. Make sure all the “moving over loops” are at the top, so when you finish your weaving, you can slip these off the loom and remove your woven bag. Make certain not to miss or skip any notches, if you have missed any go back and fix this now before you start weaving. Weaving The process of weaving is going over and under the warp strings in an A/B pattern. The string that you are weaving is called the weft, and it can be anything from yarn, strips of fabric, notions, or lace. You can mix and match the materials for a great look. When I begin, I tie my weft string to the bottom warp and start my pattern of in and out through the warps. When I get to the end, I flip over the loom and continue the pattern on the back side. I generally weave about five or six rows before I push the rows tight with a large hair comb or fork. You want to pack down your weaving, so you do not see the warp thread, this will make your bag nice and tight, but also strong to hold your goodies you plan to put in there. Just keep weaving….Just keep weaving! It takes some time to get your weaving to the tippy top. I spent 20-25 hours on my laptop bag. Don’t forget you are doing both sides. I also wanted to play around with triangles and other patterns; you can do this as well, just make sure you are connecting to the previous string. Adding a different color You can add more weft string and change colors as often as you desire. I do a double knot to add the new color to my existing string and then keep weaving. Don’t worry about the knots because when we get done weaving this bag and take it off the loom, we will turn it inside out so all our knots will be on the inside of the bag. Finishing the bag It is very hard to get the string up at the top of the loom because the warp thread is so tight, but I switched to a smaller needle to finish. I tied the end weft to the warp and began bending the cardboard loom to release the warp loops and then slide the bag off the loom. The bag is fine how it is, but to finish off the top, I just took the thread and reinforced the top and bottom, knowing that my bag was going to pad my laptop. You can also braid a handle for a bag as I have done here. If you have questions, please share those in the comment section and… Happy Weaving Everyone!
5 Comments
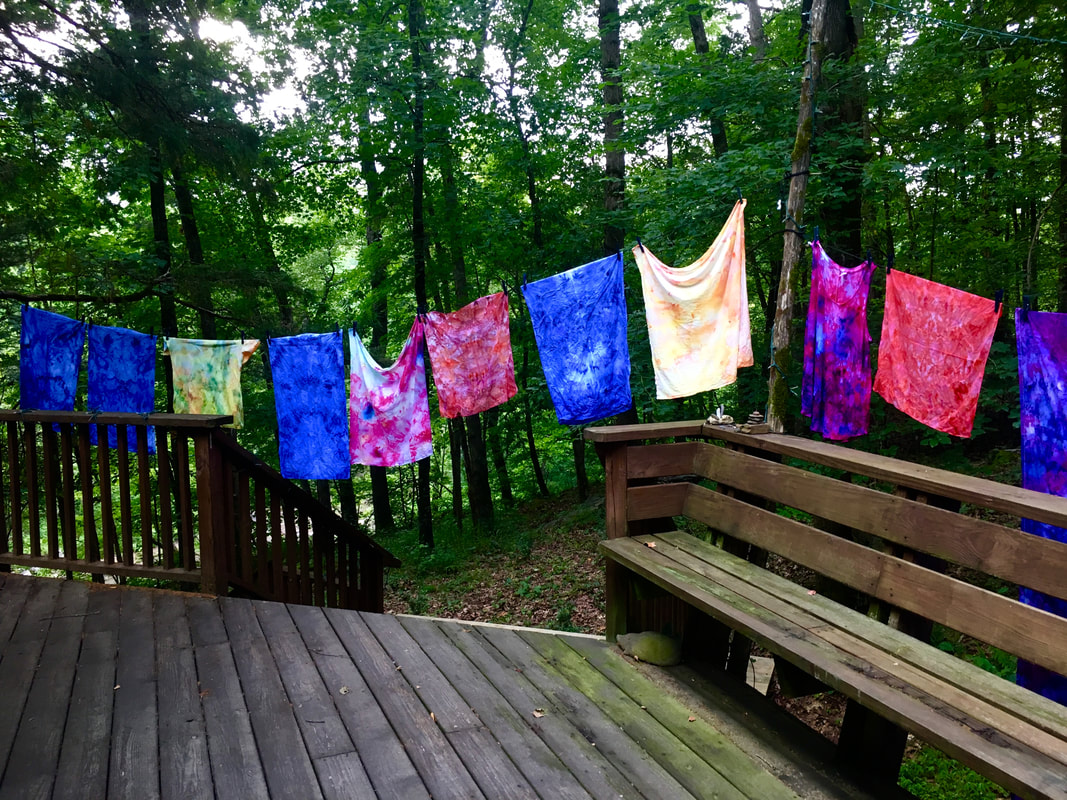
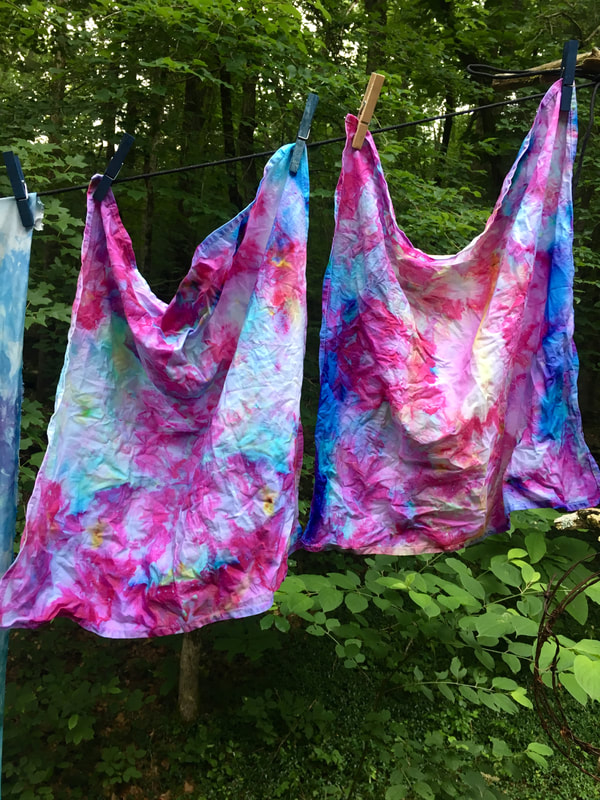
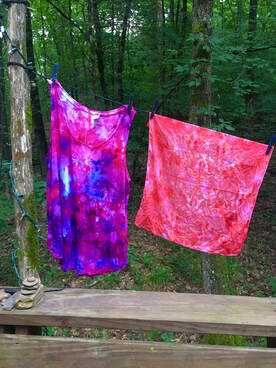
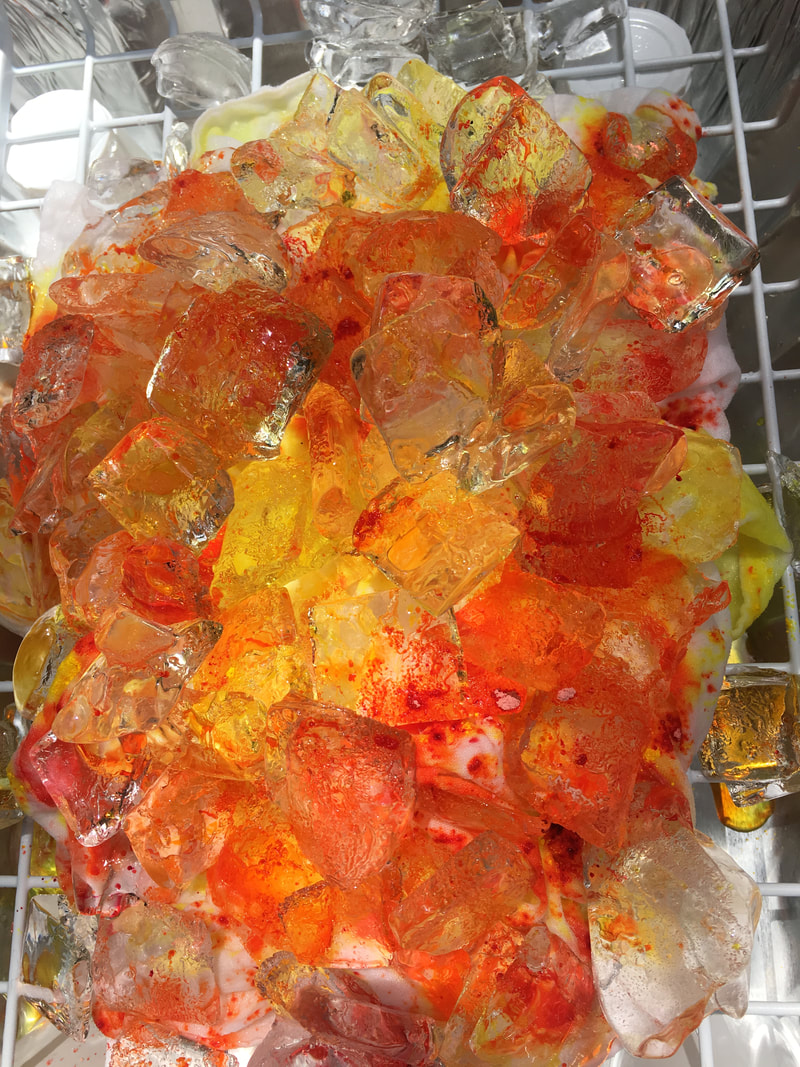
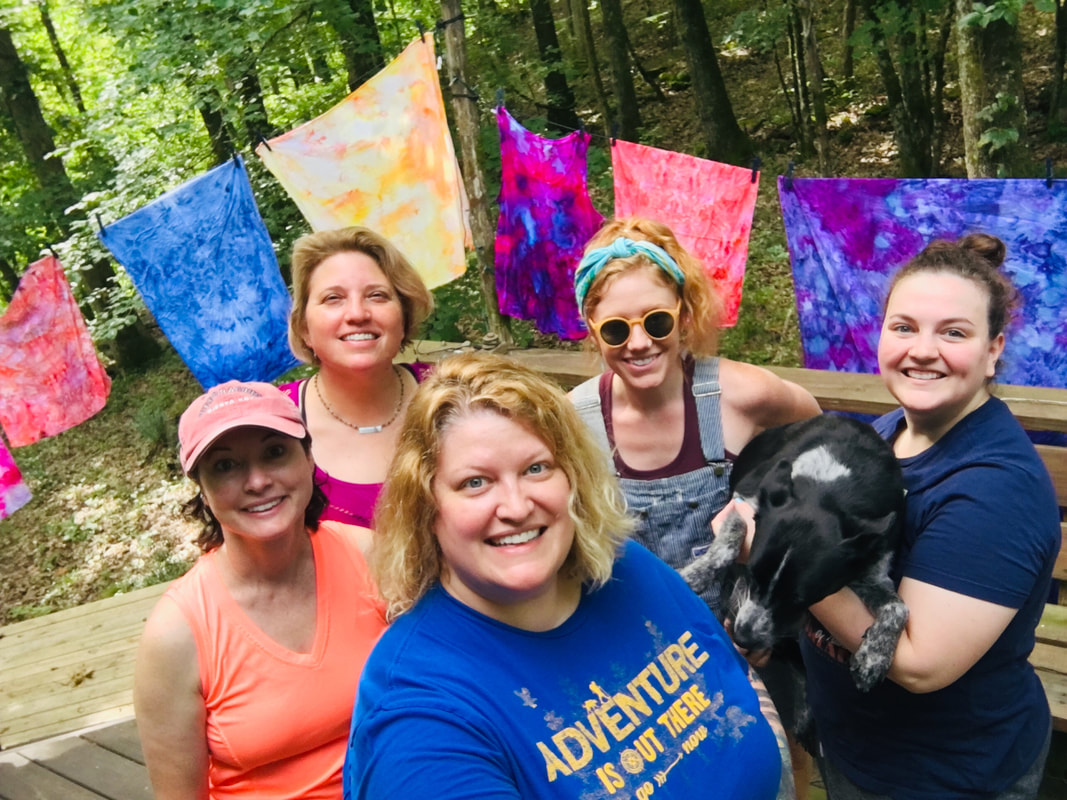
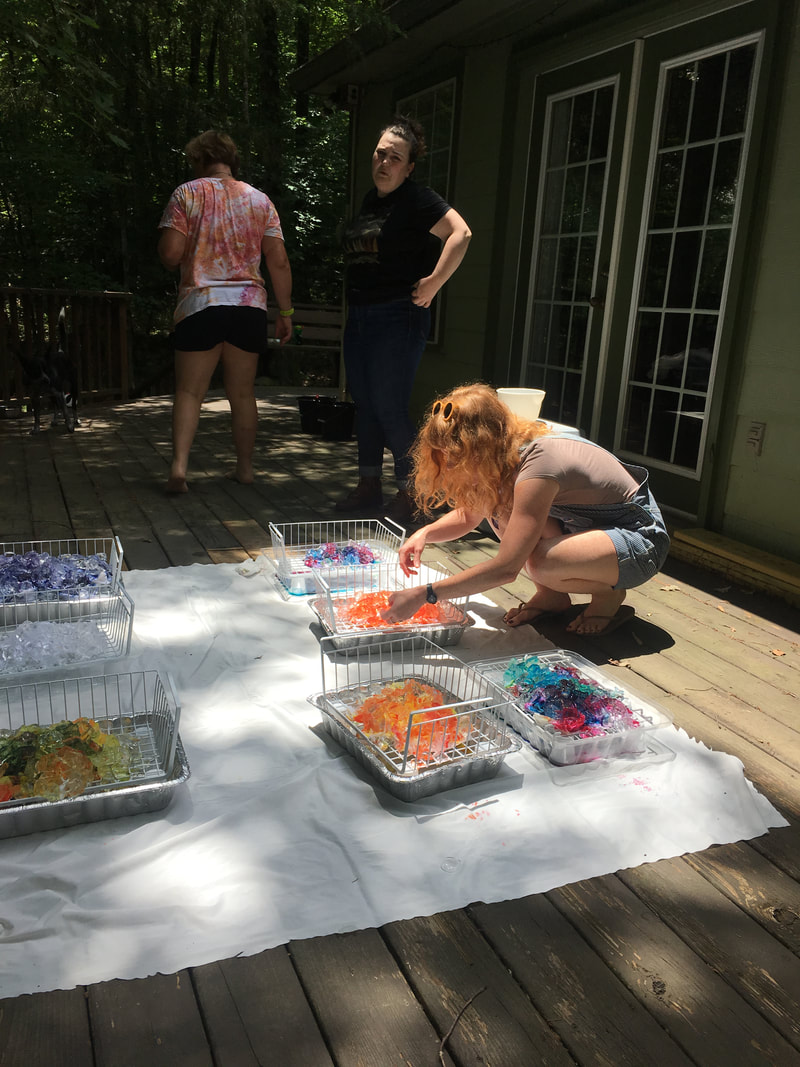
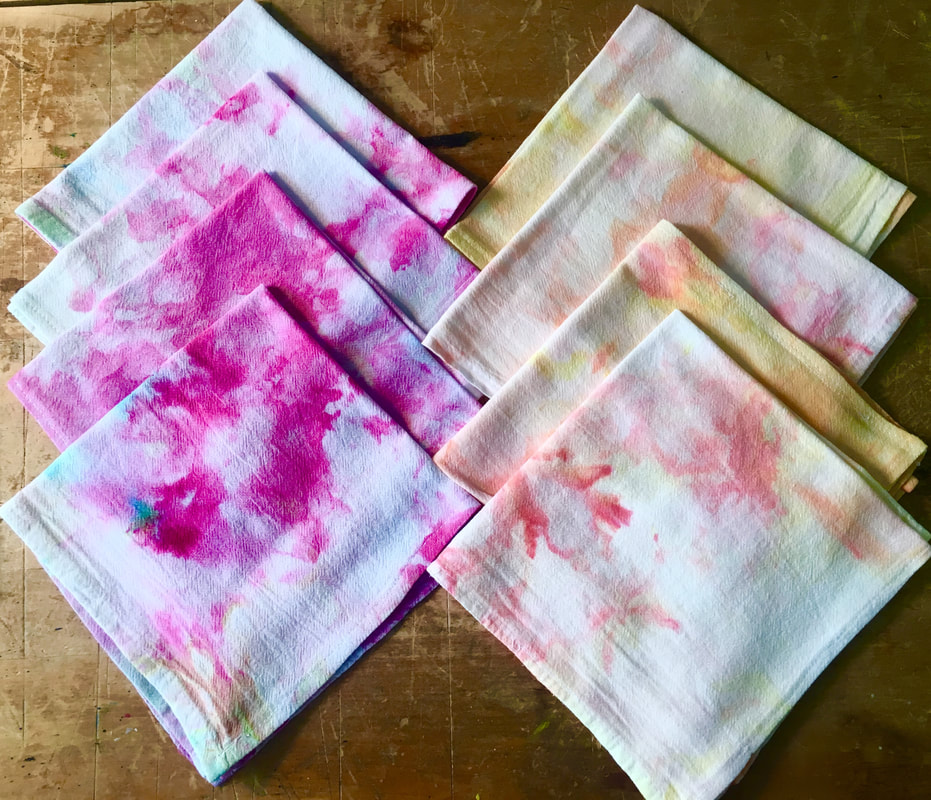
Recently I went on an artist’s retreat to the Ozark mountains in northwest Arkansas. It was a great time with other artists all doing our art side by side. At this retreat, there was a printmaker, a metal jewelry designer, a fiber artist, a painter, and a draftsman. I learned many things, just working alongside these other artists, and being part of this community. The fiber artist, Caroline Day, was doing some ice dyeing, and I had the opportunity to watch and learn. I had purchased some raw cotton material to dye in this new method, and I ended up making the fabric into eight napkins for my table. The method of ice dying was easy and fun, and I can’t wait to show my students in the fall. I love the look, it turned out vibrant and beautiful and like a watercolor painting, completely different from my experience tie-dyeing. Here I am with some amazing artists on a mountain in Arkansas! I am not an expert on ice dying, but I loved the process and will be doing this method again. Step one: Mix soda ash, 2 cups per gallon of hot water, and let the pre-washed fabric soak for 10 to 15 minutes. After that time, pull out the fabric and squeeze out the excess water. You may want to wear rubber gloves for that step. Step Two: Set up the dying center. Caroline had trays to catch the dripping and a grate to hold the fabric up while it was dying. You can see that set up in this photo. Step three: Scrunch the fabric to lay it on the grate and begin piling it with ice. Caroline told me it was best when the ice is a little melty, so it sticks to the fabric. After the ice is covering all of the fabric, you sprinkle up to two tablespoons of dry powdered dyes. As the ice melts, it slowly transfers to the fabric. I love this method because you cannot control the dye. You never know what you are going to get. Step four: We let the ice melt and the fabric sit overnight and then hung it up on a makeshift clothesline to see the vibrant colors. Step five: The last step is to rinse your fabric. You should rinse your fabric in cold water until it runs clean, then warm water until the water runs clean, and finally hot water until the water runs clean. After that rinsing process, I put my pieces in the washing machine by themselves before cutting them up to make napkins. Here are my finished napkins ready for my next dinner party!
|
Professor CharityI teach future art teachers at Emporia State University. Here is what is going on in my classes. Archives
January 2023
Categories
All
|
