|
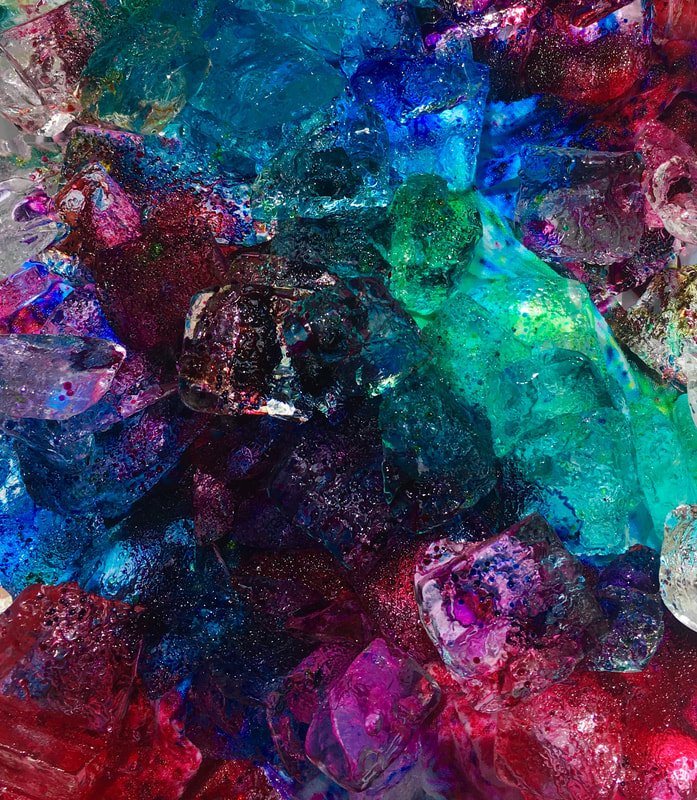
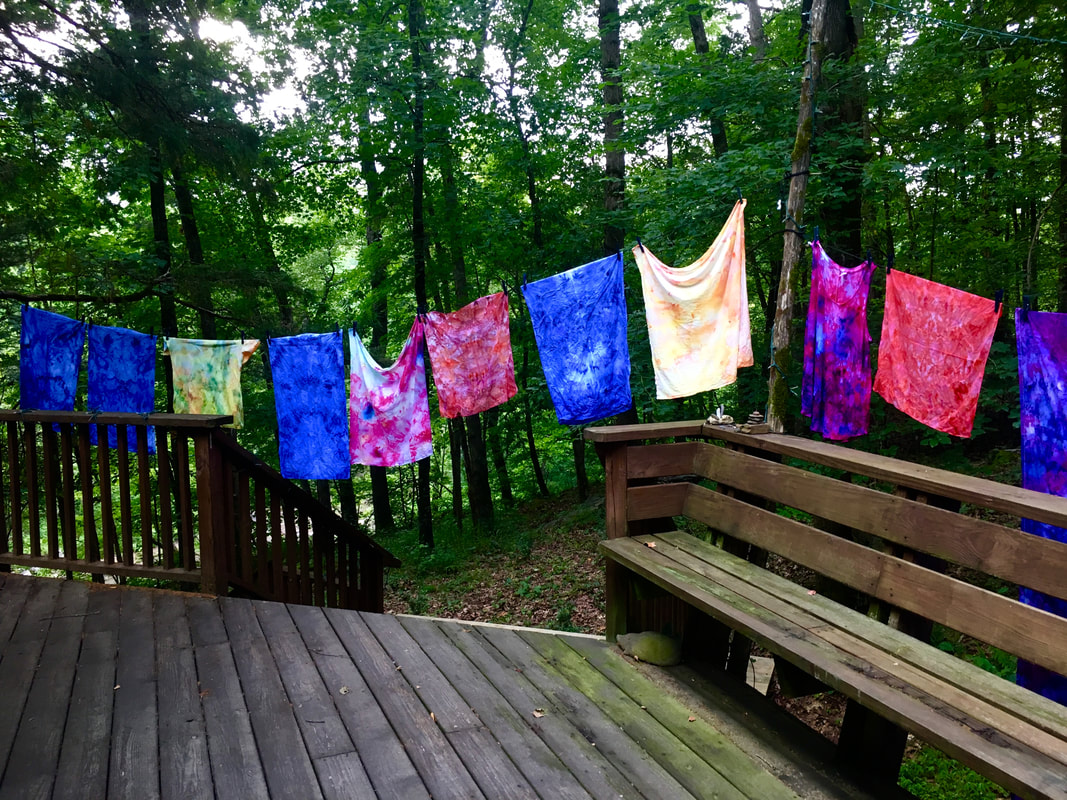
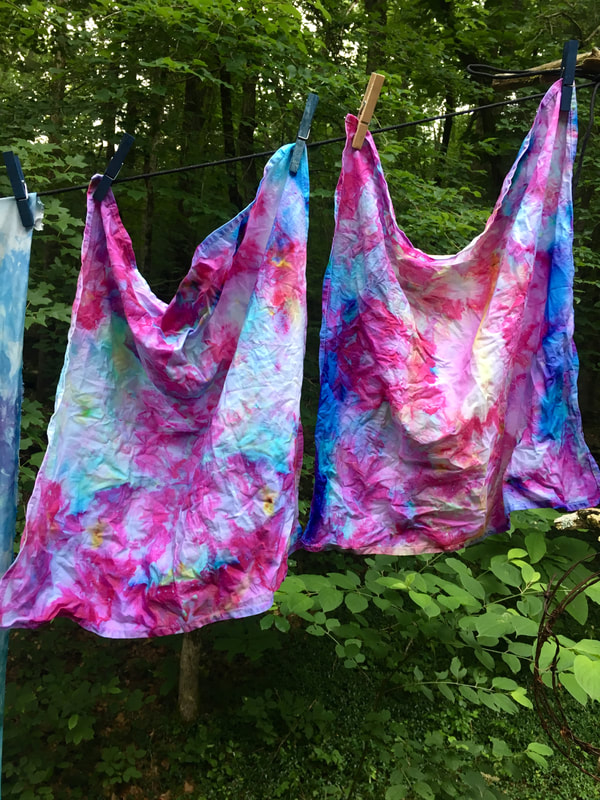
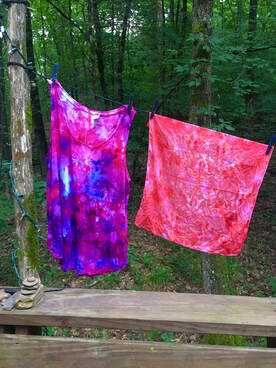
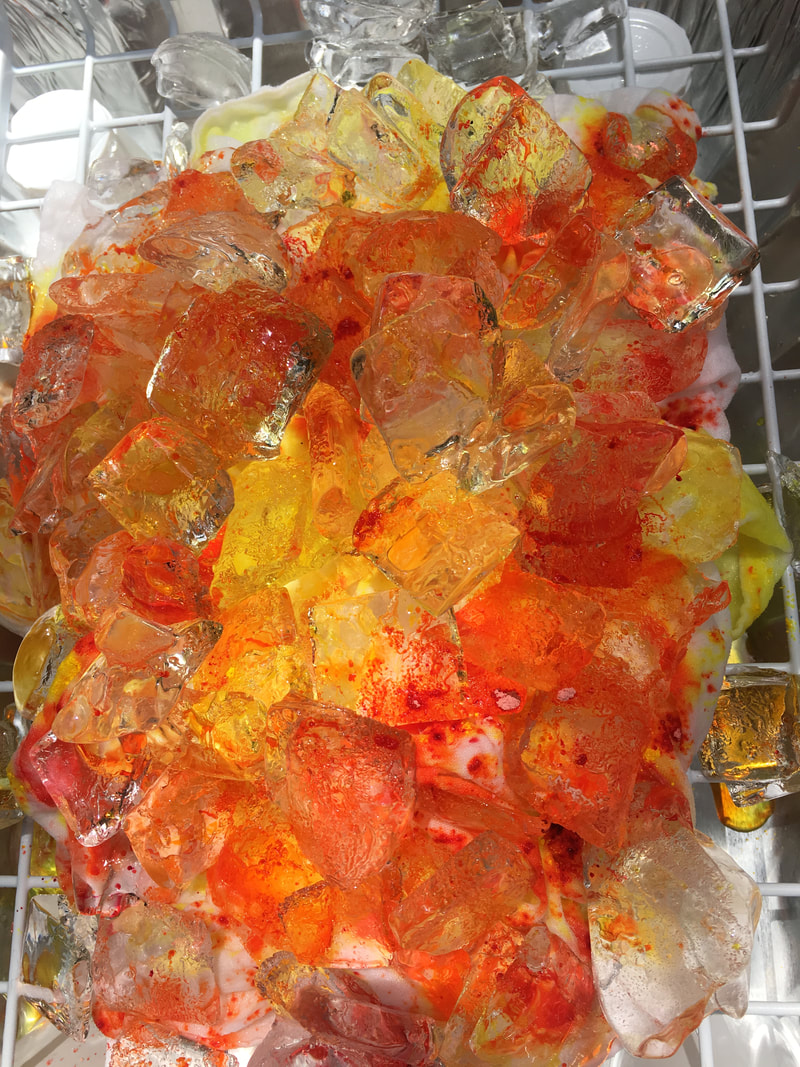
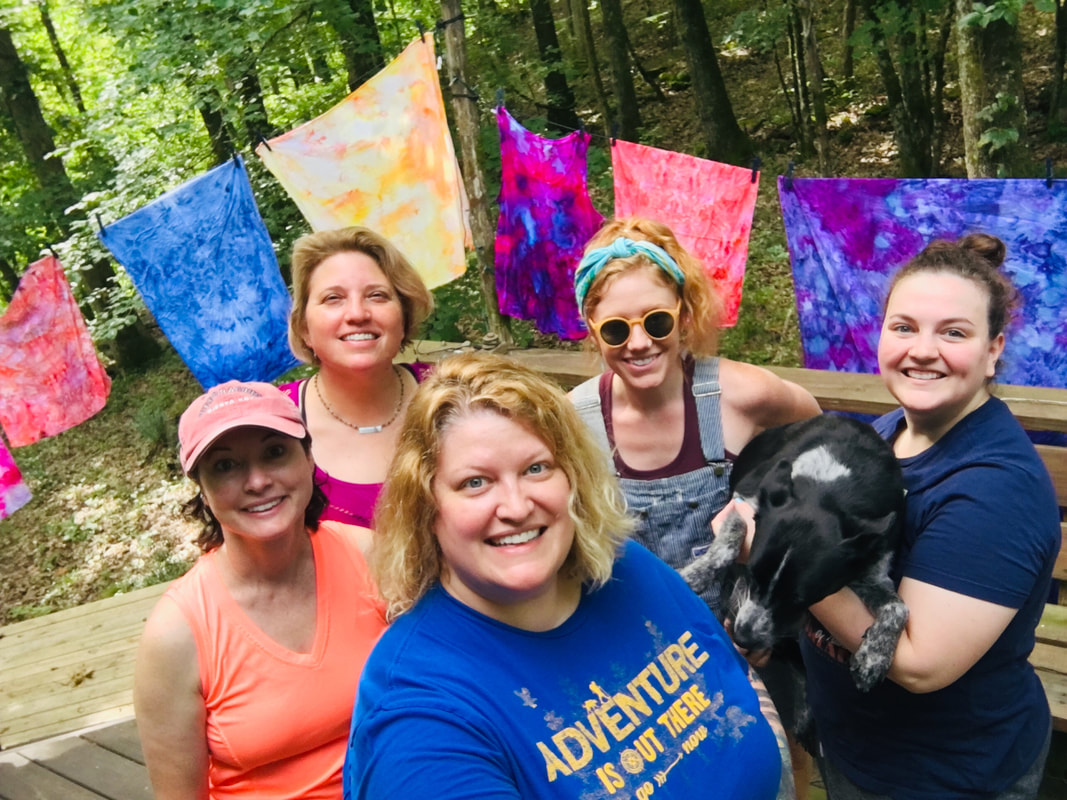
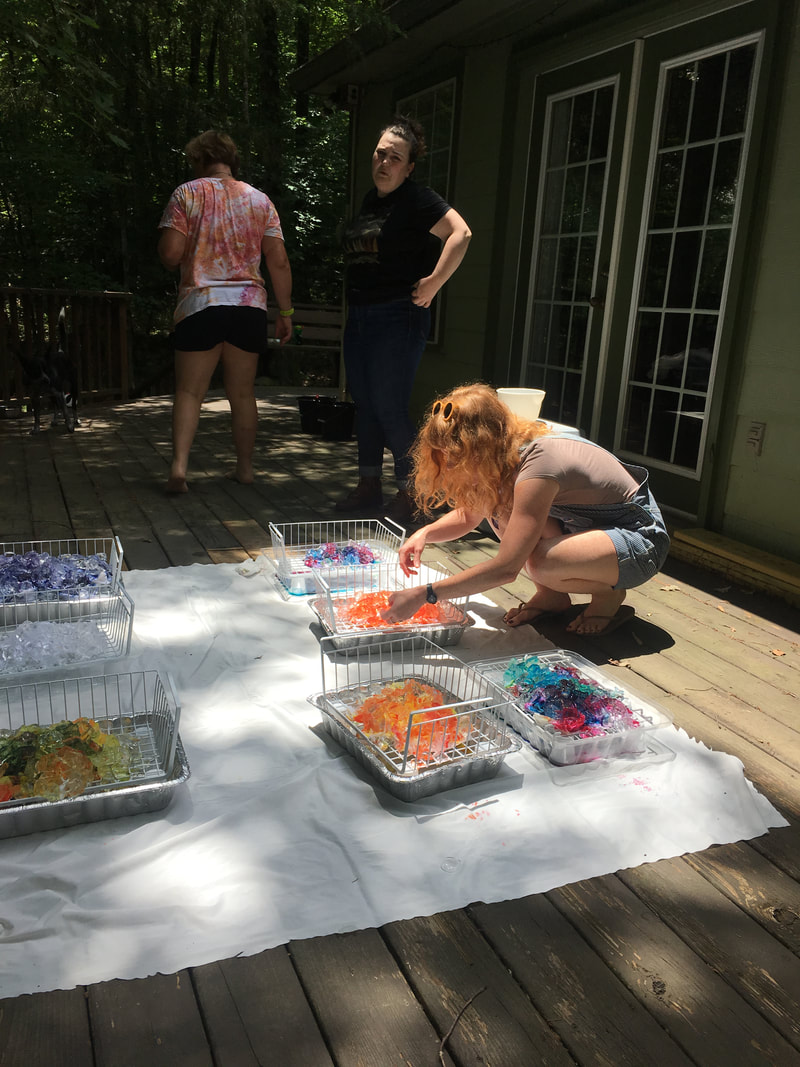
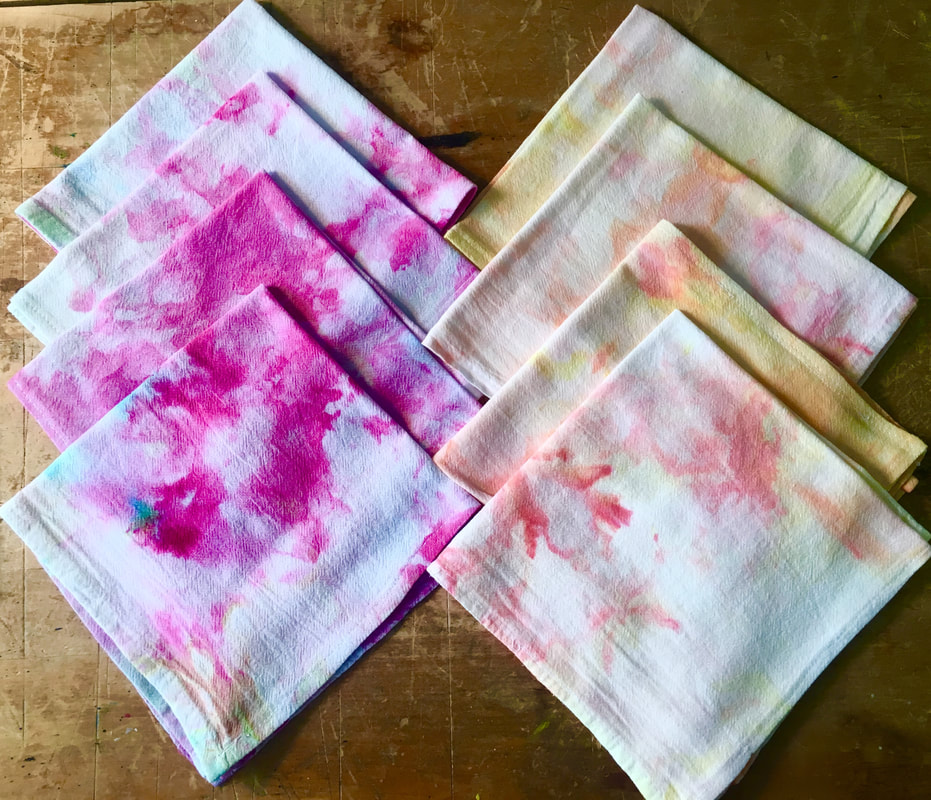
Recently I went on an artist’s retreat to the Ozark mountains in northwest Arkansas. It was a great time with other artists all doing our art side by side. At this retreat, there was a printmaker, a metal jewelry designer, a fiber artist, a painter, and a draftsman. I learned many things, just working alongside these other artists, and being part of this community. The fiber artist, Caroline Day, was doing some ice dyeing, and I had the opportunity to watch and learn. I had purchased some raw cotton material to dye in this new method, and I ended up making the fabric into eight napkins for my table. The method of ice dying was easy and fun, and I can’t wait to show my students in the fall. I love the look, it turned out vibrant and beautiful and like a watercolor painting, completely different from my experience tie-dyeing. Here I am with some amazing artists on a mountain in Arkansas! I am not an expert on ice dying, but I loved the process and will be doing this method again. Step one: Mix soda ash, 2 cups per gallon of hot water, and let the pre-washed fabric soak for 10 to 15 minutes. After that time, pull out the fabric and squeeze out the excess water. You may want to wear rubber gloves for that step. Step Two: Set up the dying center. Caroline had trays to catch the dripping and a grate to hold the fabric up while it was dying. You can see that set up in this photo. Step three: Scrunch the fabric to lay it on the grate and begin piling it with ice. Caroline told me it was best when the ice is a little melty, so it sticks to the fabric. After the ice is covering all of the fabric, you sprinkle up to two tablespoons of dry powdered dyes. As the ice melts, it slowly transfers to the fabric. I love this method because you cannot control the dye. You never know what you are going to get. Step four: We let the ice melt and the fabric sit overnight and then hung it up on a makeshift clothesline to see the vibrant colors. Step five: The last step is to rinse your fabric. You should rinse your fabric in cold water until it runs clean, then warm water until the water runs clean, and finally hot water until the water runs clean. After that rinsing process, I put my pieces in the washing machine by themselves before cutting them up to make napkins. Here are my finished napkins ready for my next dinner party!
3 Comments
Karrie
7/8/2019 08:58:08 am
Those are beautiful! Great job and thanks for sharing! I need to try this! :)
Reply
6/26/2022 07:26:30 am
Home instructive expense is very ordinary in a few powerless countries which is a nice choice of foundations. I have examined an article about the meaning of home expense and found a few shocking information that made me exuberantly pleased well generally speaking.
Reply
6/1/2023 12:55:16 am
From running errands to binge-watching your favorite show, our Soft Lavender Mist High Waisted Lounge Leggings are the perfect choice for any activity. https://focusmeditating.com/ yoga pants
Reply
Leave a Reply. |
Professor CharityI teach future art teachers at Emporia State University. Here is what is going on in my classes. Archives
January 2023
Categories
All
|
