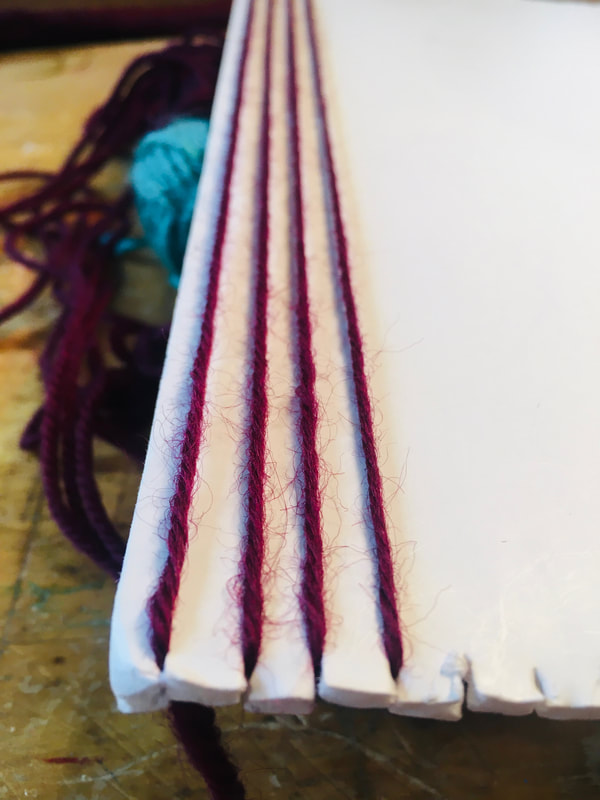
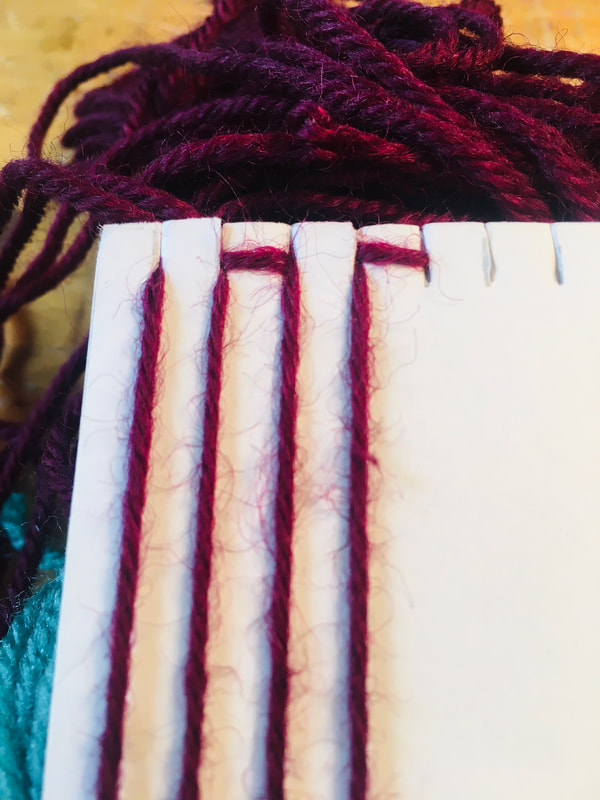
 Weaving is a fun activity, and each time I do the project with my classes, I am always surprised at the students who take to the weaving process. There is always some football player in the back of the class that is barely engaged in class that is an amazing weaver and goes above and beyond on their project. Some students just naturally enjoy the rhythmic nature of weaving and that it does not take a lot of decisions and talent. As soon as they are taught the basic step and vocabulary, it is just about setting them loose for an extended guided practice section. There are many weaving tutorials, I generally begin with paper weaving, or I have seen many students do bookmarks and wall hangings with homemade looms. This process is to make a bag, which can be big or small but is a continuous thread and two-sided. Vocabulary First, some vocabulary: Warp- these are the strings that go north and south (vertical) and are stable on the loom. Weft- the strings that you the weaver add that go in and out through the warp, which go east and west (horizontal) in the weaving. Loom- any apparatus used to make fabric by weaving thread or yarn. Loom Select a piece of cardboard, mat board, or foam core and cut it to the size that you want your bag. I wanted something that would hold my 15” laptop, so I worked with a piece of matboard that was 10” X 16”. The first step is to mark every ¼ inch marks across the bottom and top of your loom and cut small slits for your warp threads to hold securely. Make sure you have the same number of notches at the top and the bottom. 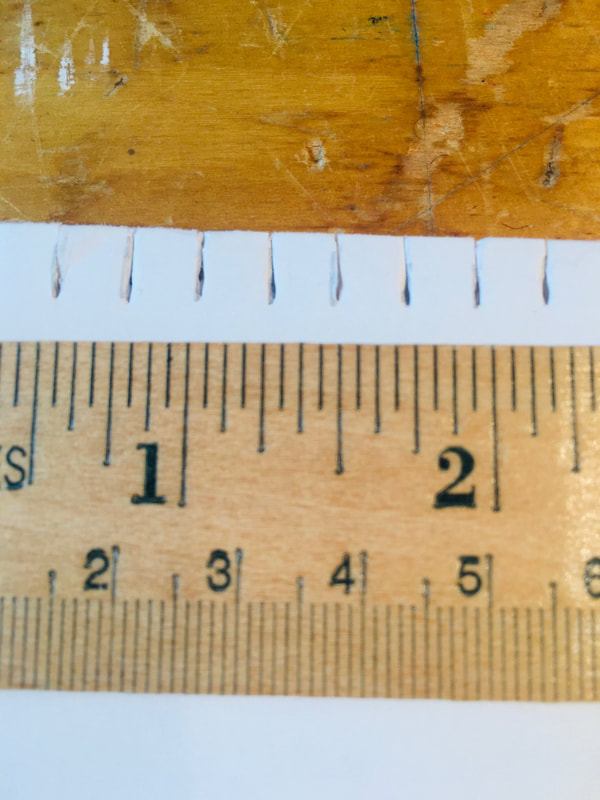 Warping the loom Warping the loom is your second step in which you are adding the vertical string to your loom. Begin at the bottom corner by going around the loom and tying the string to itself. You will now begin wrapping the warp string around the loom going down and up the same notch and then moving the thread over to the next side. You will have a string on both sides of your loom. Make sure all the “moving over loops” are at the top, so when you finish your weaving, you can slip these off the loom and remove your woven bag. Make certain not to miss or skip any notches, if you have missed any go back and fix this now before you start weaving.
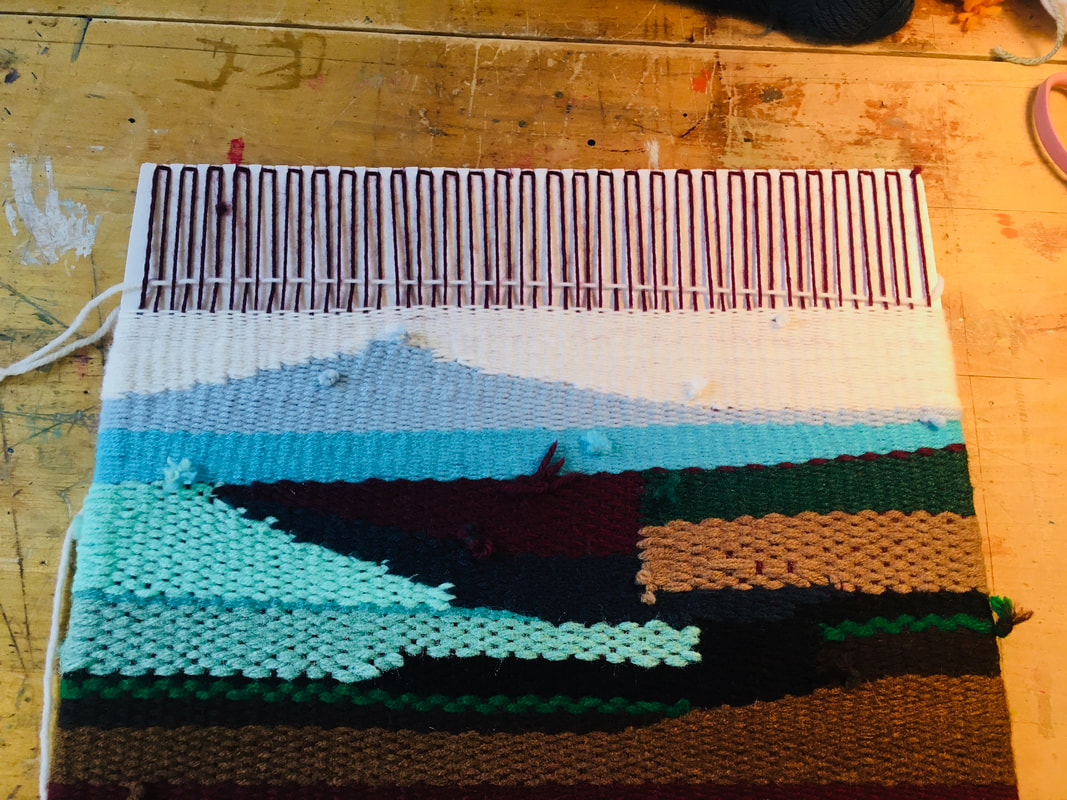
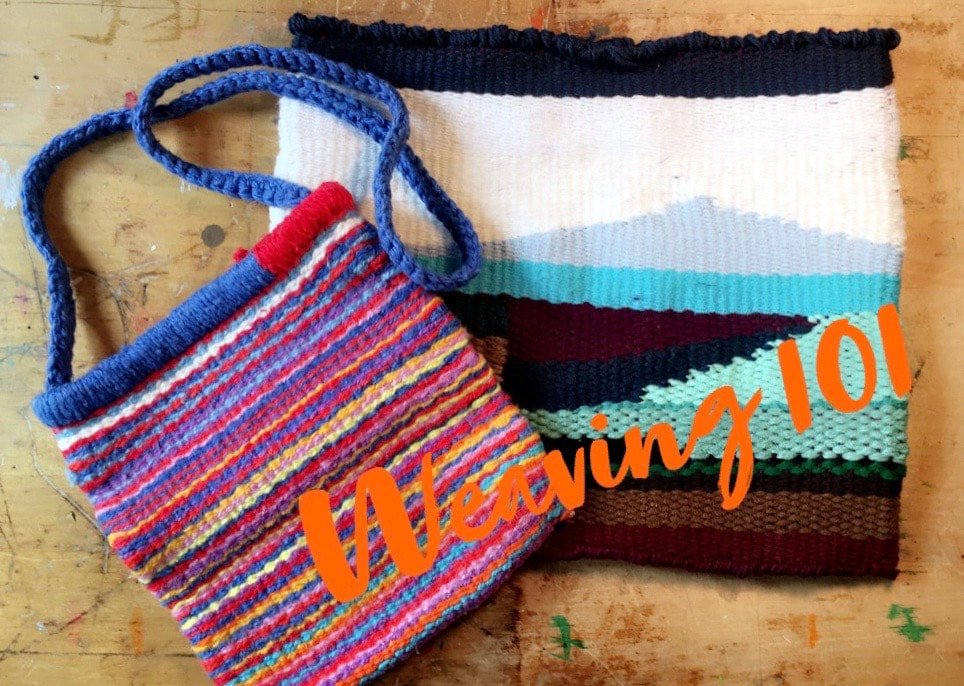
Weaving The process of weaving is going over and under the warp strings in an A/B pattern. The string that you are weaving is called the weft, and it can be anything from yarn, strips of fabric, notions, or lace. You can mix and match the materials for a great look. When I begin, I tie my weft string to the bottom warp and start my pattern of in and out through the warps. When I get to the end, I flip over the loom and continue the pattern on the back side. I generally weave about five or six rows before I push the rows tight with a large hair comb or fork. You want to pack down your weaving, so you do not see the warp thread, this will make your bag nice and tight, but also strong to hold your goodies you plan to put in there. 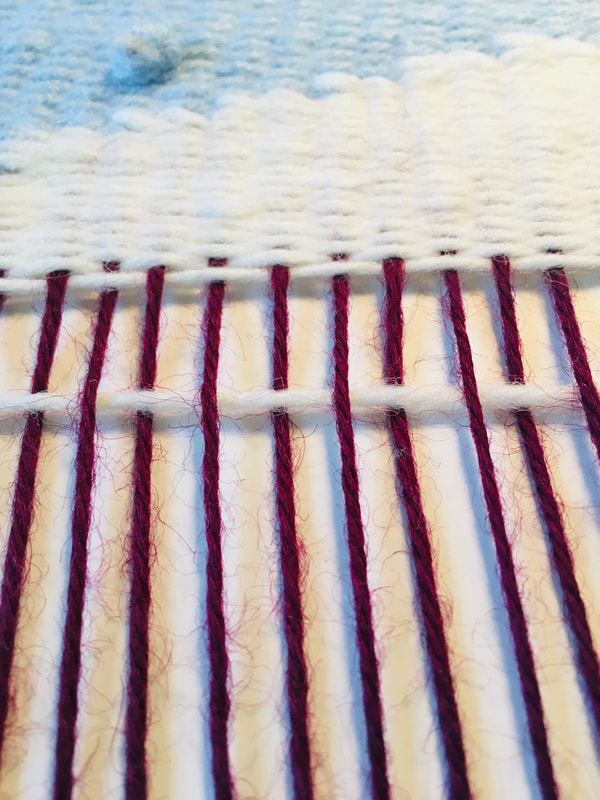 Just keep weaving….Just keep weaving! It takes some time to get your weaving to the tippy top. I spent 20-25 hours on my laptop bag. Don’t forget you are doing both sides. I also wanted to play around with triangles and other patterns; you can do this as well, just make sure you are connecting to the previous string.
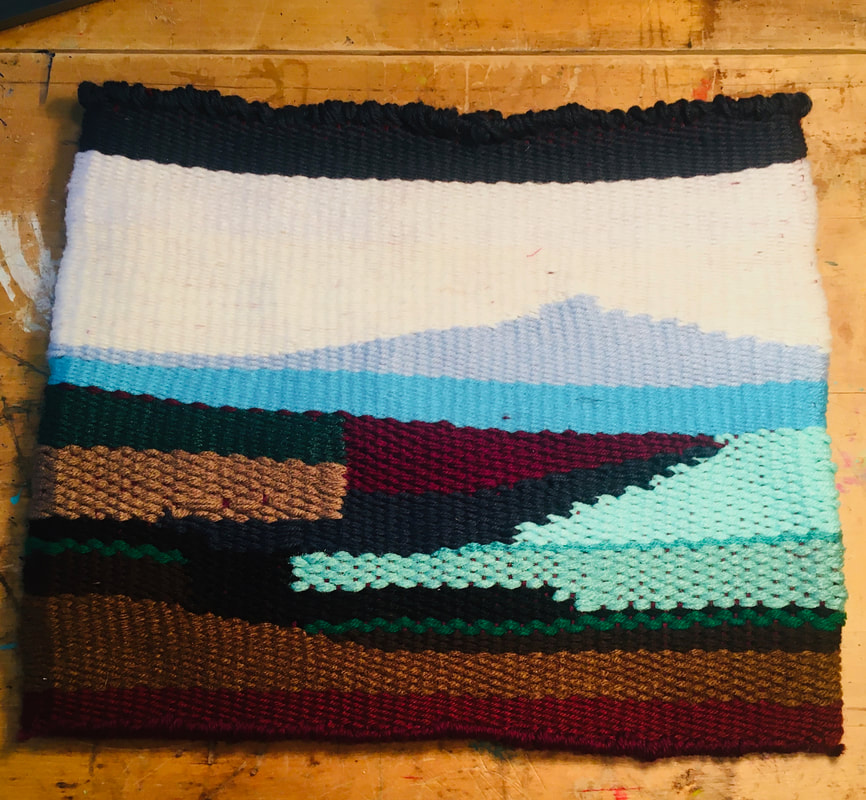
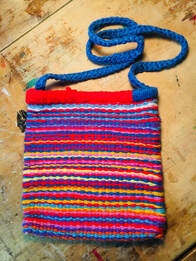
Adding a different color You can add more weft string and change colors as often as you desire. I do a double knot to add the new color to my existing string and then keep weaving. Don’t worry about the knots because when we get done weaving this bag and take it off the loom, we will turn it inside out so all our knots will be on the inside of the bag. 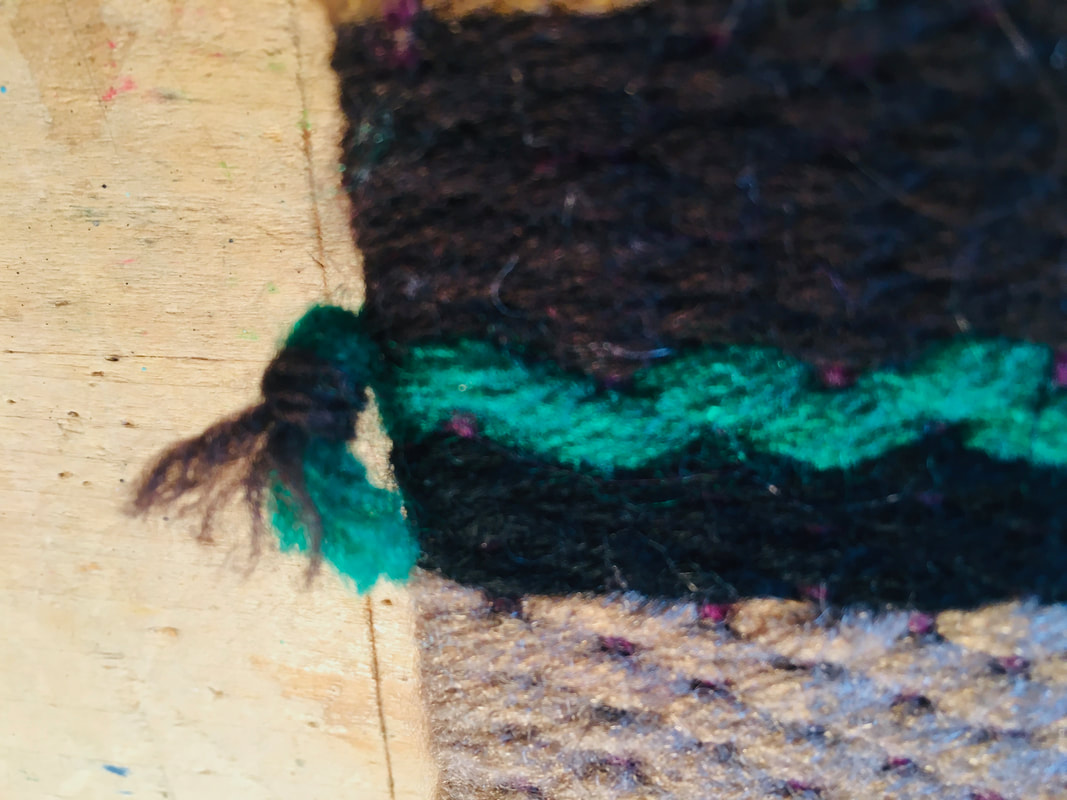 Finishing the bag It is very hard to get the string up at the top of the loom because the warp thread is so tight, but I switched to a smaller needle to finish. I tied the end weft to the warp and began bending the cardboard loom to release the warp loops and then slide the bag off the loom. The bag is fine how it is, but to finish off the top, I just took the thread and reinforced the top and bottom, knowing that my bag was going to pad my laptop. You can also braid a handle for a bag as I have done here. 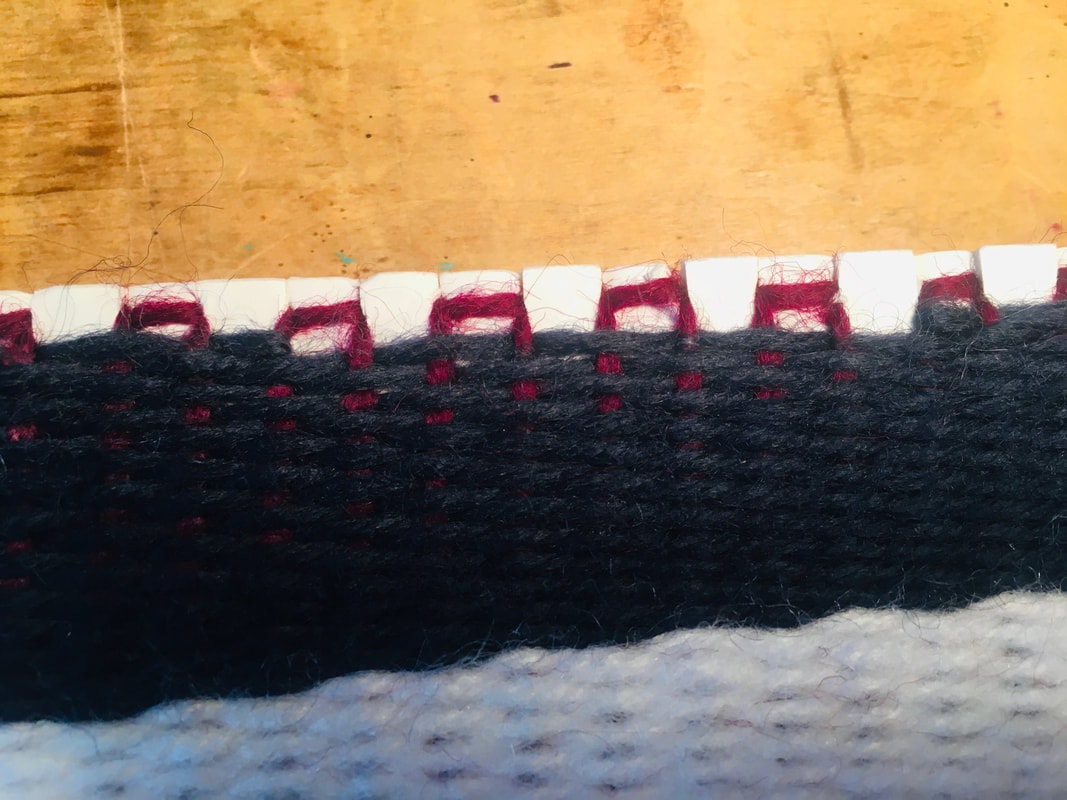 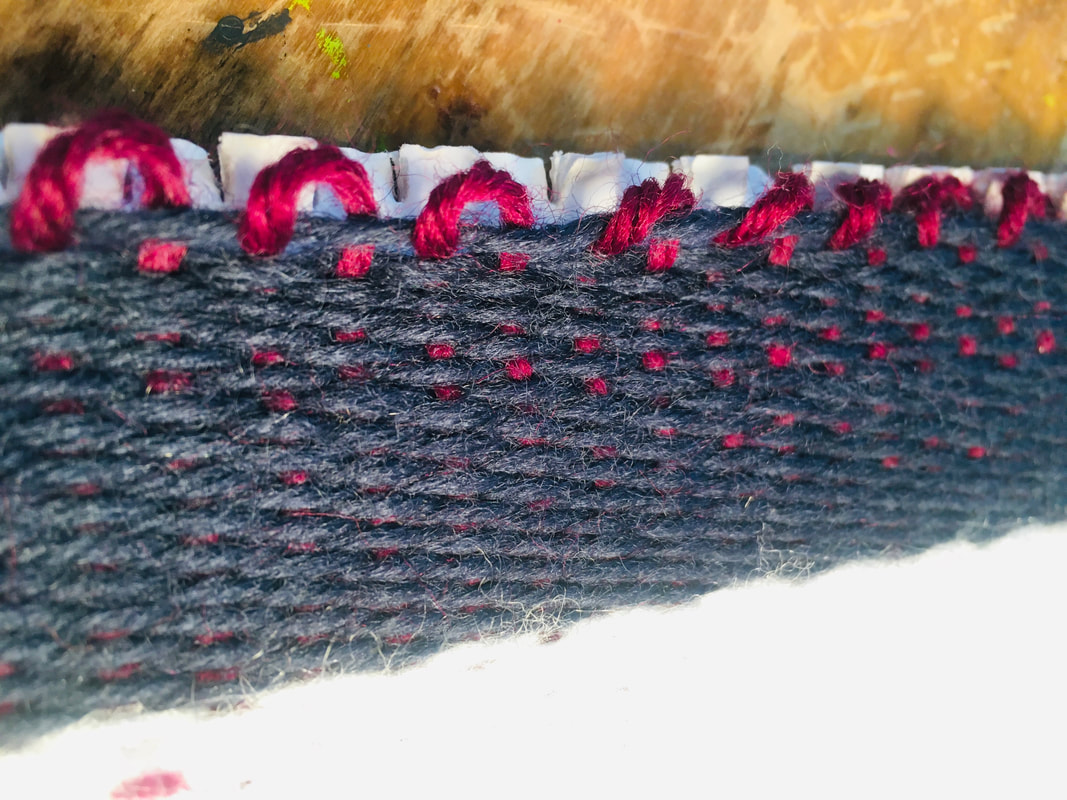 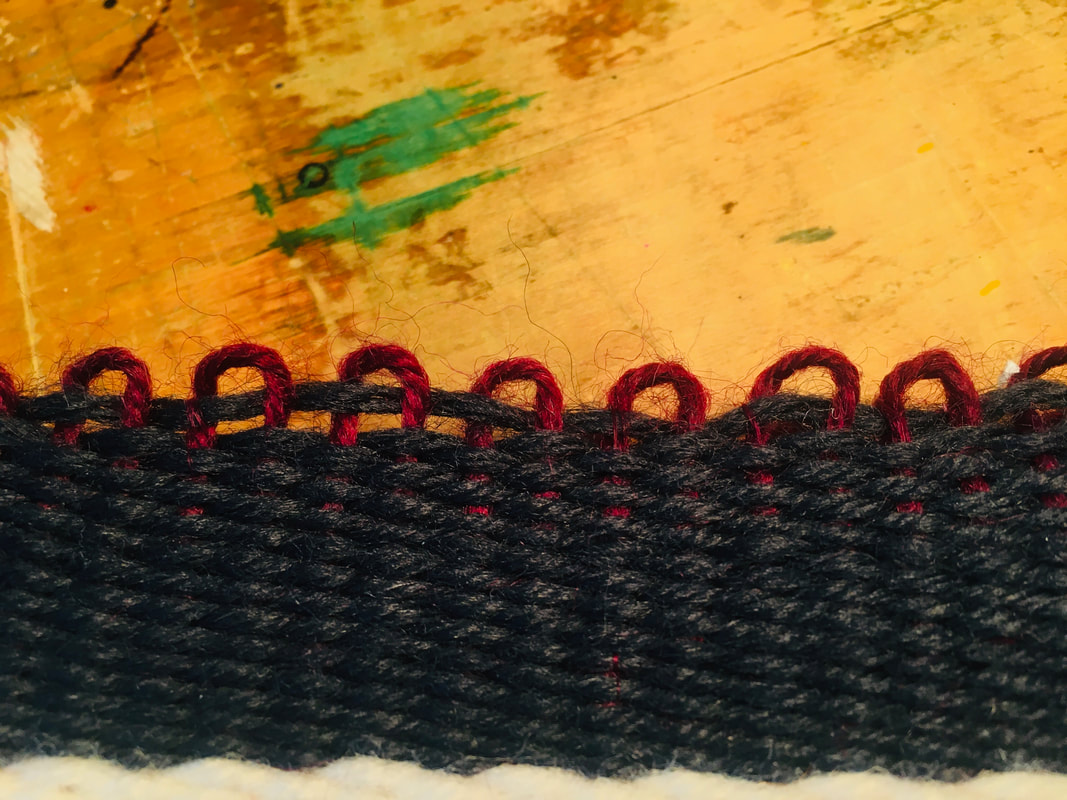
If you have questions, please share those in the comment section and… Happy Weaving Everyone!
5 Comments
 We are going online. This is the sentence that was uttered around so many schools this week. I teach at a college, so online classes are actually a thing, but rarely in the fine art department. I do not want the spread of the Covid-19, so I’m glad the University is taking precautions, yet I feel sad for the students to have to leave their campus community. For students in K-12 schools, online education is very rare and presents some challenges, especially for hands-on classes, studio classes, service learning, internships, student teaching at schools, and anything that is a project or a group project. I have been gathering some resources for myself and colleagues and encourage you to dig into the blog posts on this page as well as the video lessons on my You-Tube Channel. I am hopeful that this experience will offer opportunities to emphasize different ideas in our classes and make us better teachers if we learn from this experience. Project-based Classes I teach future teachers at a University. In my Art Education classes, we are starting to put together lesson plans learning about Student learning outcomes, writing rubrics, and the National Visual Art Standards. These PowerPoints can be available online, but what about the simple art supplies for the students to do those projects? I do not want my students to have to go out and get supplies at a store with a college student’s tight budget when we have supplies in the classroom. I gathered my grocery sacks and packed a little gift bag for each student filled with watercolors, colored paper, drawing paper, pencils, erasers, paintbrush, airdry clay, and glue sticks. I figure we could use these supplies when we meet virtually online, or they will have these supplies to help fill the time during their social distancing. I felt that was a good thing, and I encourage teachers to send art supplies home with your students, or parents to think about picking up art supplies while you are going to the store to stock up on pantry items. 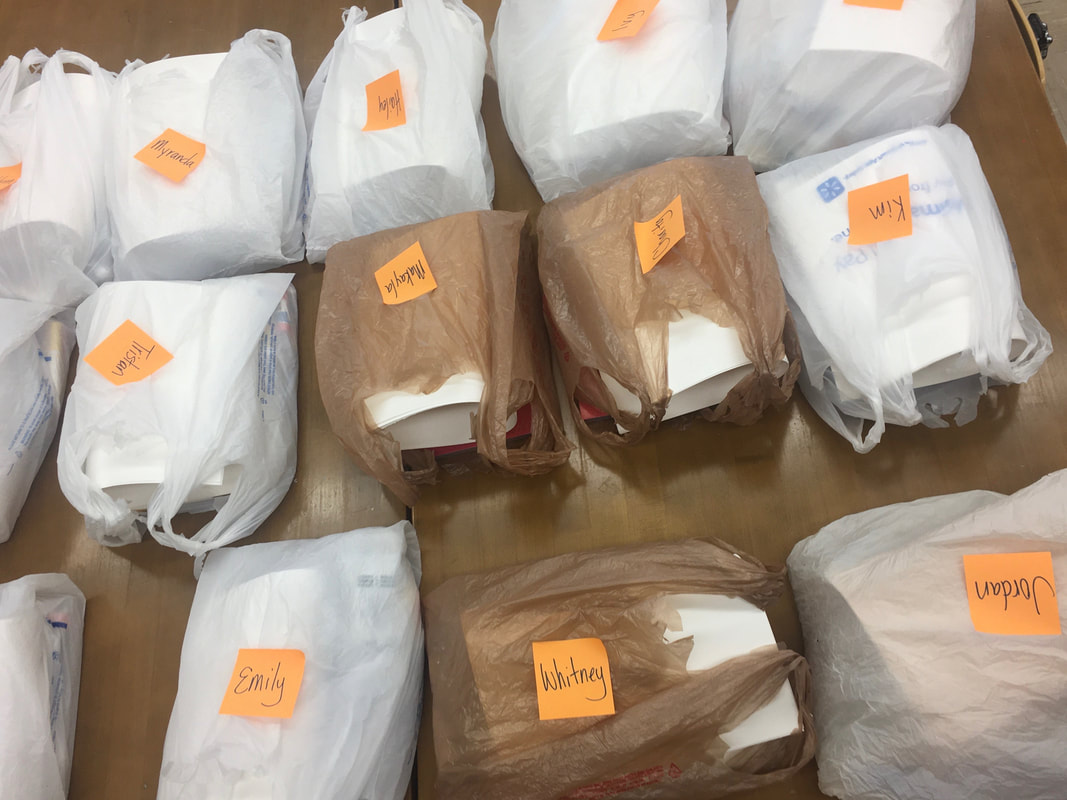 Studio ClassesStudio classes where students are painting in the studio presents a different challenge. The students would be painting at home and uploading images of their artwork to be critiqued by the instructor. The good thing here is all the one-on-one instruction. You can meet each student’s needs. Think about a group chat or discussion board, so you are not the only one doing the critiquing. I learned so much from the other students in my art classes that I would hate for the students not to interact with each other, if only for inspiration. I know many teachers that transition to clay at the end of the year or Ceramics teachers that are beginning to work on glazing and finishing details. Ceramics Material Workshop is offering free online content for all educators who are moving to online platforms. Glaze for Our Lives, is a 23 episode series of recorded lectures explaining how and why to glaze pottery. Contact them at: ceramicmaterialsworkshop.com with an .edu email address, and they will get you set up. Also, visit https://www.ceramicmaterialsworkshop.com/glaze-of-our-lives.html for more information. K-12 ClassesBesides digging into my blog and YouTube channel to see ideas and lesson plans, I recommend two other resources that are full of good quality lessons prepared by art teachers with downloads and art production images. Although I understand that lots of people will be hitting Pinterest to find ideas, these resources are available in one place and are art teacher tried and true. Cassie Stephens: Art Teacher, Podcaster, and Author of two books I love, Clay Lab for Kids, and Stitch + String Lab for kids, has a whole of information on her website.  I also recommend Mrs. Brown. Amy Brown is a K-5 art teacher and has a Google drive open and available with lesson plans and downloads for you. 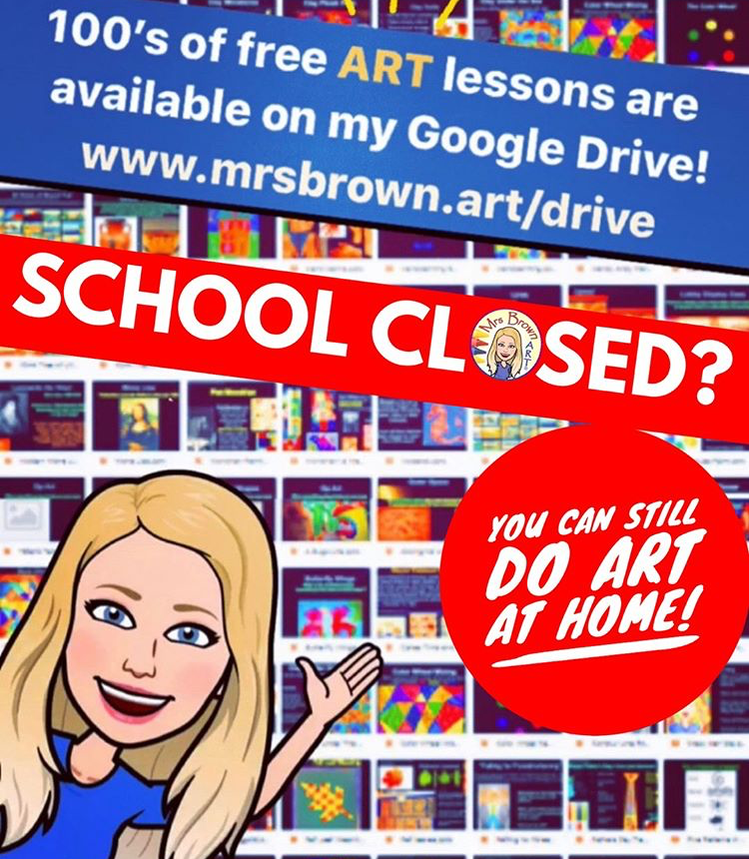 There are many more resources available; I saw on social media that educational websites were doing free trials for the next 30 days, so please take advantage of those. Comment below with your resources, and I will update this blog as need be. Remember, friends; this is not an ideal situation. We are trying the best we can to make it better for our students, but we are in triage. This is not "best practices" for distance-learning. Do not feel like a failure because you had to plan and move a class online in less than a week. It's ok, we are all trying to survive. Give plenty of grace to everyone you encounter and also to yourself! Blessings, Dr. Charity-Mika Woodard UPDATES:Studio Potter is offering free memberships for all educational institutions, including K-12 schools, affected by Covid-19. You can get a free three month membership to their archives of over 8,000 pages of ceramics content.
|