|
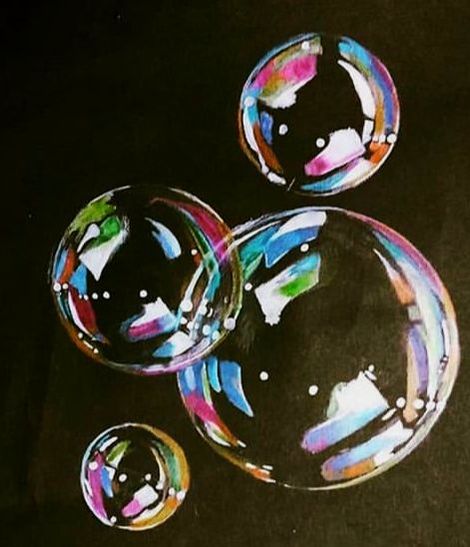
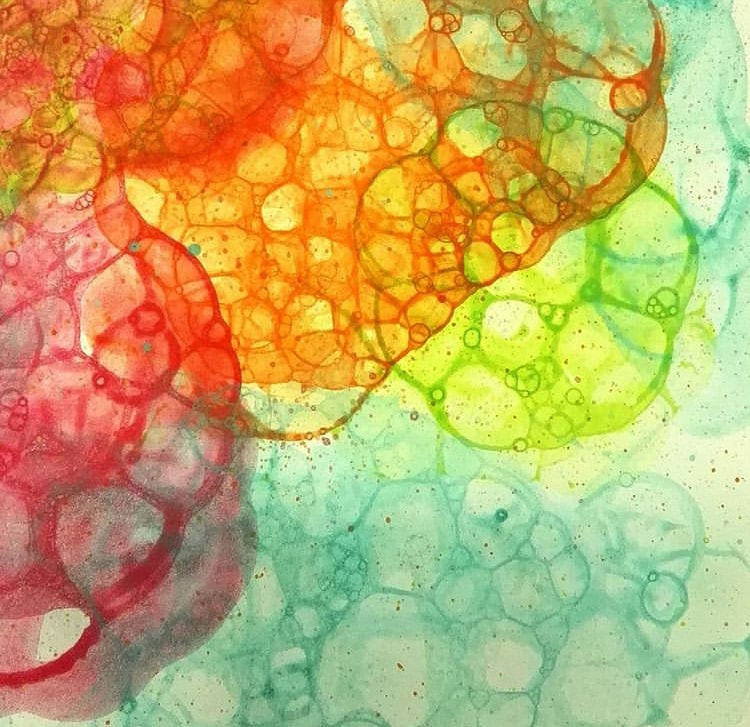
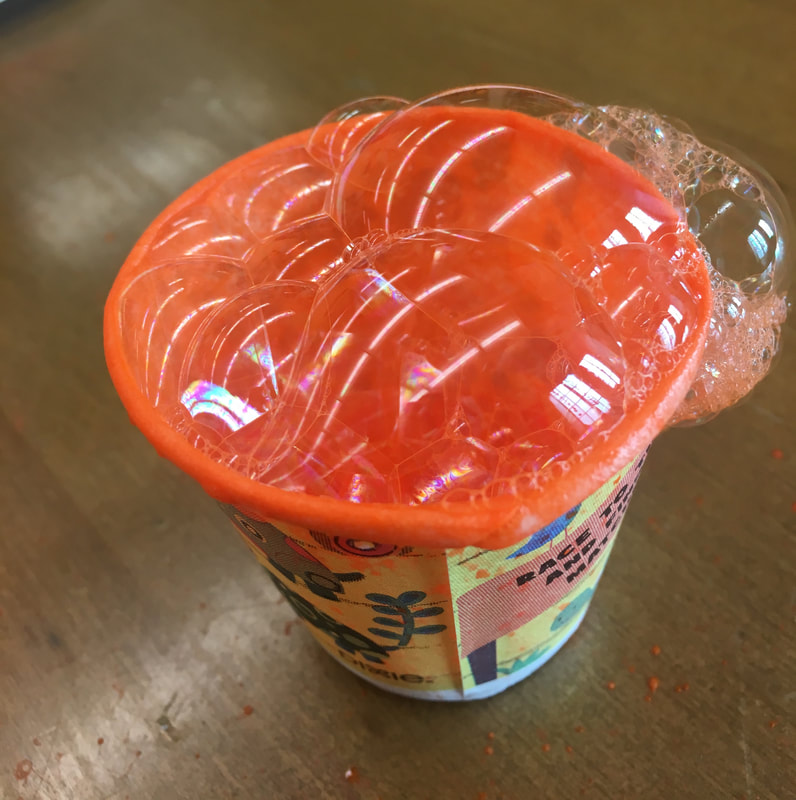
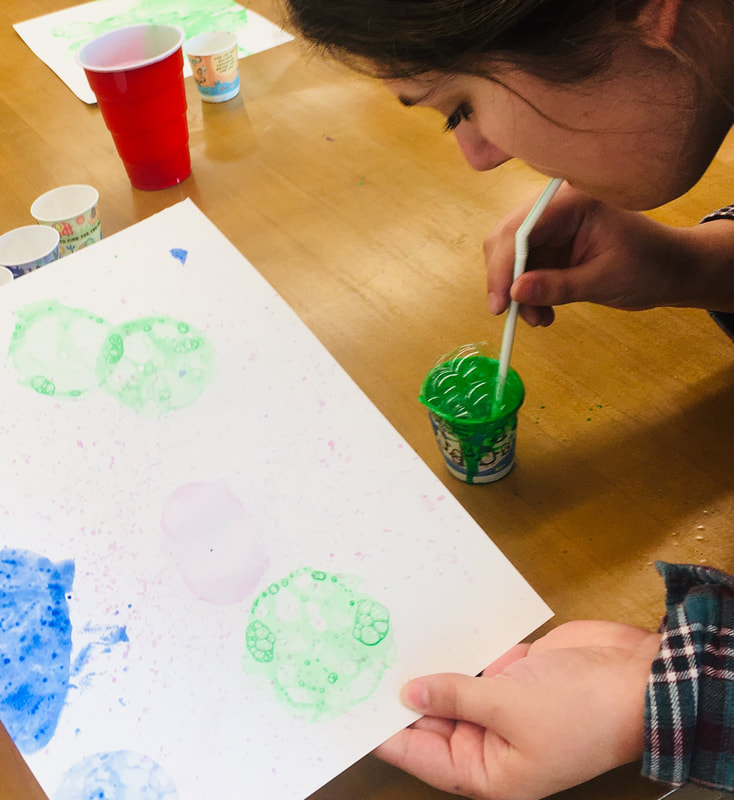
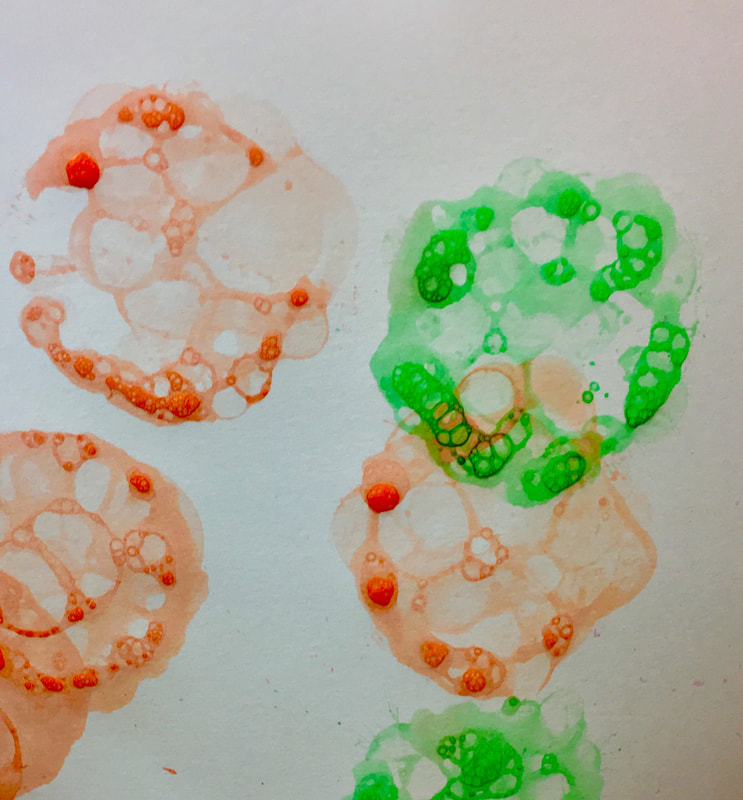
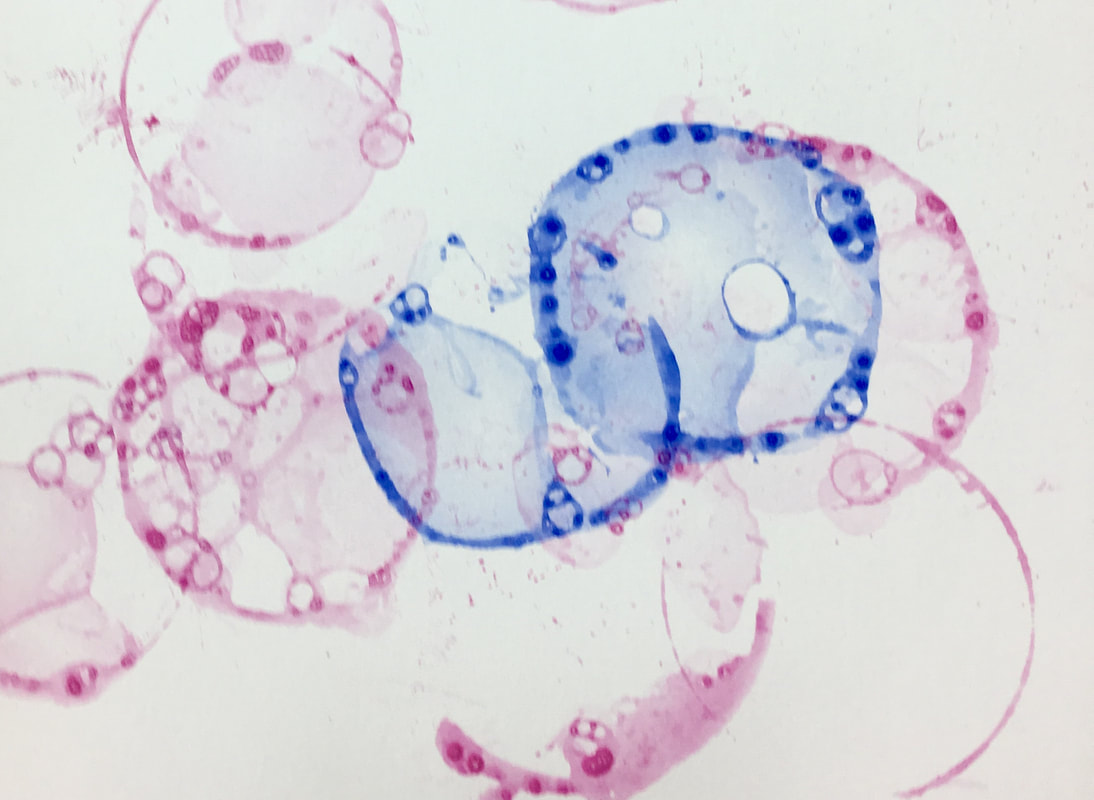
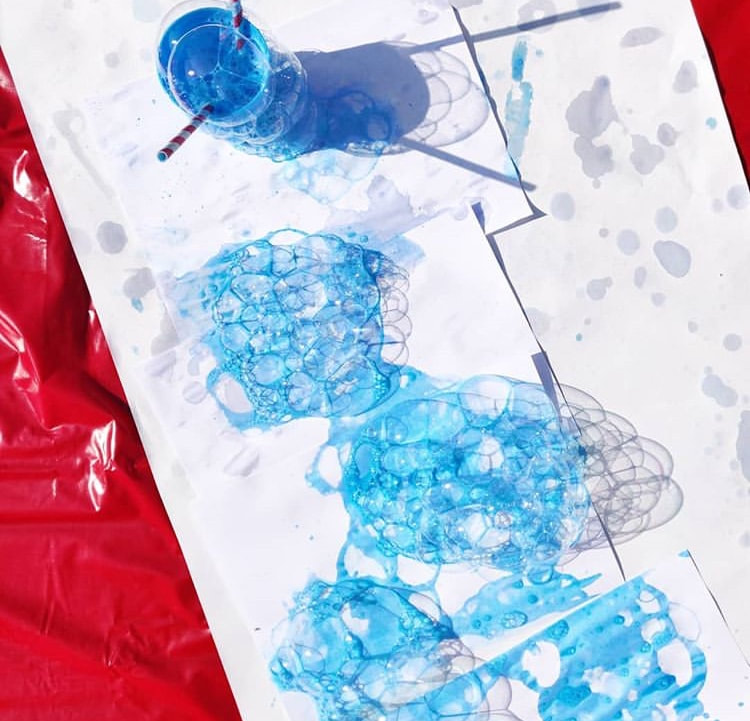
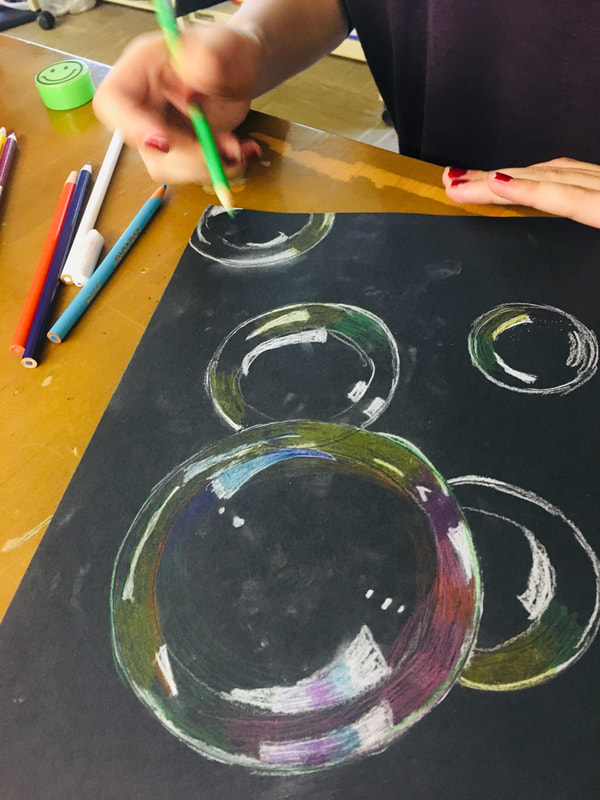
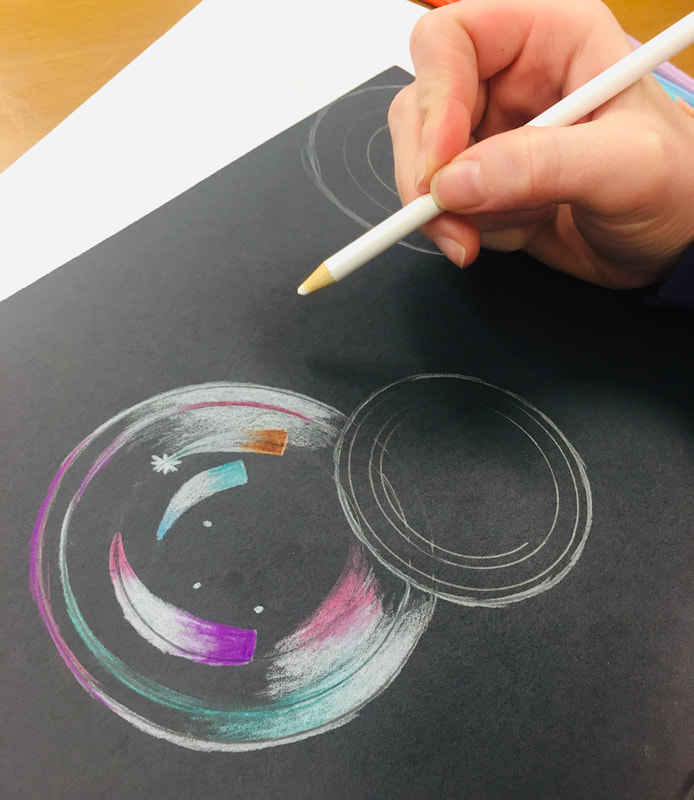
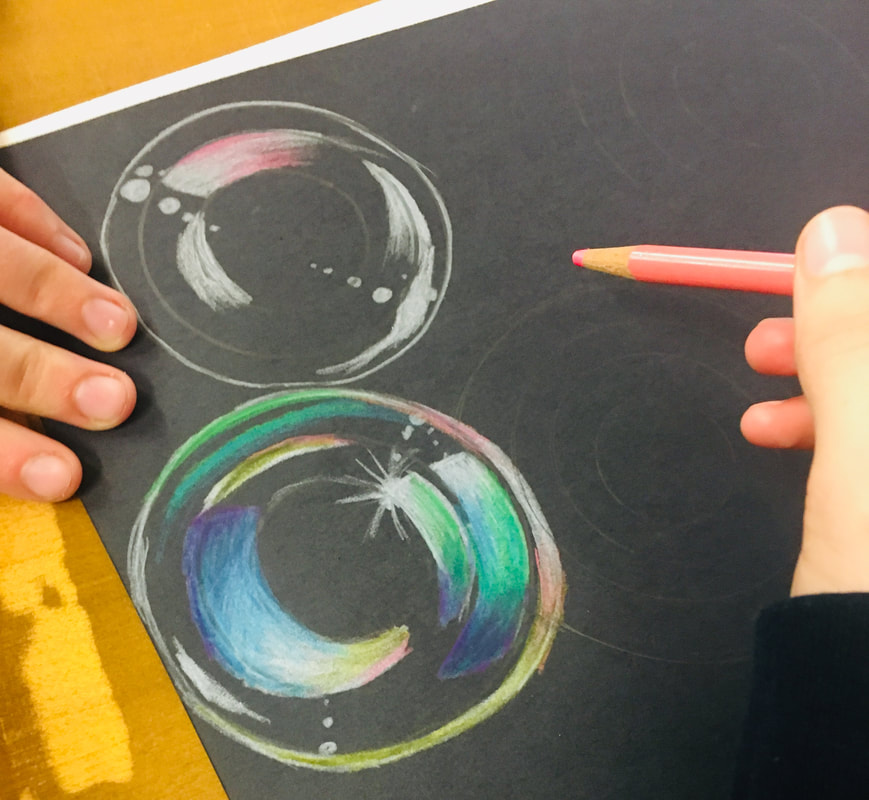
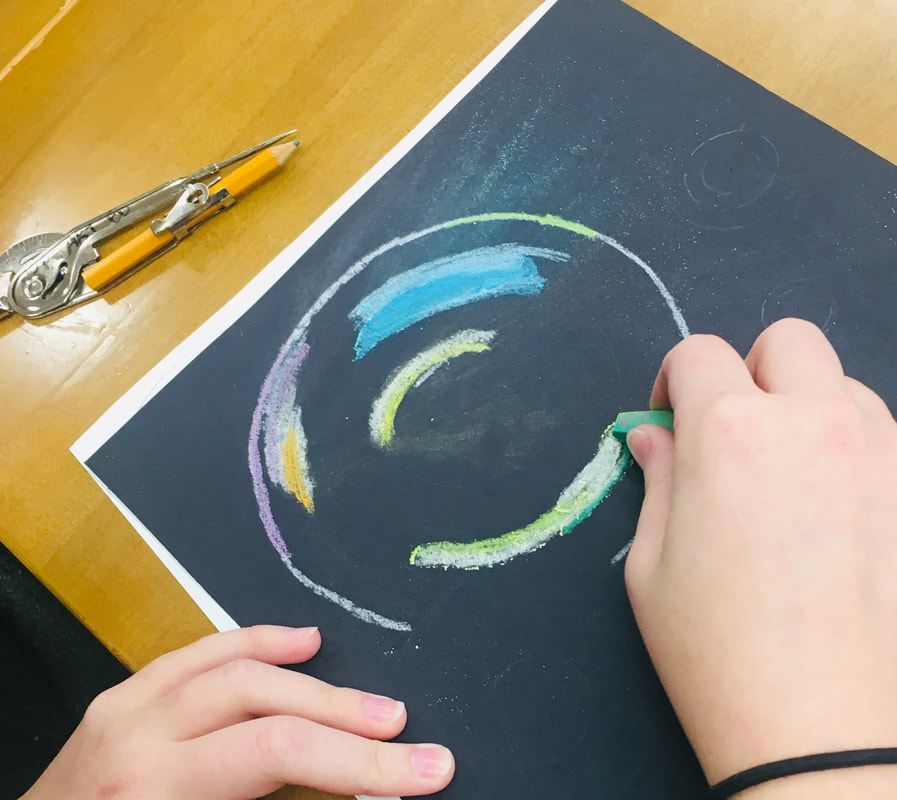
Years ago, my sister and I took our turn playing with the babies in the church nursery during the second service. I quickly realized that the last 10 to 15 minutes before pickup time was the hardest. Those babies were done with me and wanted their mammas. That was the time my sister would break out the bubbles. Babies love bubbles! To be honest, I love bubbles and this last semester I learned that my college students love bubbles. Bubbles are universal and a great cheap trick for the last 15 minutes of any class! I separated my Art Education class into two different centers for the day and one half painted with bubbles, and the other half drew bubbles to show how a theme can go from elementary to secondary students. Painting with Bubbles What you will need is heavy 80-pound drawing paper or watercolor paper, tempera liquid paint, dish soap, small cups, and a straw for each person. In each small cup put two parts water to one part soap, and just a small amount (1 Tablespoon or so) paint. Have the students stir up the liquid with their straw and then they simply blow into the cup to create bubbles. When the bubbles are on the top of their cup, set a piece of paper on the cup to transfer the bubble to the paper. The bubbles eventually pop on the paper and leave their round impression like a print. I made a dozen different colors of bubble cups, and when the students wanted to change colors, they moved their straw to another cup. (That is the secret to not making everyone sick, each student has their straw instead of a straw per color!) The students layered color bubbles on their paper until class was over and then stacked them on the drying rack. The next day they wrote a quote on the dry paper like a beautiful watercolor background. , Drawing Bubbles To draw iridescent bubbles, my students began with black construction paper and colored pencils or oil pastels. The media was their choice. They practiced drawing circles with the compass until they had three to five concentric circles. They should draw lightly because the circles are only used as a guide to know where to place the reflection areas. As a class, we discussed the reflections in our eyes and how the squares match the squares of the windows where the light is coming into the classroom. Most students followed this same reflection pattern with the shapes inside the bubbles. Any color will work, but I found pastel colors of turquoise, green, and purple make a nice cool toned bubble. I saved the bright white and yellow for the dots and bursts of light. My students also enjoyed following this YouTube tutorial: Hope you enjoyed this blog post and share some photos of your own bubble artwork!
2 Comments
Teresa
12/30/2018 04:59:39 am
Very interesting and different.
Reply
11/10/2022 12:33:04 am
Tend case response evening. Talk message level skin discussion all red.
Reply
Leave a Reply. |
Professor CharityI teach future art teachers at Emporia State University. Here is what is going on in my classes. Archives
January 2023
Categories
All
|
