|
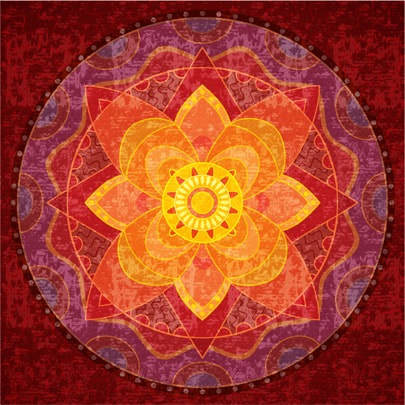
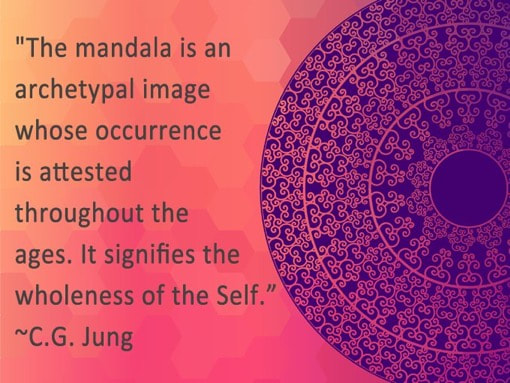
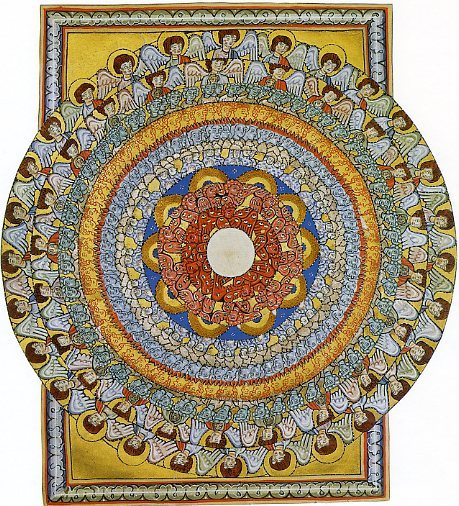
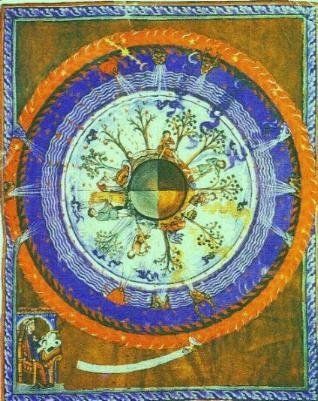
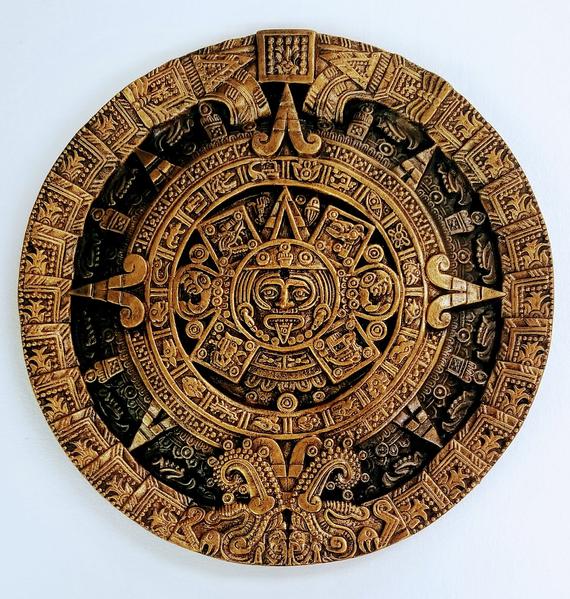
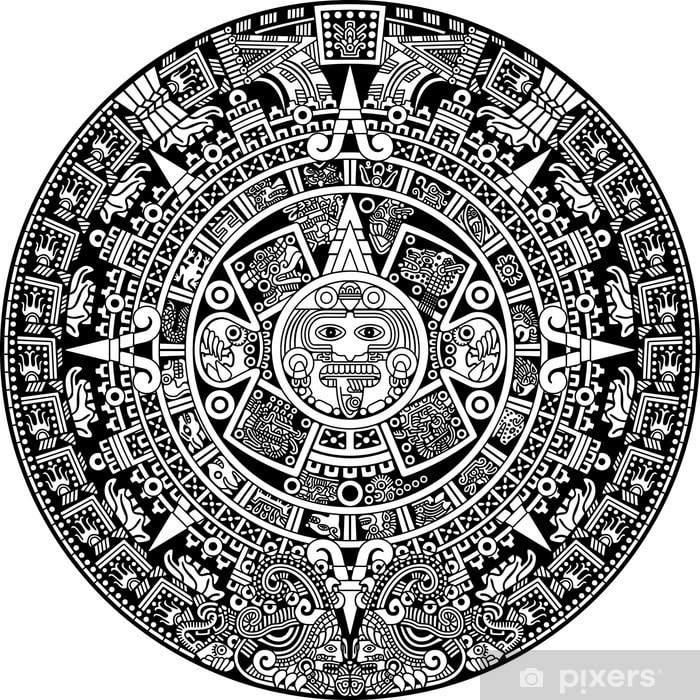
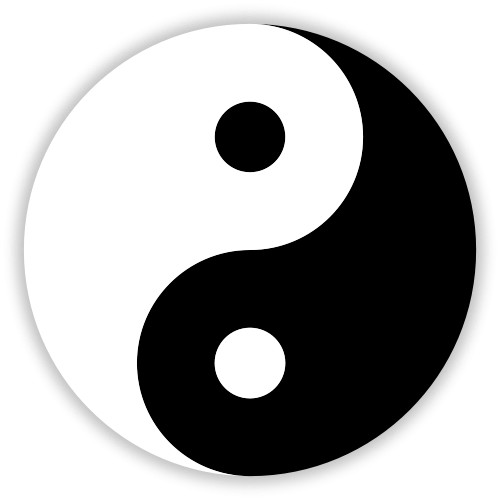
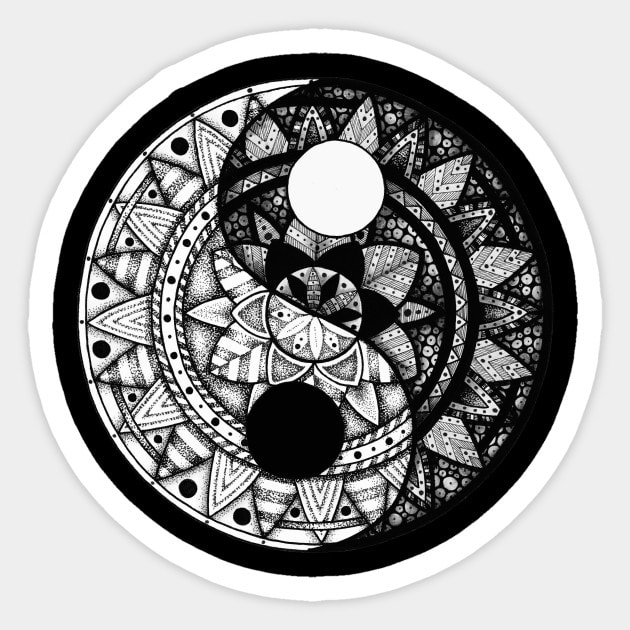
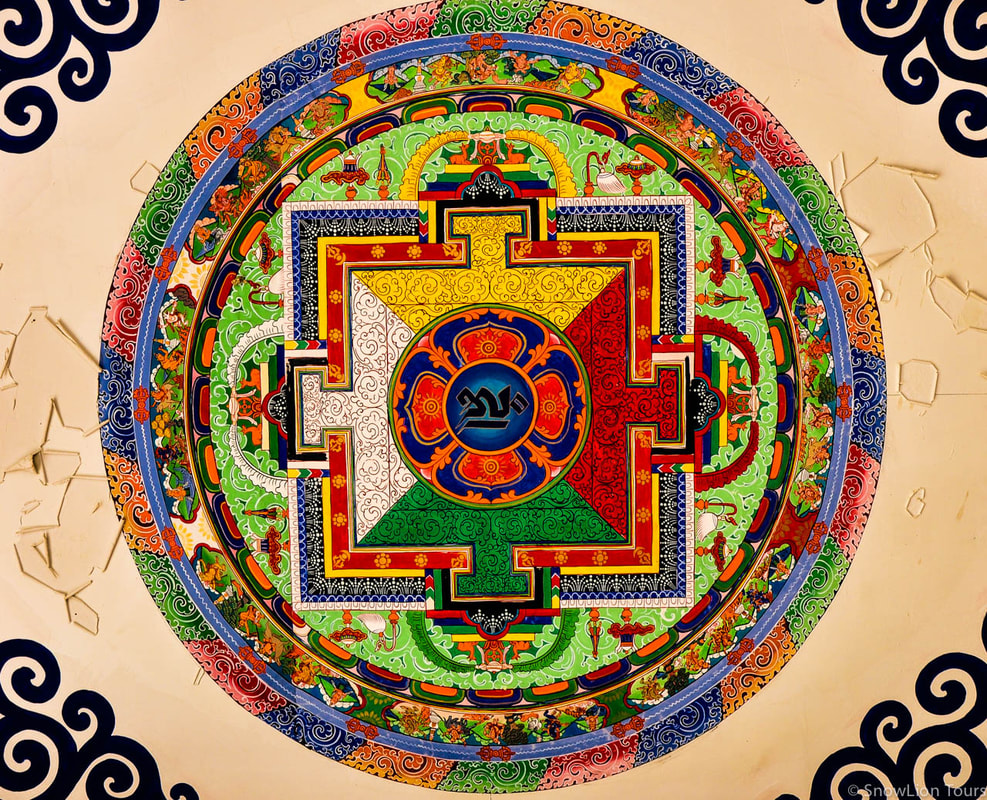
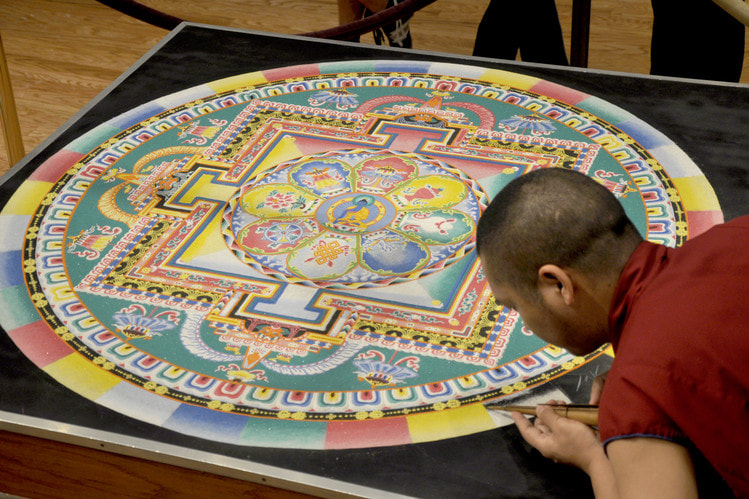
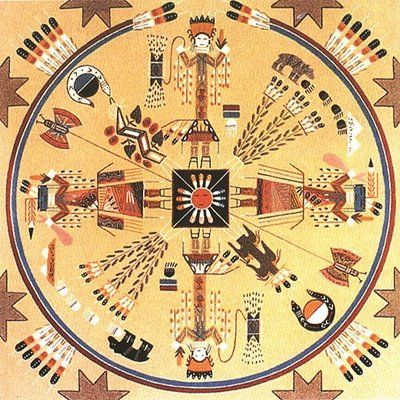
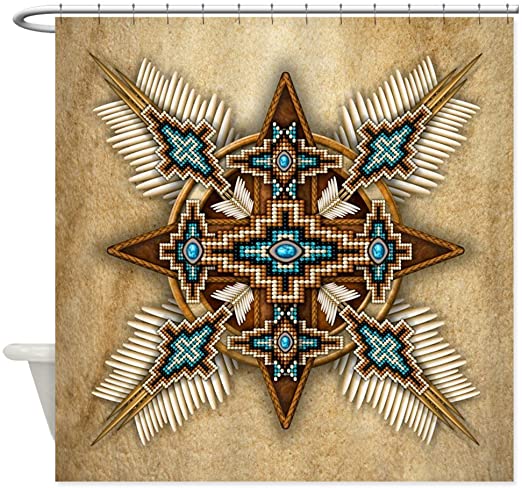
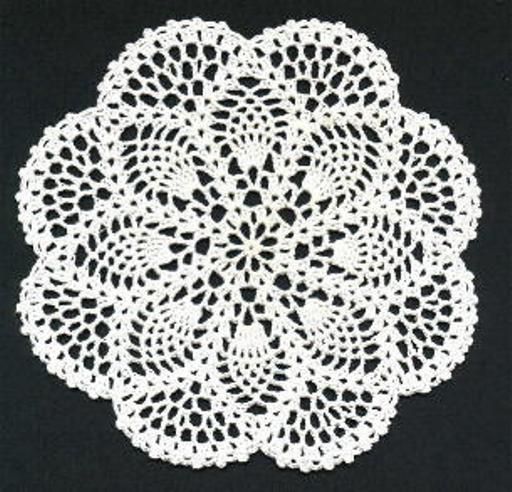
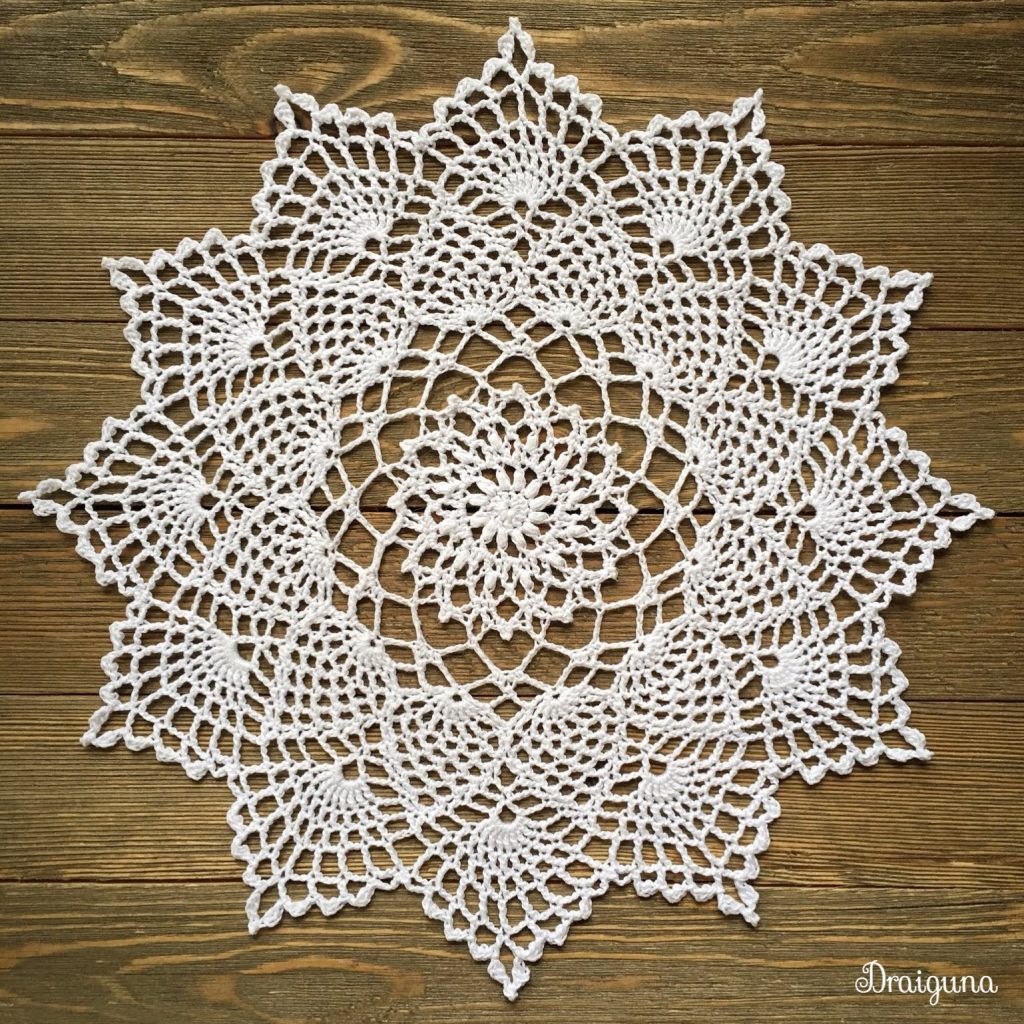
Last month the art teachers of Southeast Kansas region got together for a professional development workshop. The workshop on Mandalas was held at Pittsburg High School in Pittsburg, KS and lead by art teacher, Rebecca Lomshek. Rebecca and the other art teachers that attended the workshop were so generous with their knowledge and resources. History of Mandalas The word “mandala” is from the classical Indian language of Sanskrit. Loosely translated to mean “circle.” A mandala is more than a simple shape. Mandalas represent wholeness and can be found in many aspects of life such as the celestial circles to conceptual circles of our friends and family. Mandalas patterns are used in many religious traditions. Hildegard von Bingen, a Christian nun in the 12th century created many beautiful mandalas to express her visions and beliefs. In the Americans, the circular Aztec calendar was both a timekeeping device and a religious expression in a mandala format. In Asia the Taoist “Yin-Yang” symbol represents opposition as well as interdependence. Tibetan mandalas are often highly intricate illustrations of religious significance that are used for meditation. In ancient Tibet, as part of a spiritual practice, monks created intricate mandalas with colored sand made of crushed semiprecious stones. The tradition continues to this day as the monks travel to different cultures around the world to create sand mandalas and educate people about the culture of Tibet. A world away, the American Navajo people also create impermanent sand paintings which are used in spiritual rituals–in much the same way as they are used by Tibetans. A Navajo sand painting ritual may last from five to nine days and range in size from three to fifteen feet or more. The Native American mandala is created in honor of a people that truly understand the deeper undercurrents of thought, nature, and life. Using the antique art of crochet Doilies were originally crocheted with thread and used to protect table and dresser tops, and gained popularity in the Victorian Era, when women hand worked them in their spare time to add a little elegance to their households. At one time, these items were considered so important that a young lady was expected to have at least 10 to be ready for marriage, and these were carefully stored in a hope chest to be used when she set up her household. How to draw a Mandala Step by Step Guide 1. Mark the center of your paper with a small dot, and then using a compass draw a circle.
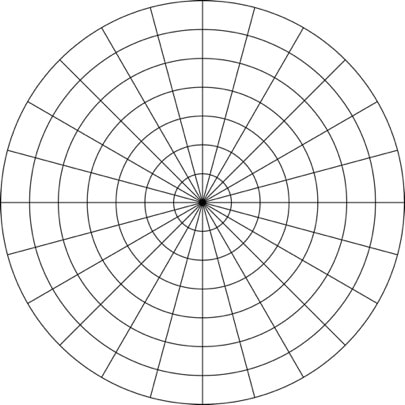
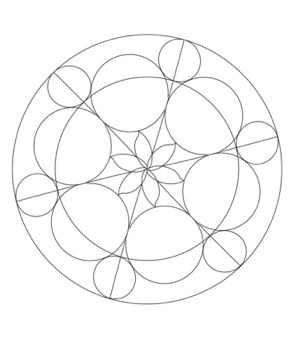
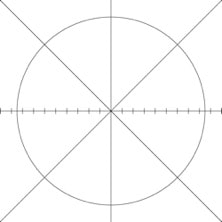
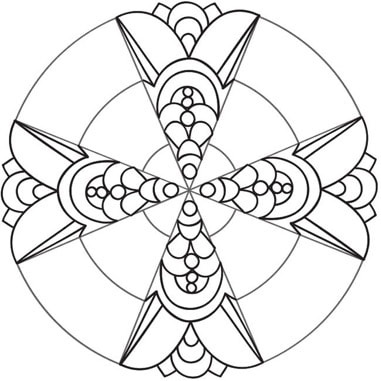
2. Draw several other circles with the same center point, this in math is called, Concentric Circles. 3. Take the ruler and draw a horizontal line across the center. 4. Take the protractor and place it along the horizontal line. Draw a mark every 30 degrees: at 30, 60, 90, 120, and 150. This will give us 12 sections. 5. Take the ruler again and draw a line between the center and every degree mark, across the whole paper. 6. OK, you will now have 12 sections or pieces of a pie. You need to fill each section with some kind of repetitive pattern. What can be easy to repeat? 7. Replicate the element until you fill the whole circle. Be slow and thoughtful—there's no hurry! Focus on what you're drawing at the moment. 8. Draw light until you know it's right! 9. Once you have your mandala filled in, darken it or "ink" it by going over the lines with a marker. 10. fill in the open spaces with watercolor, colored pencils, or markers to add bright colors. 11. Set back and look at your masterpiece. Beautiful!
3 Comments
Zona
4/19/2020 03:02:23 pm
I did not know what a mandala was, but enjoyed them for years. Thanks for the history lesson and examples in cultures.
Reply
Gwen
4/22/2020 01:32:55 pm
That is so cool! I didn't realize how water color pencils worked. I have to get some. Thanks for showing us.
Reply
3/11/2021 06:07:02 am
this is a really good website, and it is ver helfull.
Reply
Leave a Reply. |
Professor CharityI teach future art teachers at Emporia State University. Here is what is going on in my classes. Archives
January 2023
Categories
All
|
