|
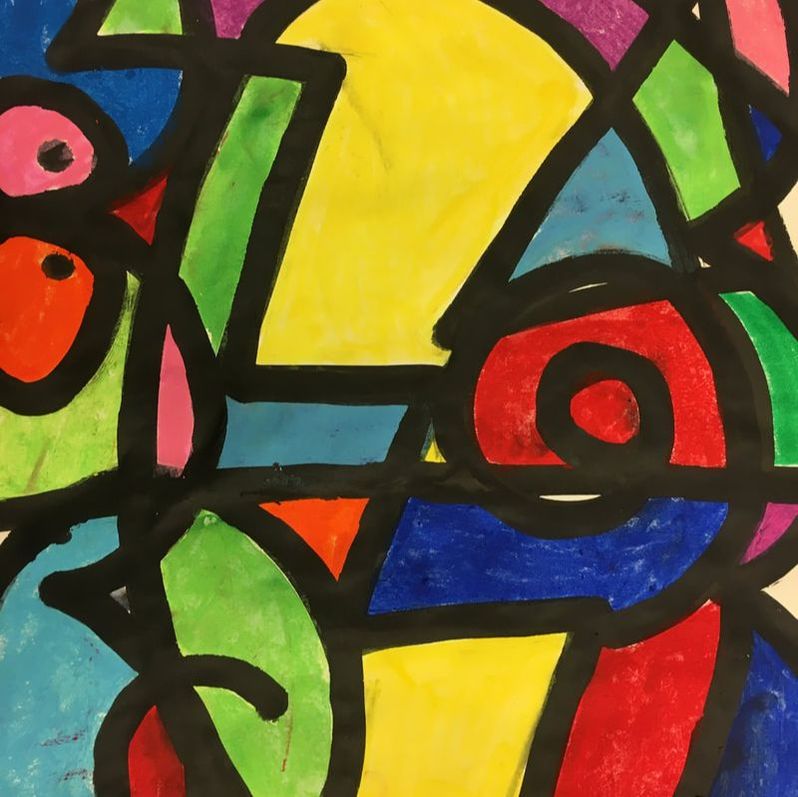
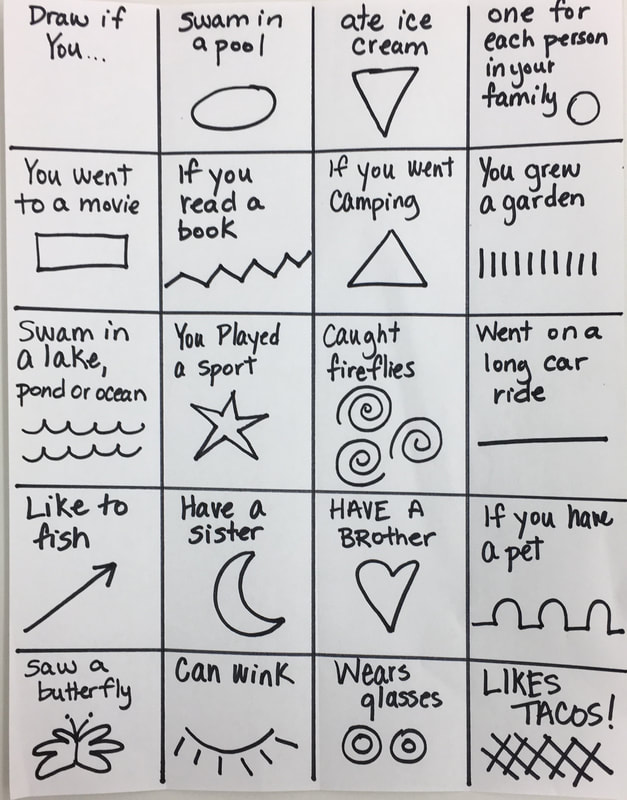
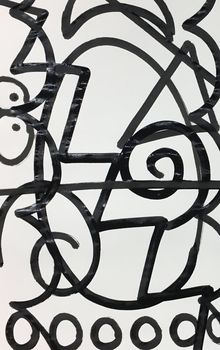
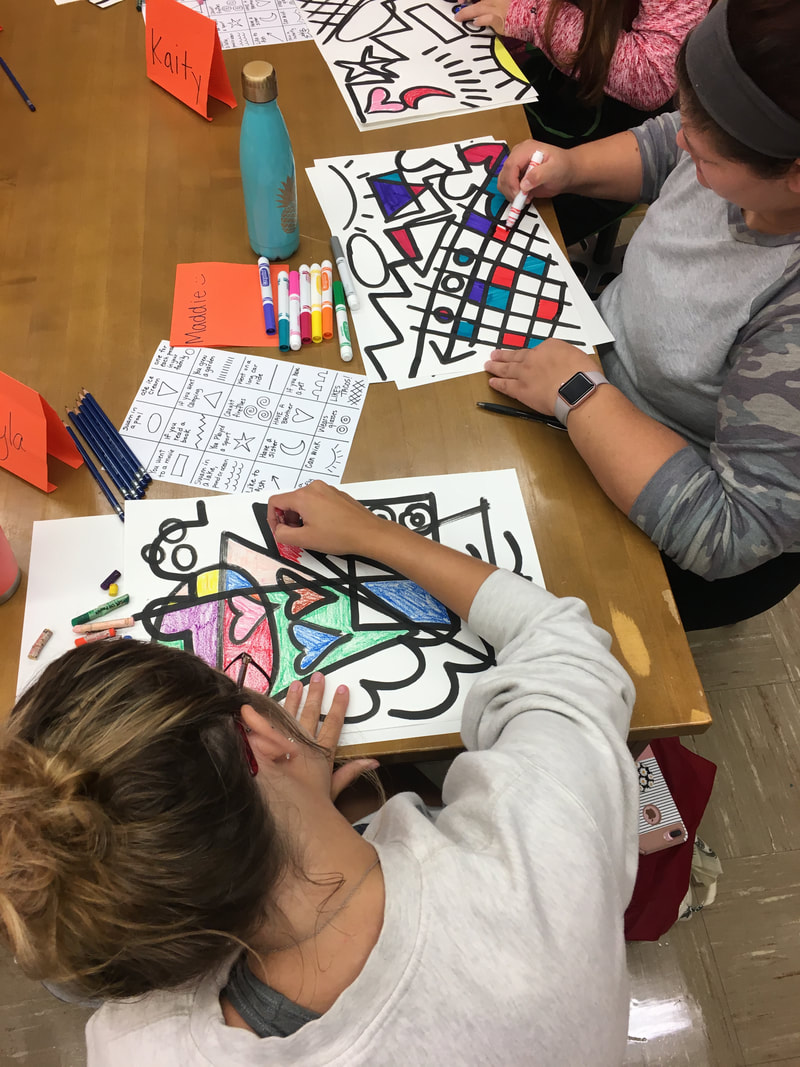
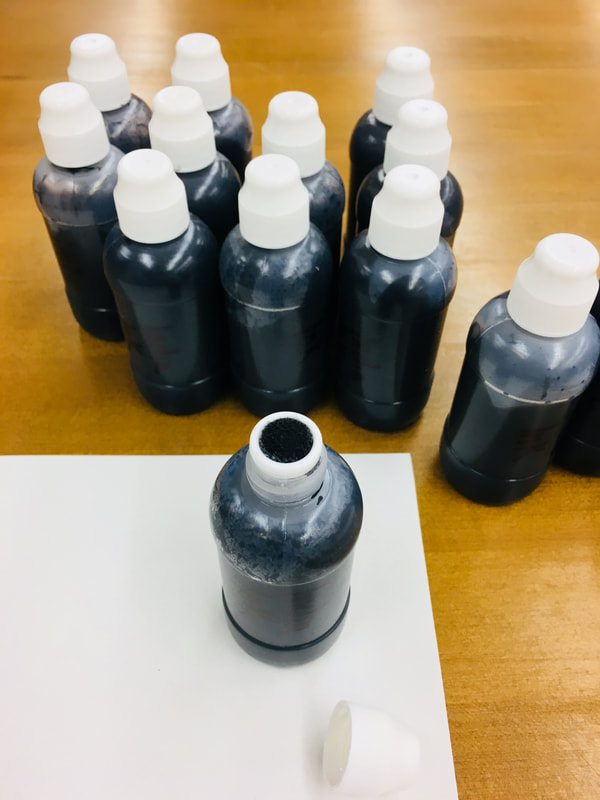
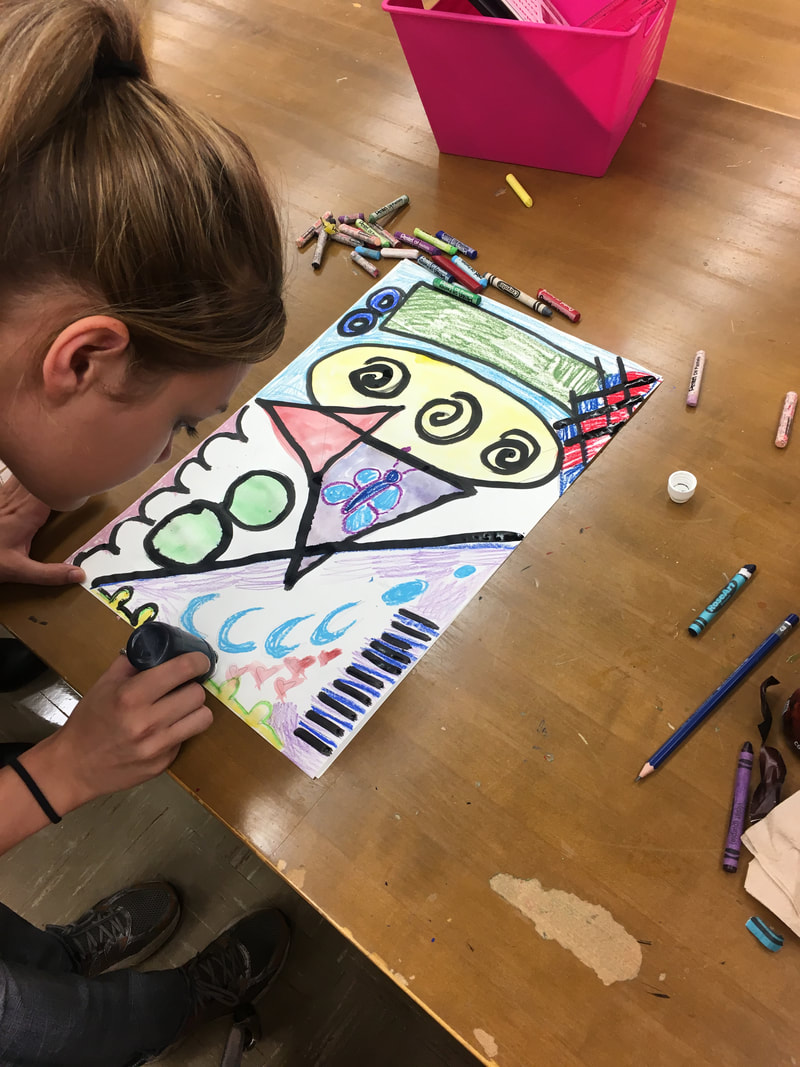
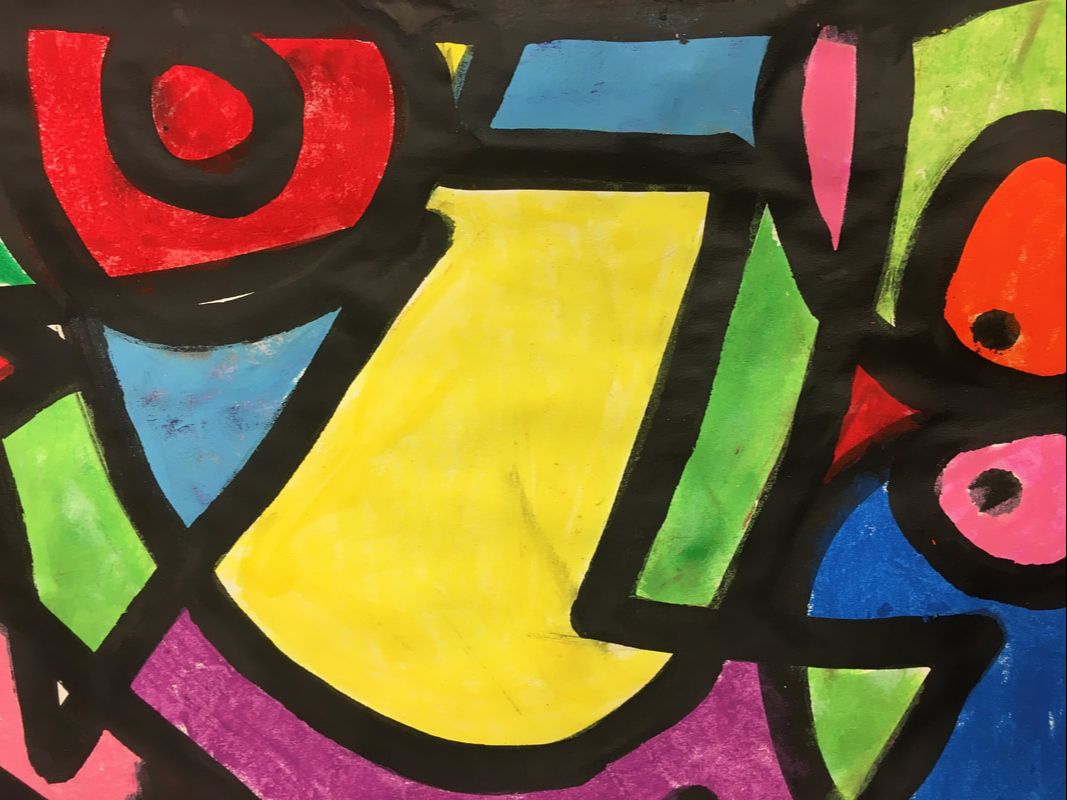
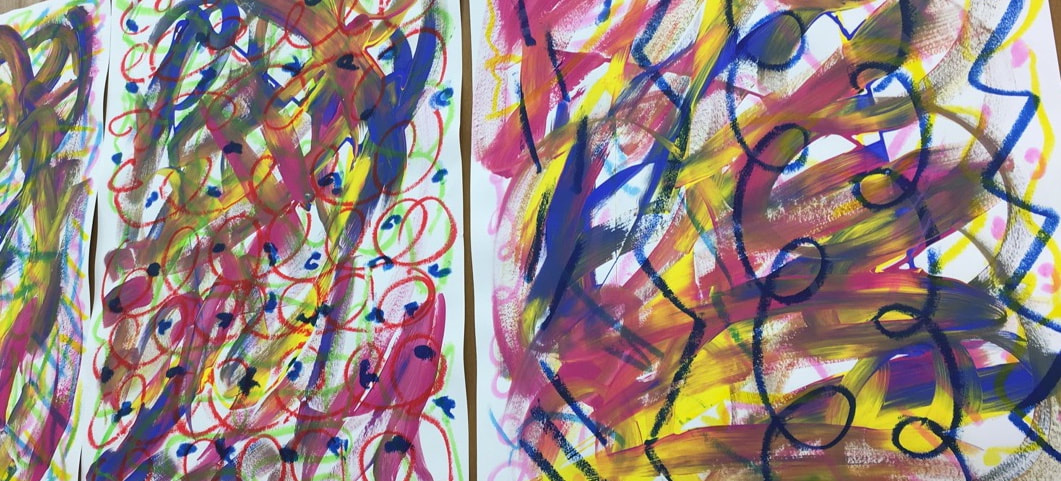
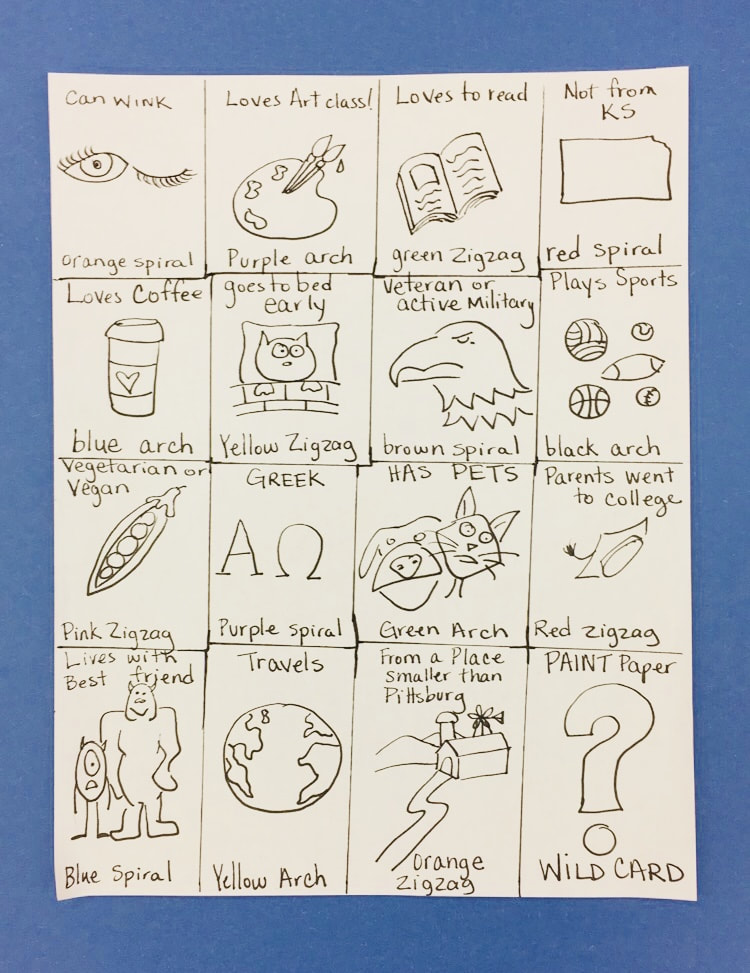
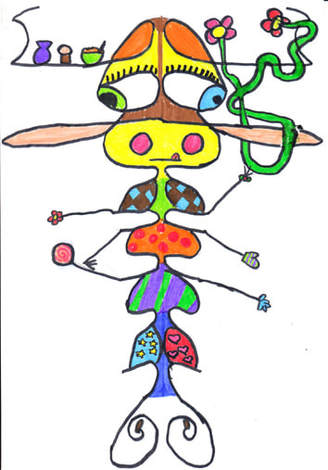
I am so thrilled with the feedback I received from my Getting to Know You Sculpture Project I rolled all that encouragement into a line project for my students. See what a little positive reinforcement can do to a teacher! Part Two is an assignment that came after a lecture on the Elements of Art (Line, Color, Shape, Space, Texture, and Value) and was a quick way to incorporate line and color into a drawing project. I had the student look at the handout to answer questions about their summer vacation. If they did these things last summer they would make the appropriate lines on their paper drawing paper with pencils. The students colored in each smaller shape that was made when they overlapped the lines with the media of their choice. I prefer oil pastels because they are basically juicy crayons, cover quickly, and are vibrant. Other media choices for fast application and limited drying times would be markers, crayons, chalk pastels, or tempera cakes. After the shapes were colored in completely the students traced the original lines with a bingo dotter filled with India ink. Bingo dotters makes a consistent dark black line very easily, especially for little hands. I bought a gross of them on Amazon, half of which I filled with glue and the other half ink to draw. I love the finished look! I would love to hear if you try this lesson in your class. The handout is available as a download and you should feel free to tweak it for your needs.
Blessings on a great start to the school year!
1 Comment
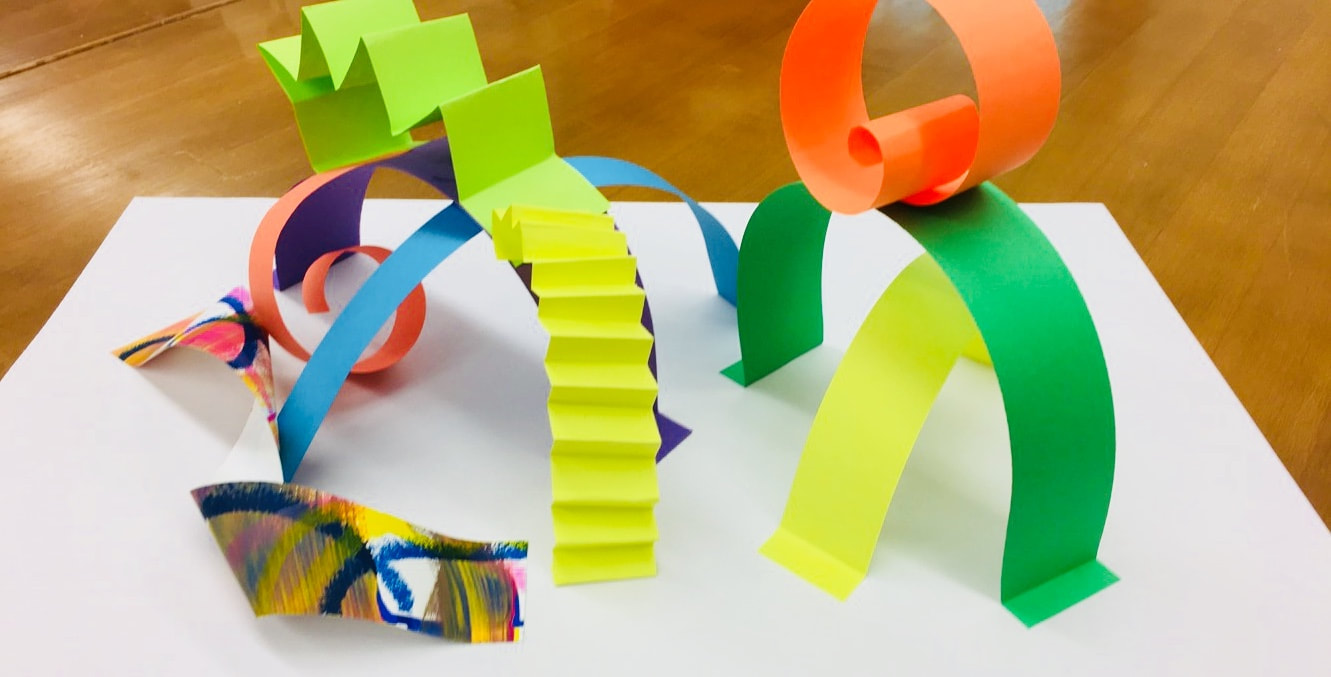
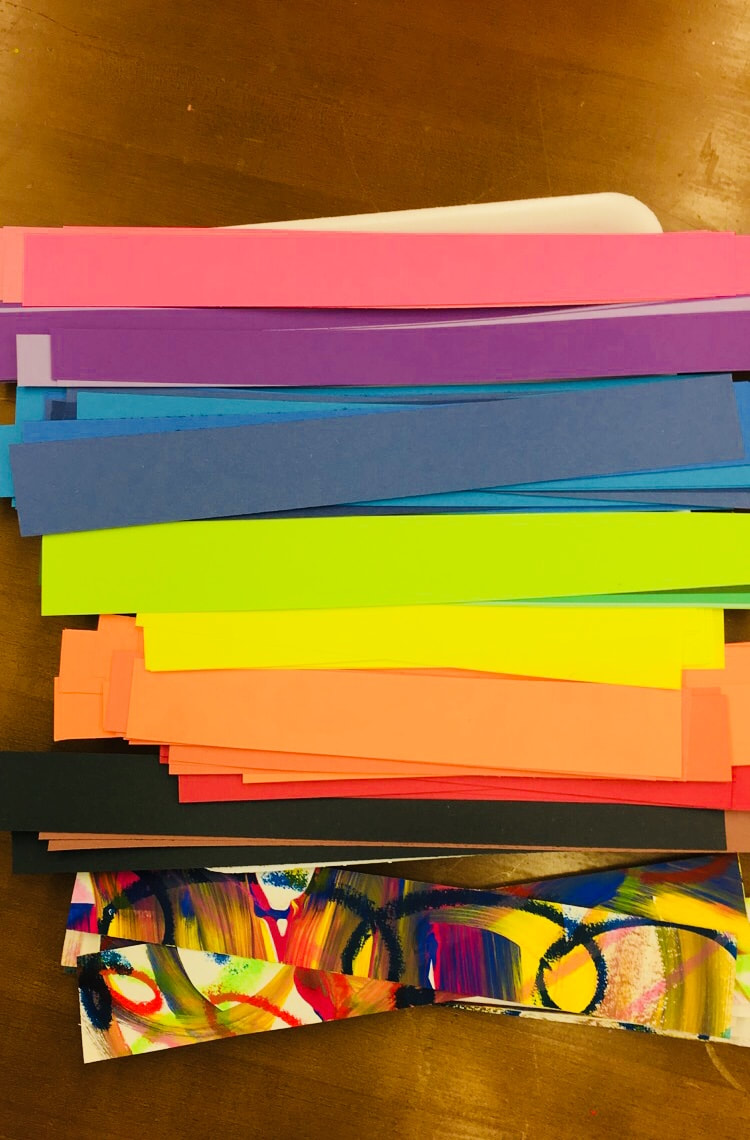
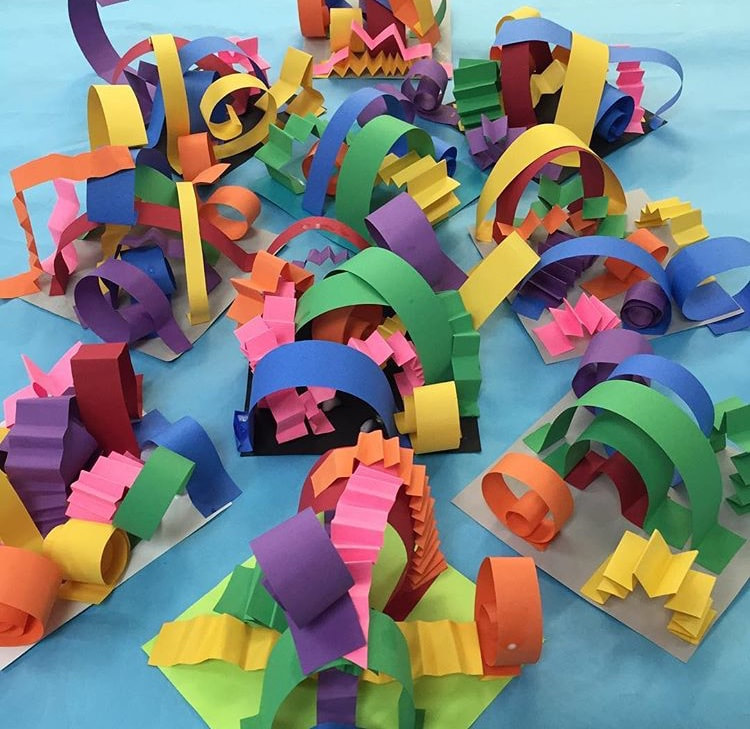
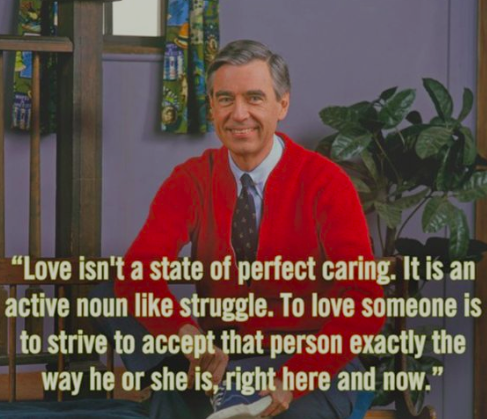
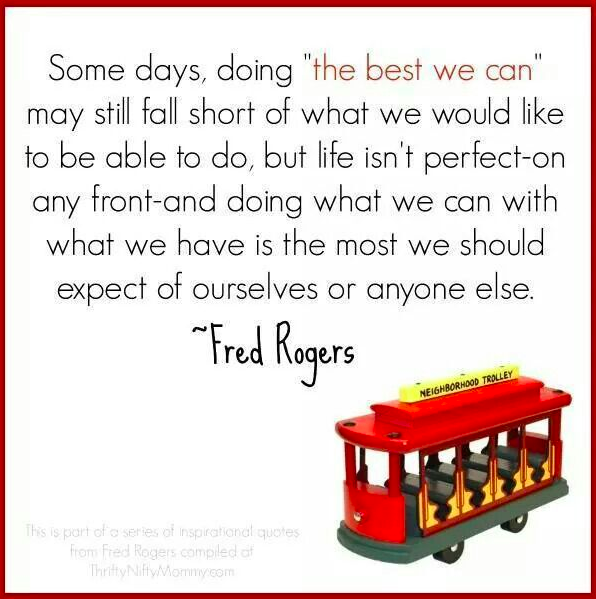
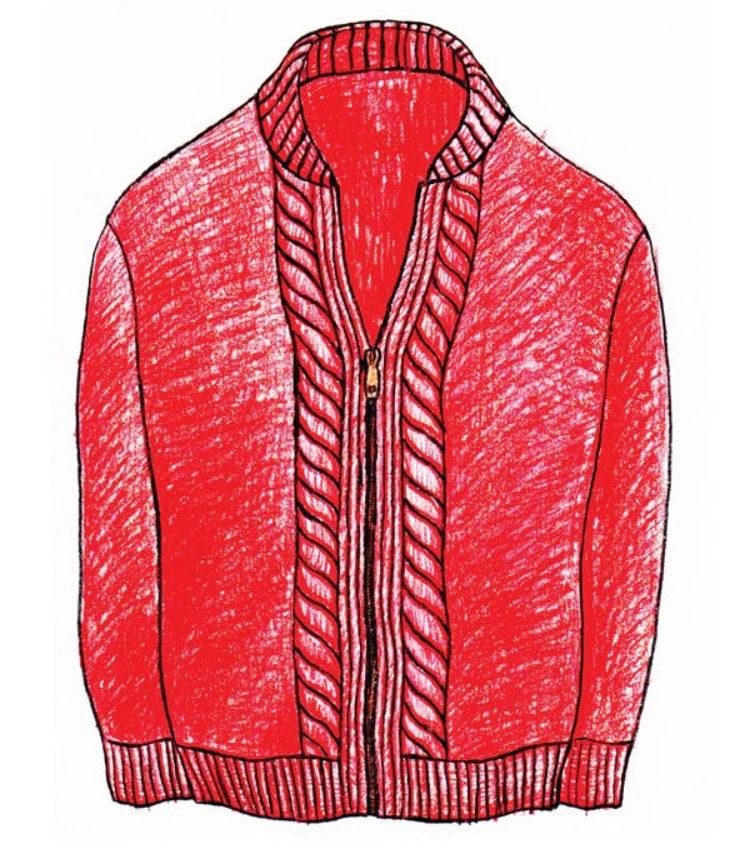
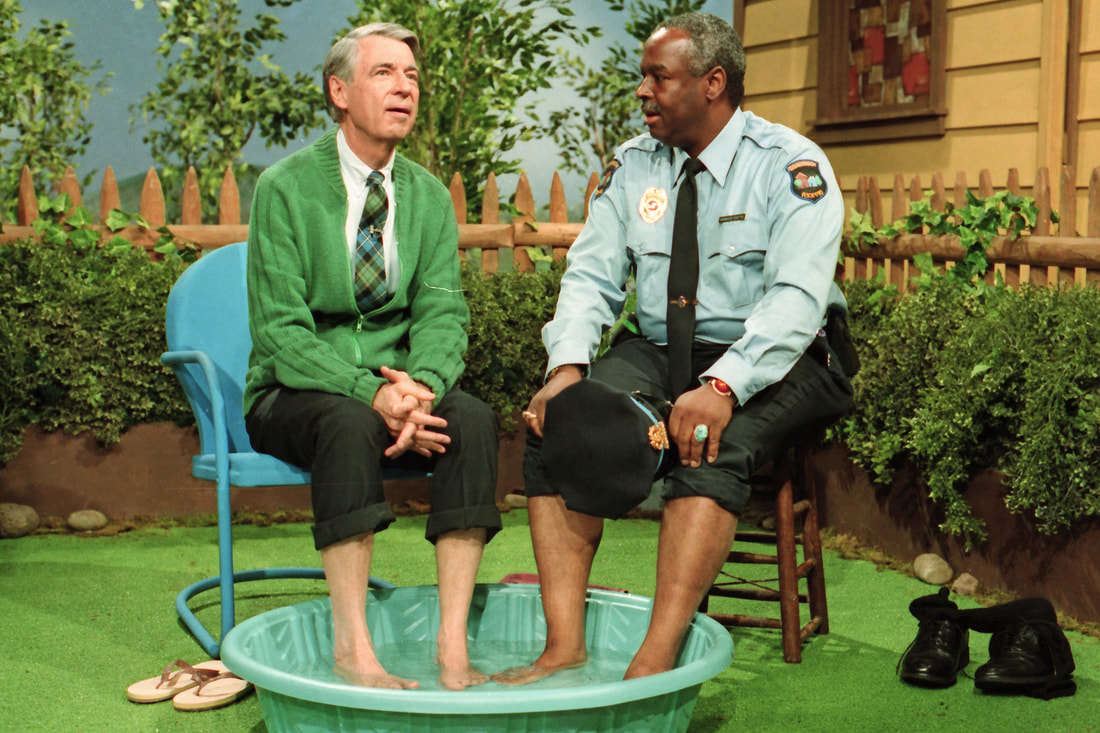
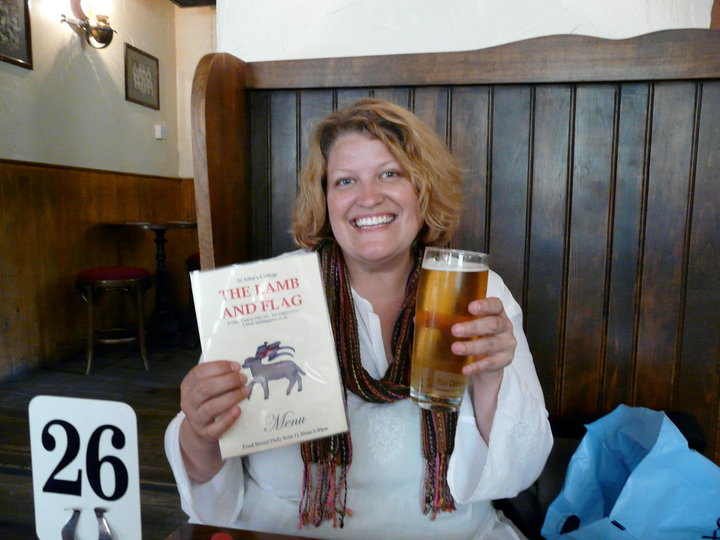
Today is the first day of school, and I always like to jump right in with an art activity. Who said that the first day is just the syllabus day? Not in Art Education! The Getting to Know You Sculpture is inspired and gleaned from a fellow art teacher, Cassie Stephens. Cassie teaches at an elementary school so her prompts were things like “I can tie my shoes” and “I am missing teeth.” That is great for elementary kiddos, but I needed to adapt my questions to meet college student’s needs. I also did some larger categories such as play sports. While I am walking around the room if I see them make a black arch, I can ask what sport they play. I also have different shades of paper so they can pick their favorite, or add different colors for each item, such as, pets. I have seen up to six green arches for different pets. The wildcard paper is the paper I painted last night. I cut it into strips, and it can be anything they want to share with the class. They can use as many or few papers as they would like. Pictured is the painted paper before it was cut into strips, and all of the strips of paper on the table ready for ensemble. I run this beginning activity as a quick Think-Pair-Share activity. Each student spends 30 minutes creating their sculpture quietly at their desk; this becomes the Thinking part of the three steps. I walk around and try to ask some leading questions. After the initial 30 minutes, I have them meet a colleague at their table to Pair up and ask about each other’s sculpture. I allow 5 minutes for this Pair time. The final step is when we all come back together as a class, and I ask for volunteers to Share out with the whole class something they learned about their new colleague. I have found it is sometimes easier for people to talk about someone else than themselves. This sculpture is an excellent addition to my first day of class activities because it is quick and easy to build, doesn’t require many materials, and everyone can find it successful. I mean everyone! I hear many times a semester, “This is my first ever art class” and “I don’t have any creative bones in my body.” Everyone can be successful. I hope this inspires your first day of school activities. I would love to hear from you if you try this Getting to Know You Sculpture in your classroom. You can download the handout here and then tweak it to fit your needs. And just because it is in my head, here is the song Getting to Know You from the King and I! With my tear ducts thoroughly lubricated I write today about the new documentary, Won’t You Be My Neighbor? This documentary has a release date of June 29, 2018, and is a very timely story for all grown-up viewers. Mr. Roger’s Neighborhood ran for 32 seasons from February 19, 1968, until August 31, 2001. Mr. Roger’s Neighborhood also had 17 prime time specials that ranged in topics from a Christmas special to an address after 9/11 when Fred Rogers stated his now famous line of, “Look for the helpers. To this day, especially in times of 'disaster,' I remember my mother's words and I am always comforted by realizing that there are still so many helpers — so many caring people in this world.” I sat in the darkened theatre seats with my sister who also grew up watching Mr. Roger’s Neighborhood and my college-aged nibblings, and we were all so moved by this movie. We left the theatre saying how loved we felt! The niece and nephew did poke fun at their mother and me for the number of tissues we consumed during the hour and a half movie. I explained it away as not just a big cry at the end; it was that one tear rolling down my cheek the entire time. It was a careful blend of a nostalgic feeling of a simple time eating cereal before school and Mr. Roger was always in the background setting the tone for the day. This documentary also highlights Fred Roger’s humanity in his beginnings as a pastor and how he used the new media of television in his mission of children. You can see his love in his eyes, and see his heart right there on his cardigan sweater, that his mother knitted for him. As my niece said it was interesting to see Mr. Rogers younger having grown up with him in the 90s, for me it was interesting to see clips from the first episode in 1968 at the peak of the Vietnam War and how King Friday XIII wanted to build a wall to keep other people out of his land. Wow, how timely that lesson! I wonder if the animated spin-off, Daniel Tiger’s Neighborhood is addressing immigration and the southern border wall? And I wonder what new media we as educators should be using to reach our students? Mr. Roger’s Neighborhood tackled issues head-on, and part of Fred Roger’s mission was not to sugar-coat issues but to talk to children like they are people that live in our world and hear new vocabulary. In the documentary, they show clips of Lady Aberlin, played by Betty Aberlin talking to Daniel Tiger (puppet, voiced by Fred Rogers) about what the word, assassination means. It was a relevant and heartfelt moment on the show. As was the scene when Mr. Rogers cooled his feet in a wading pool and asked Officer Clemmons, played by Francois Clemmons, a black man, to join him. At the time, racial segregation in public pools was a hot-button issue of debate in the country, and Mr. Roger’s did a small gesture that let you know where he stood on the issue. “Love is at the root of everything- all learning, all parenting, all relationships. Love or the lack of it.” Fred Rogers, Won’t You Be My Neighbor, 2018. Won’t You Be My Neighbor? the documentary is filled with guest stars and personal interviews of the people that knew Fred Rogers the best. Fred’s wife Joanne Rogers and Yo-Yo Ma speak of the friendship they had with Fred, and Johnny Costa and Nick Tallo who are former co-workers are some of the funniest interviews that show Fred Rogers’s humor. A section of the film that I have been thinking about is when members of the PBS family are in Washington defending their funding to starch Congressmen. Fred Rogers testifies before Congress, stating that he is not going to read his prepared document of facts and figures regarding the impact on educational programming for children because the Congressman has already received the document and he trusts that he and they will read it, thoughtfully. I have been thinking of this wondering if I, as a public educator, would trust that my members of Congress are reading documents thoughtfully? This is a terrific scene in the movie as are the poignant interview moments from Junlei Li, the Director of the Fred Rogers Center outside of Pittsburgh, and between Francois Clemmons, but I don’t want to give you too many spoilers. You need to see the film yourself. When looking up the movie on Rotten Tomatoes, it has received a 99% rating. I scanned through eight pages of reviews to find the one reviewer that did not like this movie. Apparently, Brandon Weatherbee of Brightest Young Things gave the movie a 6.6/10 and thought the movie was overly sentimental, “emotional manipulation approved by the Rogers family.” Yeah, that was the point! You can see the love in Fred Roger’s eyes and isn’t that what we all need right now? Someone to look at us lovingly for an hour and a half and tell us that we are loved? Fred Rogers said it best, “The greatest thing that we can do is to help somebody know that they are loved and capable of loving.” Glen Gaylord from the Super Reviewer started her review with a twist on the popular song, “It’s a beautiful day in the Cinema, a beautiful day in the Cinema, won’t you go see…” I felt this same way. I love the man, I love the film. If you have seen the film, please comment below on your feelings of how Fred Rogers was intentional in every aspect of his life. Thank you for reading! This last year I moved from my small liberal arts private college to a much larger public-funded state university. During this move, I have learned a great deal about government-run institutions and have begun a dialogue regarding how to be a Christian in public school. When I type out the words “Christian” and “public school” I begin to get a little nervous. Thinking that perhaps a mob of strangers will be at my door screaming about the separation of church and state! Spirituality at work is an area that many teachers, caregivers, and professors deal with on a daily basis, but rarely discuss. In Dallas Willard’s article, The Call to Think for God (1988) he states that “…the Christian who expresses concern about this balance is rarely if ever, concerned about being too spiritual” (page, 2). This statement can mean two different things. I have heard talk that the court of public opinion thinks that college professors are communist and Christian students need to be mindful when they go to college to not take in all the liberal ideals. The second way to interpret this statement is from the vantage point that Christian teachers are trying not to say overly spiritual things in their classroom, as to not offend anyone. The separation between spiritual and the secular is evident in the fact that I do not call myself a “Christian scholar” or a “Christian professor” or even a “Christian artist.” I am a Christian whether I mention it in my classes or not. Therefore, being a Christian is how I do all things. Being a Christian is the lens through which I view the world. Hughes, (2005) asks, “do we have an identity that stands at the core of our being, an identity that informs every other aspect of our lives and around which every other aspect of our lives can be integrated” (Page, xvii)? C. S. Lewis was a great example of how an academic scholar can balance or even work harmoniously merging their worlds of being a Christian and being an academic. Bruce Edwards (1998) explores C. S. Lewis’s Christianity and scholarly writings to determine that he was “a man who refused to compartmentalize his faith or his vocation” (page, 2). C. S. Lewis who taught at both Oxford University and Cambridge University is best known for his works of fiction, The Screwtape Letters, The Chronicles of Narnia, and The Space Trilogy. He also wrote the non-fiction book Mere Christianity. When visiting London in 2010, I learned that C. S. Lewis was criticized for writing to a popular audience instead of more scholarly writings when he was a Professor at Oxford University. We toasted him at his old pubs of the Lamb and Flag and also at the Eagle and Child feeling like we needed to raise two glasses to this professor for reminding us to get out of our ivory towers and appeal to the masses. C. S. Lewis’s faith was not set aside while he did his job or even went about normal daily activities. There was a seamless connection between the two worlds or a philosophy that the worlds were not separated. Pointed out in Willard’s article is the connection in the gospels of Matthew, Mark, and Luke the connection to loving God, “with all your heart, soul, mind and strength” (strength omitted in Matthew), Matthew 22:37, Mark 12:30, and Luke 10:27. Reframing this thought as our intellect or mind as a spiritual gift leans itself to the connection between our academic world and spiritual world. Romans 12:6-8, lists the spiritual gifts of “prophecy, serving, teaching, exhortation, giving, leadership, and mercy.” What is our role in education if not serving, teaching, and leadership? In public school we as teachers have been taught to not disturb the norm and accommodate to the current wishes, but does that mean we should not unapologetically love our students? C. S. Lewis “rejected the split between the sacred and the secular” (Edwards, page 5) and in doing so found the balance for his life. I am still striving for this balance in my world but reframing the conversation in terms of my spiritual gifts is a start. References Edwards, B. (1998). C. S. Lewis: Public Christian and Scholar. Retrieved from: http://personal.bgsu.edu Willard, D. (1988). The Call to Think for God, commencement address. Retrieved from: http://dwillard.org Hughes, R. (2005). The Vocation of a Christian Scholar: How Christian faith can sustain the life of the mind. William B. Eerdmans Publishing, Cambridge, UK. Today I wanted to take a slightly different approach to this blog post and share with you some interview tips I have tried over the last 16 years, and hopefully, they will help you land the art teaching job of your dreams. I have successfully landed jobs in elementary, middle school, and high school, but now that I teach future teachers in college the one thing my students always ask me is, “How do I get a job?”
First thing, it is a numbers game. Apply for everything that interests you. When I was in grad school in New York City, I knew that I could not afford to continue to live in that expensive city if I wanted to teach. I applied to every school that was hiring from Juno, Alaska to Dodge City Community College. I had an accordion file folder that I kept all of my application materials and correspondence from each school so if they called for an interview; I would be ready. There were over 50 schools that I applied to from my little apartment in the city. I got several phone interviews and a couple of on-campus interviews before landing my first teaching job 20 miles away from my family in Kansas City, Missouri. 1. Edit your social media Back when I was first applying for jobs, social media was not a thing. Fast forward till today when before you start the application process you need to take a good look at all of your social media accounts. I have looked up applicants I was interviewing, so trust me when I say, administrators will look you up on social media before your interview. Edit everything that could be questionable. Edit every picture or post of you with a drink in your hand, wearing a bathing suit, or anything that shares your political opinions. You are going to say that you are of the legal age of 21, it was your wedding toast or a vacation in the Bahamas and you look good in that red two-piece bikini. All of these counterpoints are true, but while you are landing your dream job, be ultraconservative online. 2. Do your research I did not do my research on all 50 schools I applied to that year, but now that I narrow down my search for future jobs I research the job extensively. I like to know it the school is rural or inner-city. I plan how long it will take to drive there for my interview and then because I do not want to be late, I add 30 minutes for traffic. If the interview is close by, I will do a drive by the day before, so I know exactly how to get to the school and what the school looks like. You can find out a lot on the internet, so check out the school. What are the names of the administrators? These are most likely the people that will be interviewing you so look at their photos so you will be able to identify them. Will you be the only Art teacher in the building, or in the district? If there are several art teachers in the building see what you can find out about the other teacher(s). Many times, teachers have webpages linked to the school’s website that would give you an idea of past projects. Knowing about the school and district shows your level of interest in the job and is always impressive to people interviewing you. 3. Gather your resources When I went to my first interview for a teaching job I had a huge three-ring notebook that chronicled all of my lesson plans, bulletin board displays, and my teaching philosophy. Now future teachers in Art Education programs at my university and others across the country create websites to house all of this information, and more, electronically. These are great resources and so easy to attach to online applications or link on your resume. The only problem with these or even bringing an iPad to show your website during the interview is that only one person can look at it at a time. You can provide your website beforehand, but the day of the interview I like to show up with packets for my interviewers. I am visual, and after all, I am applying for a visual teaching position, so I want people to be able to see what I do. Sample lesson plans, or bulletin board displays can be color copied and you can make three packets to put something in the hands of the team interviewing you. I would save pictures of your own artwork for later, focus on community projects, classroom management plans, letters from parents or professors, and possibly your transcripts to compile this packet of your resources. 4. What to wear I have taken students all over the world on study abroad trips and while in Italy most of the artwork we want to see is in churches or cathedrals. The churches in Italy have dress codes so even though it was hot on the streets of Florence we would all have an extra scarf in our bag to cover up with when we went inside. Those are my general rules for what to wear to an interview. The old signs that say, “No shirt, No shoes, No service” My rule is: “No shoulders, No toes, No thighs.” You should dress one level above the position you are applying, so if you are interviewing for a teacher position, ask yourself what a vice principal or principal would wear. Be conservative, but a little artsy. I love a colorful scarf or an interesting pin but remember that the people interviewing you are not fellow art teachers that appreciate your “wild and wacky” style, so tone it down. You want your interviewers to focus on the words coming out of your mouth, not your funky-felted brooch. *Side note- If dressing in a Rembrandt costume or a full color wheel skirt ties into how you approach teaching, include photos of these in your packet. *Side note- Most of my students ask me about my tattoos, do I cover them up when I go for an interview? My tattoos are quite extensive and hard to cover. I do not reveal them all, just as I wouldn’t reveal them all to my elementary students the first day of class. Following my own conservative dressing rules, one or two of them will peek out. My thoughts are if a school does not want to hire me because of this tattoo on my arm, I most likely would not like to work for that school. 5. Arrive early I do not like to arrive frazzled and stressed out. I like to get to the school at least 30 minutes early to avoid any traffic delays, and I either drive around the surrounding area or wait in my car. I check my teeth for lipstick and walk in 15 minutes early to show I’m punctual, and I care about this interview. 6. Leave your cell phone in the car It is tempting to bring in your phone when you know you have to wait for the interview. Leave your phone in the car! Bring a book that makes you look like the intellectual teacher of their dreams! I suggest the book, Teaching with Love and Logic by Fay and Funk. 7. Know the questions Review some possible questions that they will ask you and practice your answers. You will not know everything, there will most likely be a curveball thrown in there but at least you will not be going in blind. Administrators know if you are a first-year teacher or if you have taught for 20 years before they interview you. Even if you are a first-year teacher, you can still have a packet of things from classes or your student teaching experience, and you can show that you are capable of doing the job. Never say, “Well I don’t know because I’ve never taught before.” The questions will most likely be related to classroom management, encounters with a problematic or unmotivated student and how you handled that situation, and why you want to be a teacher. Practice your answers. Practice your answers in front of a mirror to make sure that your face matches your enthusiasm for what you are saying. Reach out to fellow art teacher friends for some advice on answers to prepare. Most will tell you that during their interview administrators asked about their willingness to collaborate with other teachers. If asked, say Yes! You can do a great lesson on tessellation shapes that ties in with a math unit. Also, state that you have National Standards and a curriculum that is important. You are hired as the Art Education teacher not the supplemental craft helper for the classroom teachers. 8. Don’t make promises you can’t keep If you are asked during your interview about a community-wide mural project that needs to be completed on the weekends and over spring break, or to decorate every bulletin board in the school, or to decorate the cafeteria every month, be honest with them. It is okay to say, “I don’t think that would benefit my students.” Most administrators like an annual art show, and that is something that you should expect to do. It is okay to say no to other opportunities that do not involve displaying your student’s artwork but instead you being the decorating committee for an alumni luncheon. Be polite, but be honest. If this is a deal breaker, you might not want that job. Don’t say things just to get the job because they will remember and be holding you accountable for those extra duties. 9. Ask questions At the end of your interview, they will be asked if you have questions. Come with questions in mind, in fact, a whole list in case they already answered several. Possible questions are:
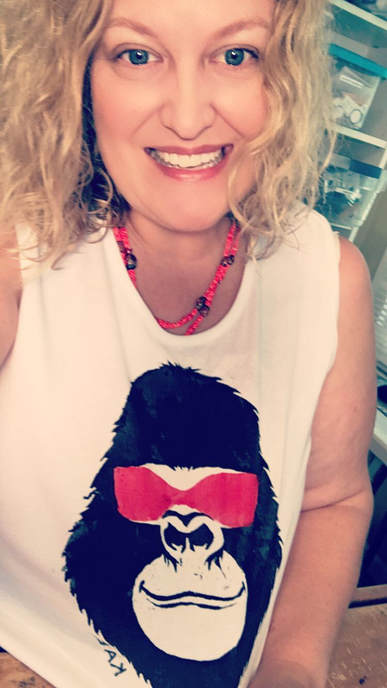
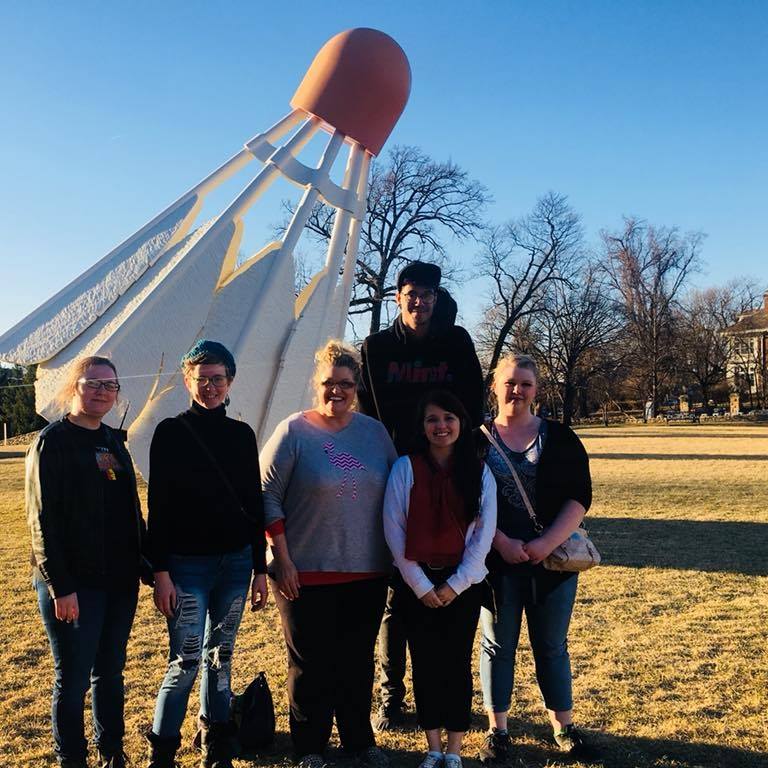
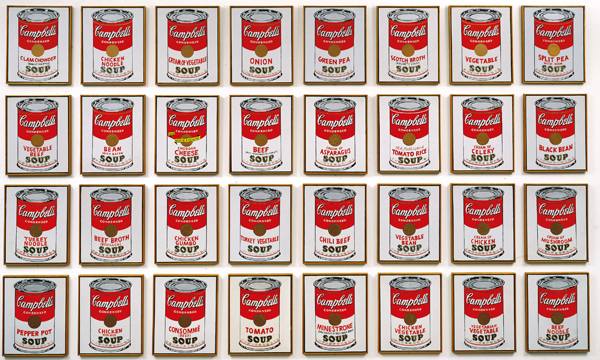
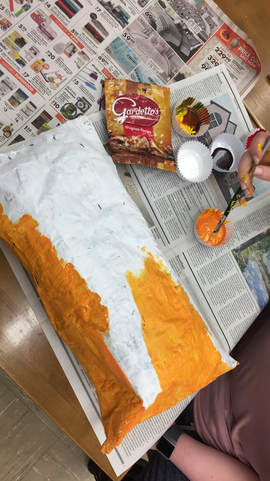
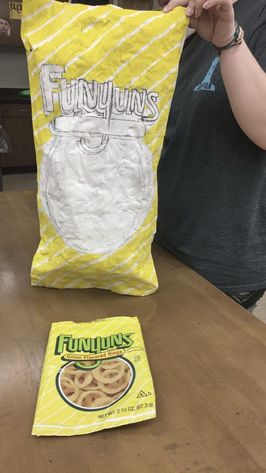
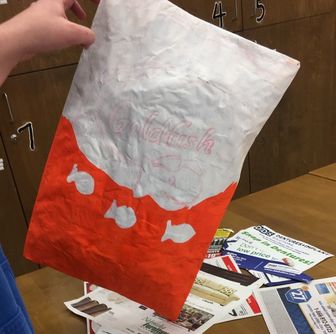
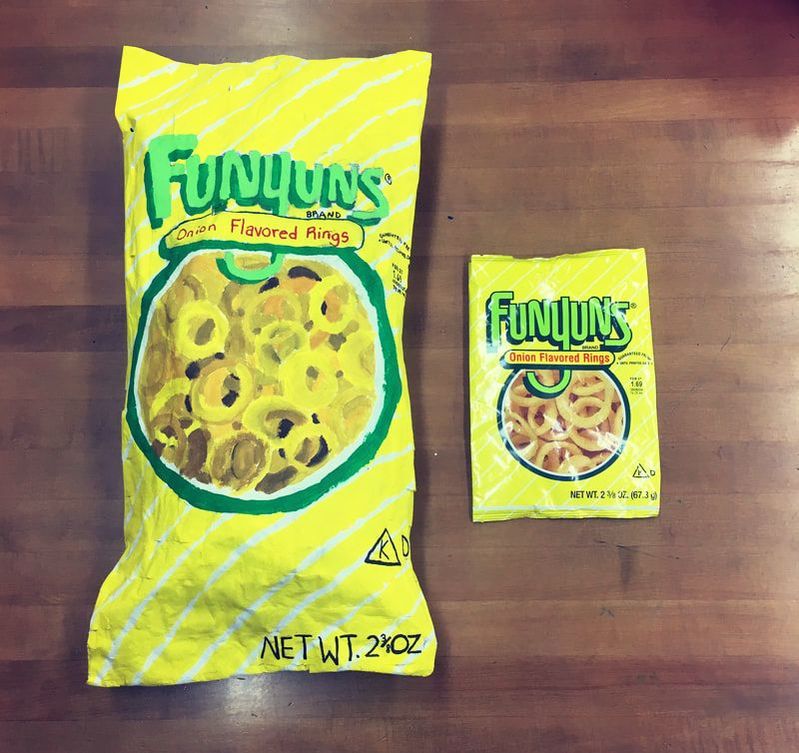
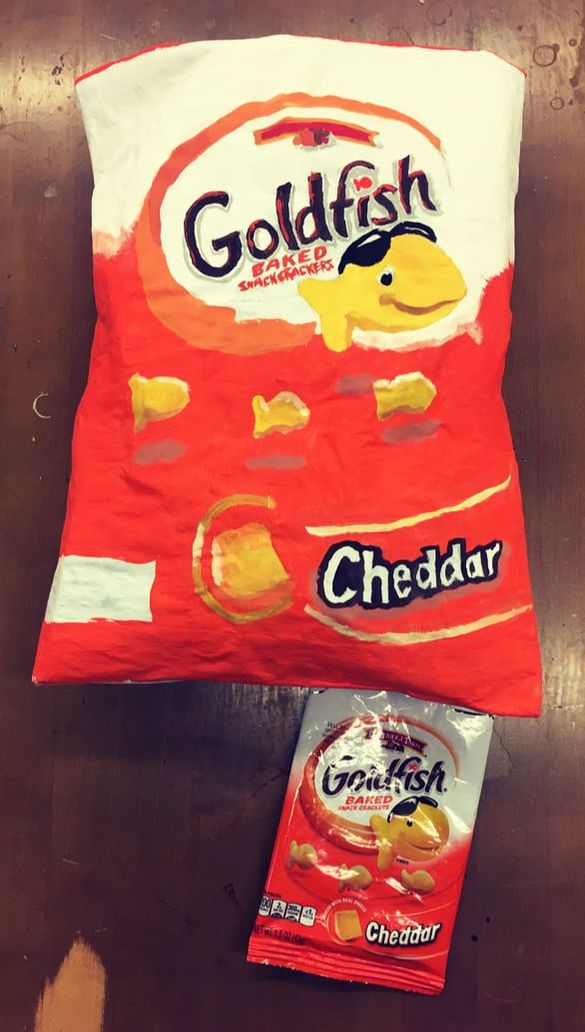
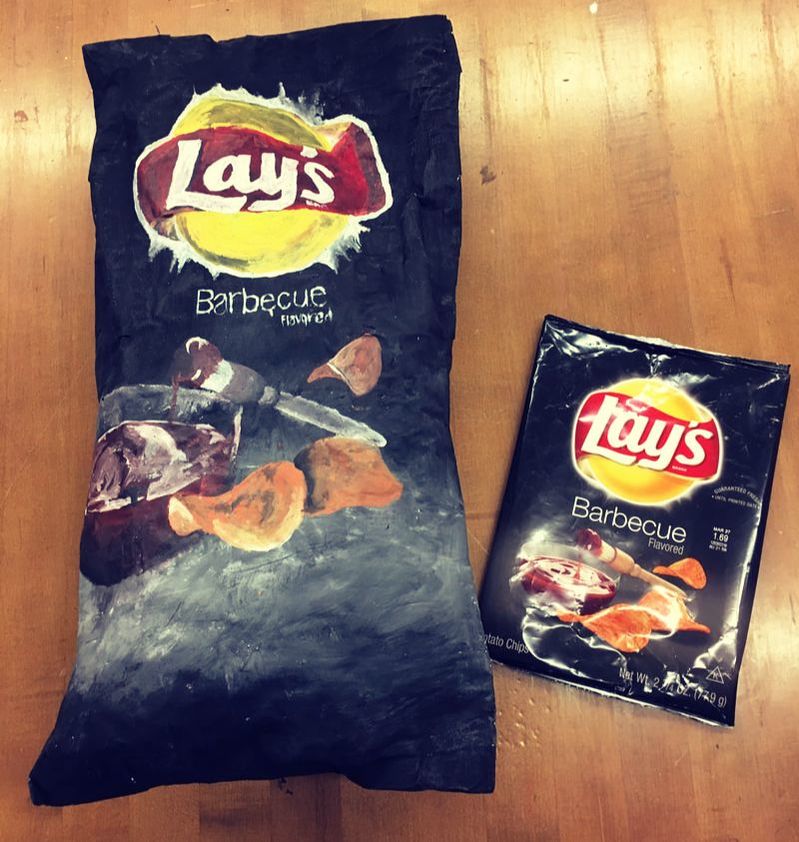
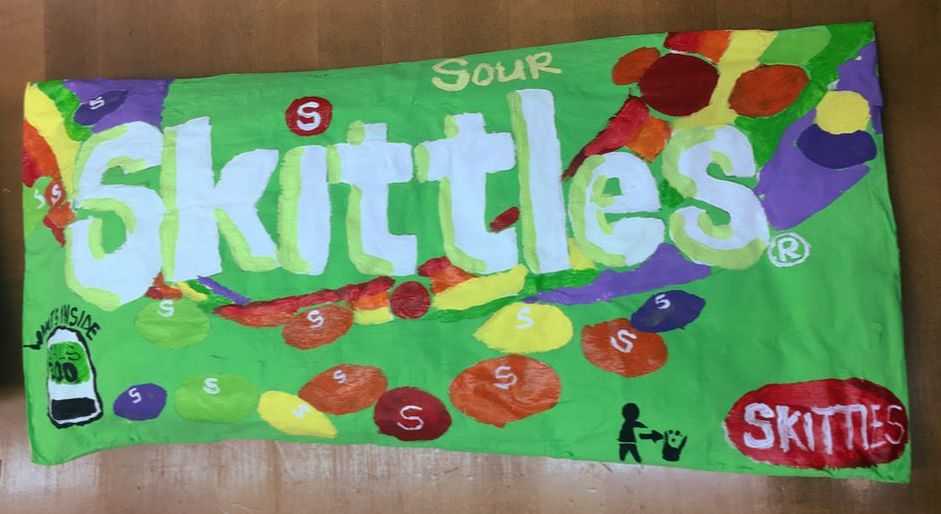
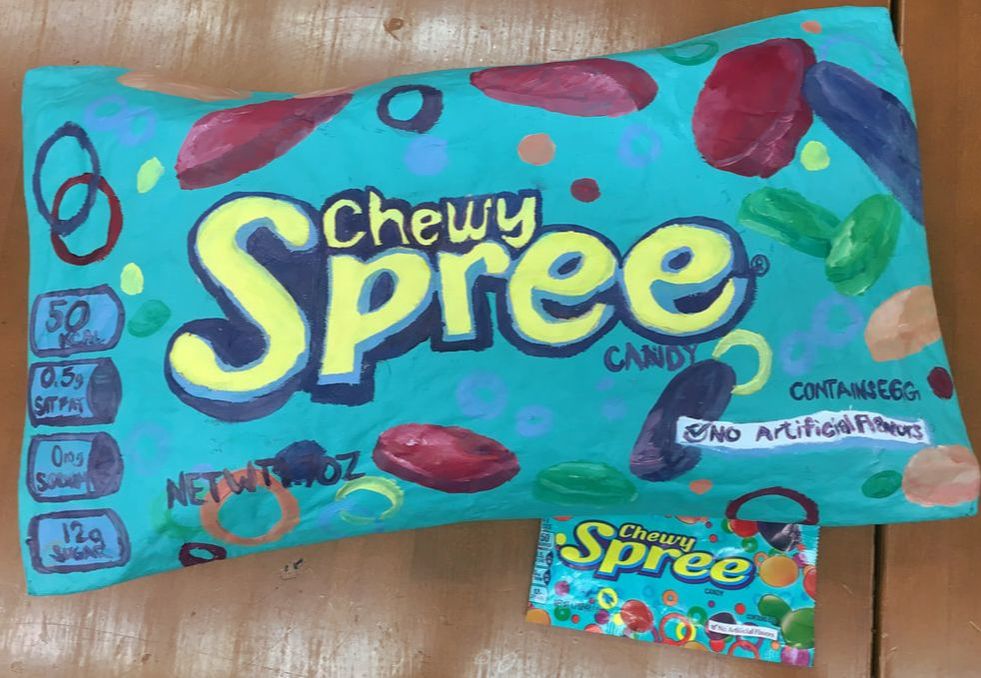
10. Send a thank you note Within 24 hours of your interview ending, you need to send a thank you note. I always preferred a handwritten thank you note, but an email seems to be the current and fastest way of communication. If multiple people interviewed you, send a thank you note to each person. Explain that it was nice to meet them and how much you enjoyed the school. I wish you well in landing the gig of your dreams! Please post any questions you have in the comments, as I am happy to help. I printed this gorilla shirt myself! I have been printing my own t-shirts for clubs and special events for about 10 years, now I'm sharing my secrets with you in this DIY blog post. (Video is at the bottom of the page) Supplies - Embroidery hoop - Sheer curtain fabric (the thinner the weave, the finer the detail) - Something to print on (t-shirt, canvas bag, your choice) - Screen printing ink, but you could get away with acrylic paint if you're on a super budget - Mod Podge or some other type of non water soluble glue - A small paint brush you wouldn't mind dedicating to glue - Something to use as a squeegee, paper or an gift card - Wax paper if you're printing on fabric (to put underneath the layer you're printing on) - A black marker, I used a Sharpie Put the fabric in the embroidery hoop and pull it as taught as possible. Put the hoop (aka screen) fabric side down on top of your image, and trace it with the marker. Make sure there's at least an inch border of extra space around the image or the inside of the hoop. Flip the screen over and paint everything you DON'T want to print with the Mod Podge glue. This part is about craftsmanship, so paint slowly and carefully with small brushes. Let it dry, then do a second coat checking for small pin holes. To check for holes, hold it up to a light and look very close. Let it dry completely (I usually wait overnight, but it probably only takes a couple hours), then stretch out the fabric ready to print. Put cardboard or wax paper under the fabric so it doesn't soak through. Lay the screen on top, fabric side down. Get a decent amount of screen printing ink (or paint) on the old credit card, and while holding the screen firmly in place, drag the ink at a 45 degree-ish angle across the screen where the image is to be printed. Re-dip as much as you need to get the space covered. Lift the screen up and marvel at your new t-shirt! My future art teachers have been inspired by Claes Oldenburg’s larger than life sculptures since we visited the Nelson-Atkins Museum of Art in Kansas City and came face-to-face with the 19-foot-tall shuttlecocks. Claes Oldenburg is just one of the artists that began the Pop Art movement in New York in the 1950s. Other Pop Art artists include Andy Warhol, Roy Lichtenstein, Jasper Johns, Keith Haring, and others some still working today. The “pop” in Pop Art stands for mass media and popular culture, and from this, artists would take popular everyday items and reproduce them, think Andy Warhol’s Campbell’s Soup Cans, 1962. Warhol, Campbell's Soup Cans, 1962 (Image courtesy of MOMA) My class was asked to bring in their favorite chip or candy bag from a vending machine, and together we recreated these bags in papier-mache at least twice their original size. You will need a large piece of newspaper that is folded. Keep the fold in the paper and with masking tape, tape two sides creating a bag or in class, we referred to it as a pillowcase. After you have your pillow case, ball up other pieces of newspaper or any recyclable paper and stuff you bag as full as you would like it, mimicking the original. Once you have your bag stuffed, tape the open end and begin to papier-mache your bag. This will take several coats of papier-mache, and we took two classes to do both sides. Once your bag is dried from the papier-mache, I recommend painting your bag with a white primer (Gesso) to make it a little stiffer and to begin with a clean white surface. Students started drawing every detail on their bag before painting. Class conversations revolved around fonts, color choices, and spacing. The class noticed new details such as backgrounds had stripes instead of being a solid color (Funyuns) the first ingredient listed is “Smiles” (Goldfish) and everything looks like it was designed and placed on purpose. “This process makes you pay attention to the details and that each thing has been designed by an artist” stated a student.
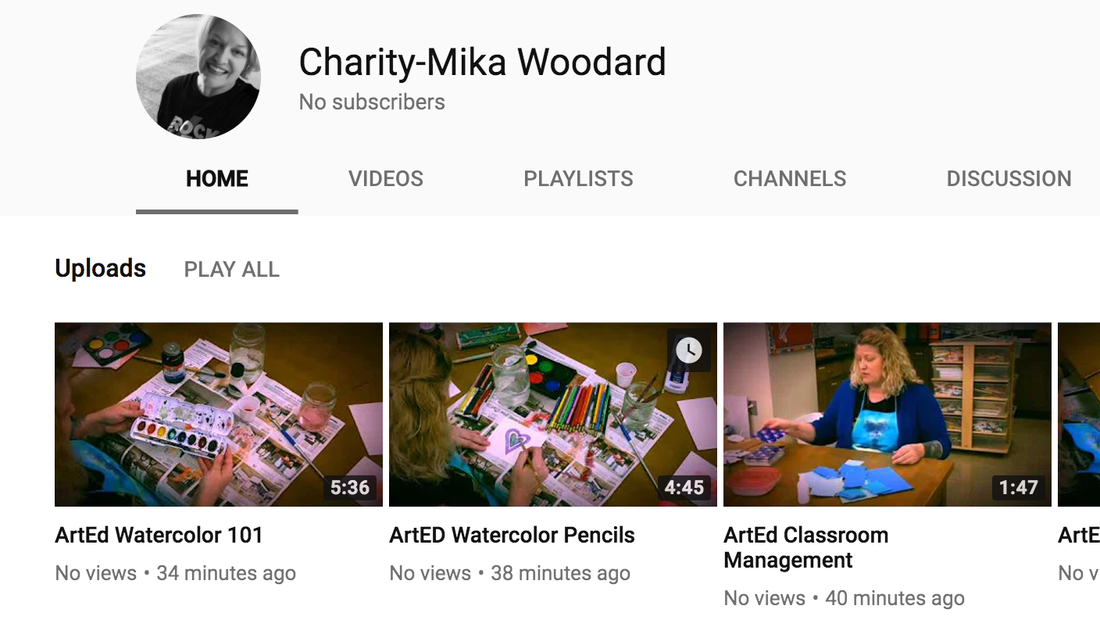
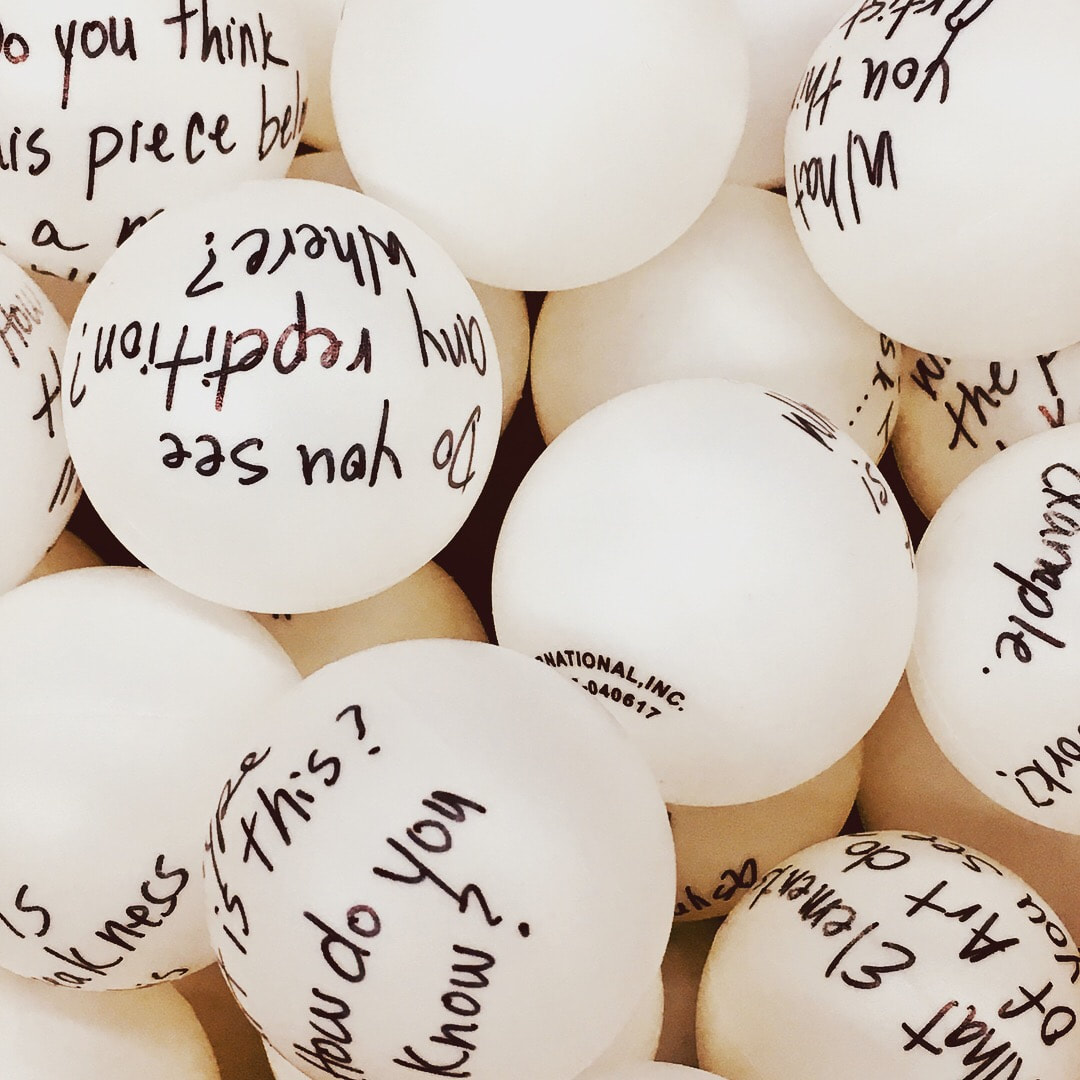
Here are some finished pictures of the Pop Art Bags. I am taking my art education class online this summer, and in anticipation of that experience was thinking about recreating the feeling of being in an art studio and playing around with materials. When I show students different ways to use art materials, and they get the chance to experiment with them, they are more likely to use them in their classroom. This raw experimentation and the art of "gettin messy" is something I did not want to lose with an online class. With the help of some of my students, I created a few videos and set up my YouTube channel! It was a little bit of a process to create the videos and edit them using my iPad and iMovie. I then uploaded each video to my google drive for safe keeping. The following day I set up a YouTube channel and uploaded each of my first five videos. YouTube was very easy to navigate, and the uploads went quickly. There is always a learning curve with me and technology, but I am proud to say, I figured it out! As I write this blogpost, my YouTube videos have no views, and no comments, so give them a look-see and tell me what you think. I had purchased ping pong balls at the Dollar store, and with a fine point permanent marker (Sharpie) wrote questions on the balls that related to the Elements of Art and Principles of Design. As a teacher, you could add questions related to your content area, or even chapter questions to help students review for a test. I then separated the class into two teams, and they took turns throwing the ping pong balls into the cups. If a ball landed in a cup on their side, they would dig out the ball and answer the question. We have been looking at contemporary artists of Kehinde Wiley, Kara Walker, and in the video, Hank Willis Thomas' Afro-American Express is on the overhead and currently being analyzed. (click instagram icon on the right column to watch this video) Art Education teaches more than color and lines and my students learn techniques and tricks that are transferable to their future classroom whatever their subject matter. Note: My college students took great pleasure in this activity while laughing and giggling. I told them if they are good at this activity they could blame it on art class. Pittsburg State University is hosting their first ever TEDTalks in the spring of 2018. A massive email went out to all faculty members that would like to do a TEDTalk having them submit their cv, application, and an abstract of their research presentation.
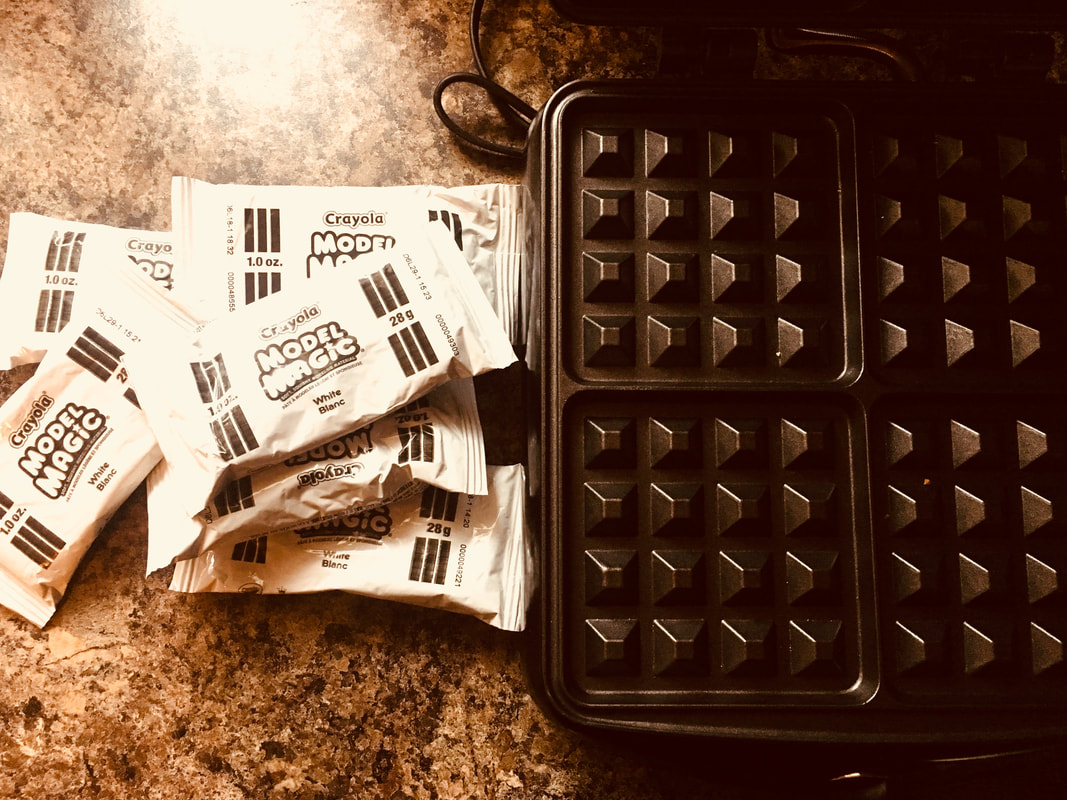
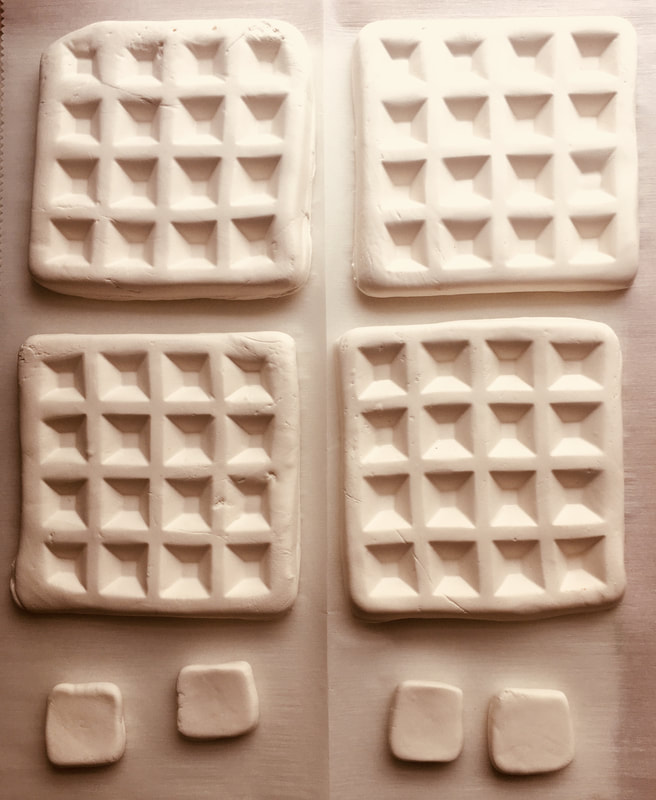
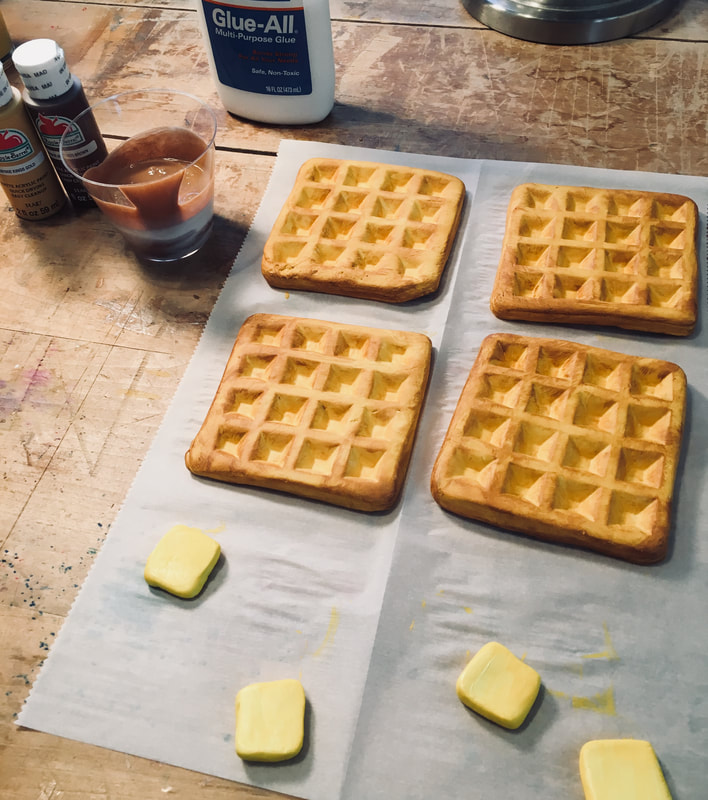
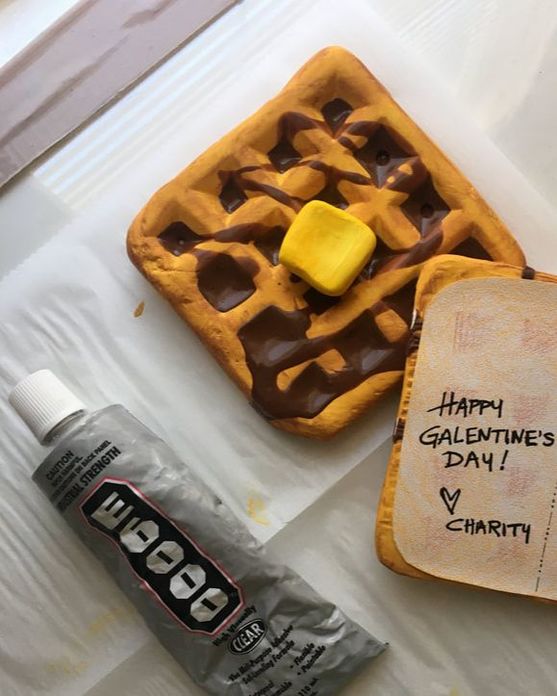
I sent in my application for a TEDtalk outlining a presentation I have been working on titled, Self-Care: it’s not what you think. I had recently written a paper on self-care for my doctorate Leadership class and was planning to submit this presentation to the Kansas Art Education Association (KAEA) annual conference. This research was fresh in my mind and readily available. The dates from the original email to when the application was due did not allow for new research at my current pace. The timing over winter break and the Christmas holiday meant that I would need to pull something ready or spend my time researching a topic to submit. I chose the first option of submitting something already on my shelf. I was selected as a finalist, and from the email invitation was given possible times and dates for my video audition. The email included a YouTube linked to two TEDtalks that show TED’s conversational style. I practiced my talk out loud in my apartment the weekend prior. I was having a difficult time getting the research element and conversation style down to the 18-minute time frame. The day of the audition I planned my outfit accordingly and was 15 minutes early to my 3:00 pm audition. The conference room was set up to be very intimidating, and I was nervous. I walked in and went past the table with six committee members waiting with their notes. The coordinator cued the video to begin recording and told me I would get hand signals from her when I had 2 minutes left in my time frame. I walked to the front of the conference room and began talking about self-care. My talk ended at the 14-minute mark and I know I was talking too fast. I had put bullet points and quotes on small index cards that I could hold in my hand. I like index cards because they don’t show how nervous you are. A larger piece of paper without a podium would shake in my hand and give me away. The panel clapped at the end of my presentation, and the room coordinator gave me a paper that outlined that I was one of 200 people auditioning for nine presentation spots. I got an email two weeks later stating that I was not chosen this year. I will continue to audition and try out next year and the following years because a TEDtalk is on my professional bucket list. I would be honored to be part of the prestigious organization of writers, artists, scientist, and researchers that makeup TED, just like I am honored to have been a finalist for the Pittsburg State University inaugural year. First things first, Happy Galentine’s Day to all my lovely lady friends! I love you and cherish our friendship even if we are far apart. Are you confused? Galentine’s Day is a fictional holiday made up by Amy Poehler’s character, Leslie Knope, on the long running and still playing on Netflix, sitcom, Parks and Rec. Leslie explains it as a holiday to eat brunch with your girlfriends celebrating lady love and the friendships that make our lives worth living. "Oh, it's only the best day of the year. Every February 13th, my lady friends and I leave our husbands and our boyfriends at home, and we just come and kick it, breakfast-style. Ladies celebrating ladies. It's like Lilith Fair, minus the angst. Plus frittatas." (Leslie Knope, Parks and Rec) Leslie loves waffles and some may say that they are a supporting character on Parks and Rec, so I decided to make waffle postcards to send to my gal pals. Materials: Model Magic air-dry clay, 3 single packages per waffle (White) Craft Paint (White, Yellow, Brown) Parchment paper Elmer’s Glue E6000 Industrial Strength Glue Cardstock Colored Pencils Step 1: I combined three packages of clay to create enough dough to lay in my cold waffle iron and press into the shape of a waffle. Do not turn on the waffle iron. I cut around the extra with scissors and with it created small flat squares for butter pats. Step 2: The clay needs to dry for 24 hours before it can be painted. I did a base coat on the waffles and then used a dry brush technique to highlight the raised areas and make them a little darker like they were cooked. I painted the butter pats with bright yellow paint. I set everything aside to dry overnight. Step 3: I took ½ cup(ish) of glue and put it in a plastic cup and added brown paint to look like syrup. I then poured the glue over the waffles and let it dry for 24 hours. (Hint: it will dry darker) Step 4: After the waffles were dry I colored cardstock with colored pencils to recreate the waffle look and address them to my friends. I used strong glue to glue on the butter pat and the cardstock. Now they are ready for the mail. They only weigh a couple of ounces but have them weighed at the post office for proper postage. I have mailed them before and they have arrived perfectly and how fun it is to get a waffle out of the mailbox!
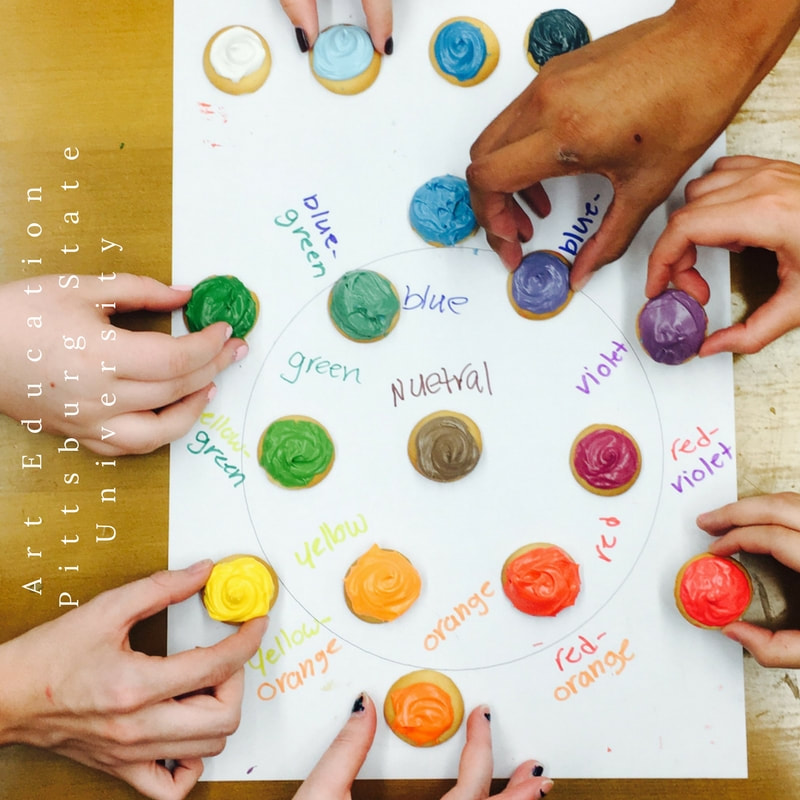
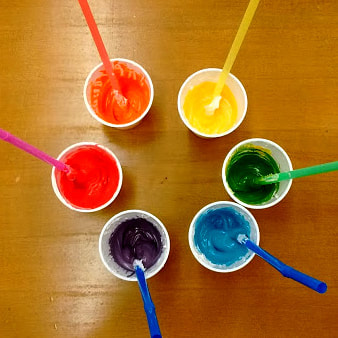
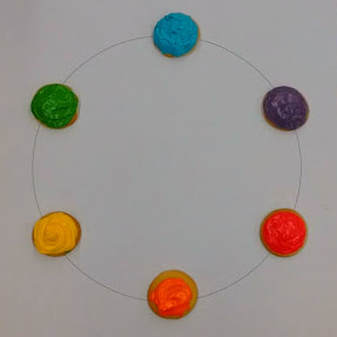
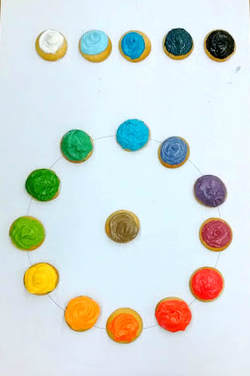
Issue: The post office in my little town had never seen anything like this and refused to treat them as a “first class letter” instead wanted them to go as a package. I don’t mind paying the postage, but packages get large stickers with tracking codes that my post officer wanted to put right across the butter!! In the case of dealing with people that just don’t get it, don’t create a scene, just put them in a padded envelope. The waffle postcards that is, not the people. Enjoy your waffles on Galentine’s Day and remember, “Ovaries before Brovaries!” Today was one of my favorite days in Art Education. It’s edible color wheel day! I have been doing this project for years and it is always a hit. After lecturing on the color wheel, color schemes, and color theory to my class I like to take the next class to assess their knowledge with a group project. In class, each table of 4 to 6 students make their own color wheel with cookies and frosting. Here is what you will need: Materials (per group) 20 or so cookie wafers 1 can of white frosting food coloring in red, yellow, and blue (Take the green out of the box) black food coloring- 1 bottle at the teacher’s station has lasted for years! Spoons, plastic cups, napkins, poster board, and markers to label. Step 1: As a group, draw the color wheel diagram on your presentation paper and frost 1 cookie with each of the 3 primary colors and place the cookie on your team’s poster board diagram of the color wheel. Step 2: As a group, mix each secondary color and frost a cookie to place on your diagram. (Note: Some primary colors may not be able to be "treated equally" - your color intensities will vary. See what works for your colors - and "fudge" a bit to get the best secondary colors possible) Step 3: As a group, mix the 6 tertiary colors. Then frost one cookie for each of these 6 colors and place them on the color wheel in the correct spots. Step 4: As a group, mix any two complementary colors to make a Gray/Brown neutral and place that cookie in the middle of the color wheel.
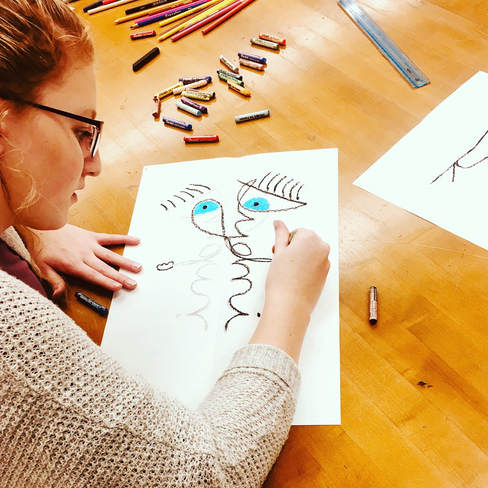
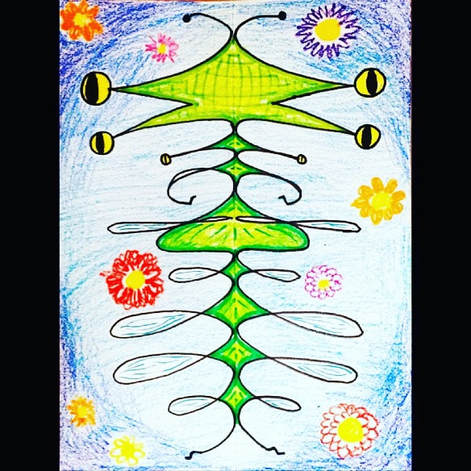
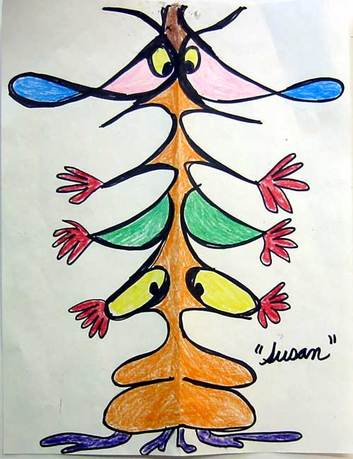
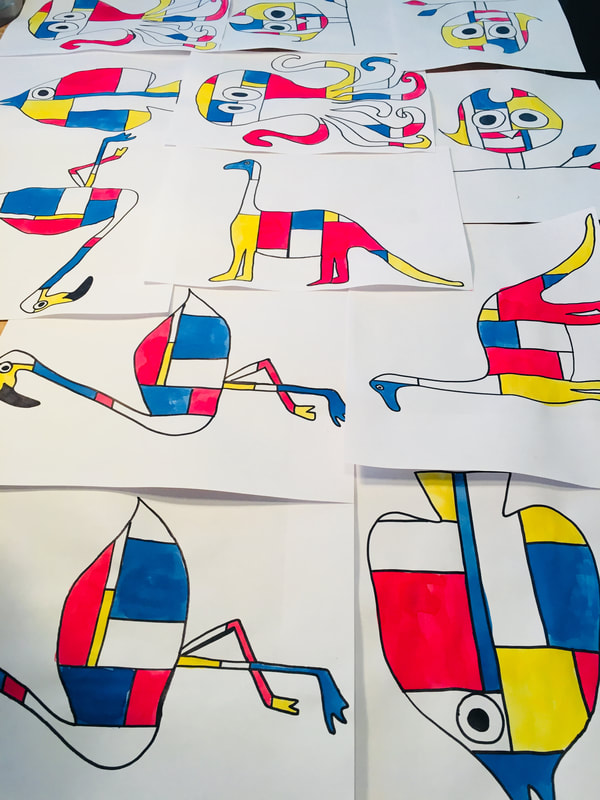
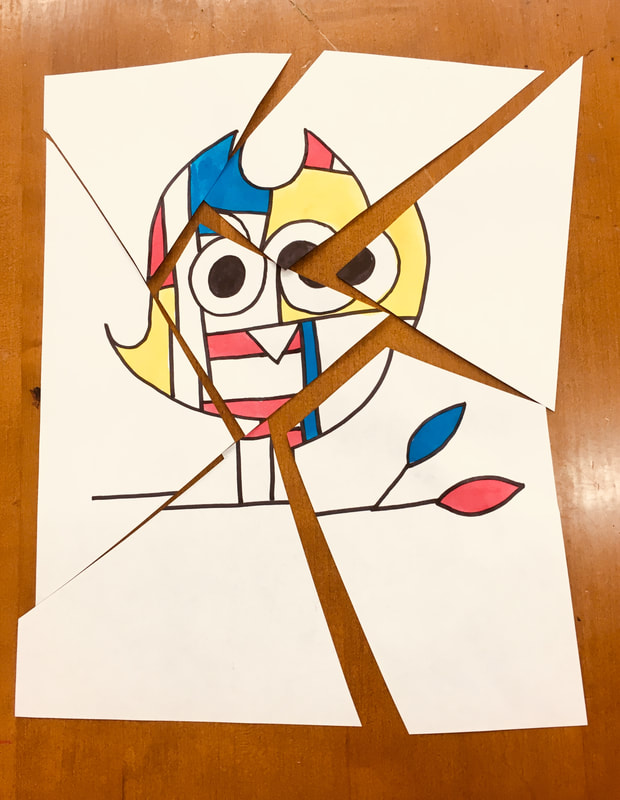
Step 5: As a group, mix tints and shades of one hue (red or blue work best) to form a 5 point value scale on the side of the color wheel. (black coloring available at the teacher’s station) Art Education students are learning about the Elements of Art (Line, Color, Shape, Space, Texture, Value, and Time and Motion) and the Principles of Design (Balance, Contract, Repetition, Pattern, Emphasis, Movement, and Unity). To visualize symmetry, they made Alien Names out of their cursive writing. The students only had 30 mins to complete this artwork. Student learning objectives included fine motor skills, learning about symmetry, becoming familiar with the art room procedures, discovering new art materials, and of course, using their creativity. MATERIALS • Copy paper, 11″ x 17″ works well • Black Sharpie Marker • Crayons/Markers/Oil Pastels/Chalk DIRECTIONS 1. Students fold a large sheet of paper in half lengthwise. With the paper folded, they write their name in cursive, adjusting to fill the paper as much as possible. The bottoms of the letters should always touch the fold of the paper. Any descenders (such as the bottoms of g’s, j’s or y’s) need to be ignored for this project. 2. Students traced over the pencil lines with a large black Sharpie. They also trace the backside, fold, and trace again on the remaining side so they end up with one side of reflecting shapes. 3. Students turn their drawings into some kind of Alien creature. They can draw details with a thin marker and then color sections in with crayons. Remind students that for symmetry whatever color or pattern is on one side it must be repeated on the opposite side. Today is the first day of school at PSU, aka- Syllabus Day. I could not go through that syllabus one more time, so I didn’t. Maybe some of this rebellion comes from my ten years of teaching college students, but how many times can you hear yourself say “absence policy?” My family and I went to an escape room over Thanksgiving and had a wonderful time. We even escaped with 6 minutes to spare. I take no credit for that escape; I have brilliant family members. Since that time, I have been musing how to create an escape room for my students. It didn’t turn out exactly how I envisioned, but they were working together and running all over the building instead of looking at me with glazed eyes, or the “donut look” as I like to call it. In that aspect......Mission Accomplished! I found tons of ideas on Pinterest and from some of my favorite blogs, like cassiestephens.blogspot.com. I divided the class up into five groups by having them select colored paper out of a basket. They then had to move to find their group and sit at the table with the same colored basket. A Mondrian inspired puzzle was there waiting for them, which lead them to a matching poster around my classroom. On the back of the poster, I had an envelope with a hieroglyphic code and a location for them to find. One location leads to another location until they had found the art office, the gallery, the bathrooms, vending machines, and water fountains. Then the group returned to the classroom to answer questions about the late policy and office hours conveniently located in the online syllabus, and then some classroom procedures- such as, where to put wet artwork. (Hint- it’s on the drying rack) I had a gloriously relaxing evening painting the game pieces with liquid watercolors and felt honored that a few students wanted to take their "game pieces" with them. I also feel strong about the fact that I am modeling teaching strategies for my students and hopefully they will remember these funny moments from Art Education and repeat them in their classrooms.
|
Professor CharityI teach future art teachers at Emporia State University. Here is what is going on in my classes. Archives
January 2023
Categories
All
|
