|
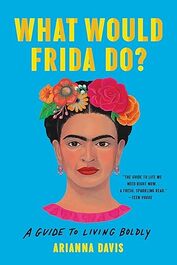
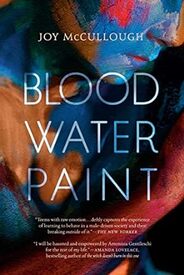
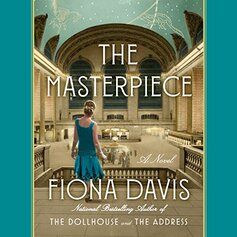
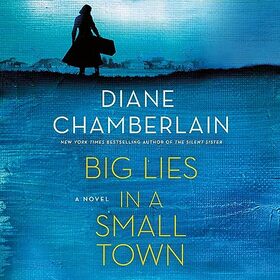
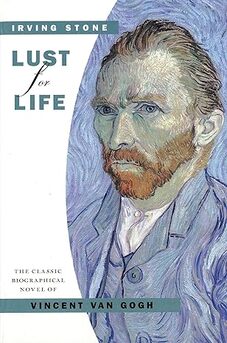
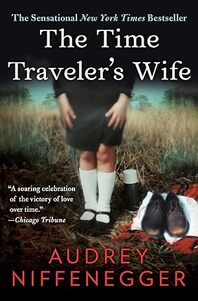
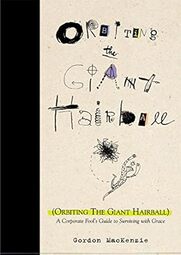
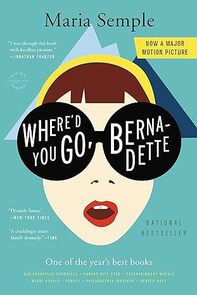
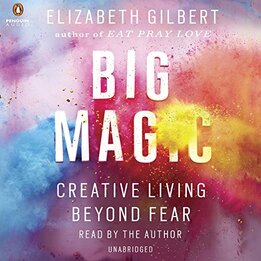
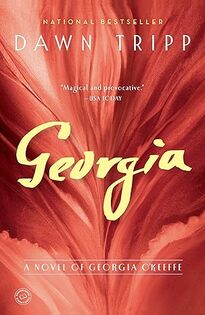
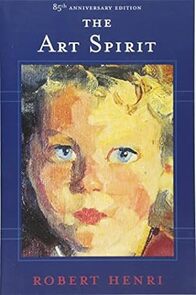
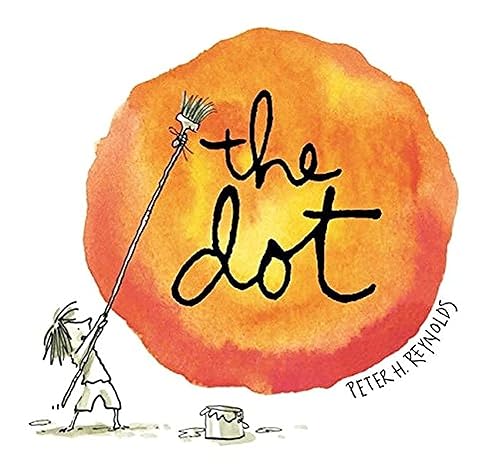
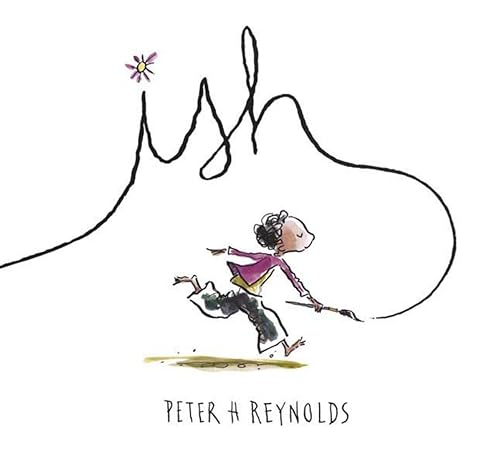
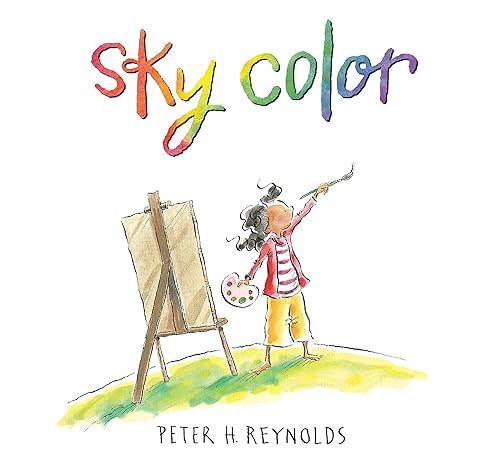
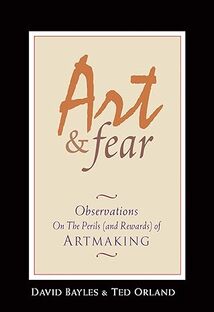
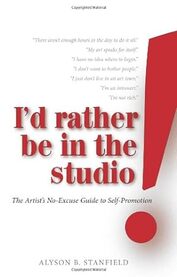
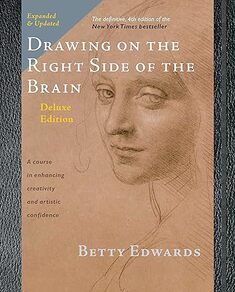
Parents for their graduating students, people for book clubs, or beginning painters who are just awakening their eyes to artists, everybody wants book recommendations. I am happy to help! I love reading books about artists, some based on real artists and some fictional artists. Here are my top 15 books about artists I love to read over and over. 1. What Would Frida Do? A Guide to Living Boldly by Arianna Davis NAMED A BEST GIFT BOOK OF THE YEAR BY: Instyle, Oprah Daily, Business Insider, Esquire, Boston Globe, and Redbook. Frida is an inspiration and stands as a feminist symbol. Amazon reads states, “In this irresistible read, writer Arianna Davis conjures Frida’s brave spirit, encouraging women to create fearlessly and stand by their own truths.” 2. Blood, Water, Paint by Joy McCullough This novel is based on the real life of artist, Artemisia Gentileschi. Amazon states, “Joy McCullough's bold novel in verse is a portrait of an artist as a young woman, filled with the soaring highs of creative inspiration and the devastating setbacks of a system built to break her. McCullough weaves Artemisia's heartbreaking story with the stories of the ancient heroines, Susanna and Judith, who become not only the subjects of two of Artemisia's most famous paintings but sources of strength as she battles to paint a woman's timeless truth in the face of unspeakable and all-too-familiar violence.” 3. The Masterpiece by Fiona Davis The Masterpiece follows two stories, Virginia Clay, who takes a job in Grand Central Terminal in 1974 when the terminal is declining and in need of repairs, and also of Clara, who teaches at the Grand Central School of Art in 1928. These stories are connected by a profound mystery of a masterpiece and who painted it. 4. Big Lies in a Small Town by Diane Chamberlain What happened to Anna Dale in the 1940s in North Carolina? Morgan Christopher in 2018 will discover all of her Anna’s secrets while restoring an old post office mural. Amazon reviews state, “What she finds under the layers of grime is a painting that tells the story of madness, violence, and a conspiracy of small town secrets.” 5. Lust for Life by Irving Stone You may have seen the movie, but did you read the book? This brilliant book shows Vincent Van Gogh as a passionate lover and as a madman. The New York Times says, “The classic, bestselling biographical novel of Vincent Van Gogh.” 6. The Time Traveler’s Wife by Audrey Niffenegger “A most untraditional love story, this is the celebrated tale of Henry DeTamble, a dashing, adventuresome librarian who inadvertently travels through time, and Clare Abshire, an artist whose life takes a natural sequential course. Henry and Clare’s passionate affair endures across a sea of time and captures them in an impossibly romantic trap that tests the strength of fate and basks in the bonds of love. “Niffenegger’s inventive and poignant writing is well worth a trip” (Entertainment Weekly). This novel is on the list because Clare is an artist and spends time in her studio making art, and the author describes the art-making process wonderfully. 7. Orbiting the Giant Hairball by Gordon McKenzie Gordon McKenzie worked at Hallmark Cards for 30 years. He writes this charming book about narrating the corporate world when you are an artist and how not to lose your creativity in the bottom line. 8. Where’d You Go Bernadette? By Maria Semple Bernadette, a revolutionary architect, leaves right before a family trip to Antarctica. This is a touching novel about misplaced genius and what happens when artists do not have an outlet for their creativity. 9. Big Magic by Elizabeth Gilbert You know Elizabeth Gilbert from Eat, Pray, Love and City of Girls. Big Magic is just as well researched but in this book, Elizabeth speaks about wonder and joy. I re-read this book every year and laugh and cry. I also read it to my class while working on their projects instead of playing music in the background. Creativity and inspiration are mysterious, but for me, they live in this book. 10. Georgia by Dawn Tripp Amazon Reviews states, “Dawn Tripp brings to life Georgia O’Keeffe, her love affair with photographer Alfred Stieglitz, and her quest to become an independent artist.” 11. The Art Spirit by Robert Henri The Art Spirit was first published in 1923 and is a collection of letters from Henri to his students at the Ashcan School. It is surprising how the technical information on painting and the sound advice on life is still relevant to artists 100 years later. Amazon reviews say, “The Art Spirit has been a source of inspiration for artists and creatives from David Lynch to George Bellows. Filled with valuable technical advice and wisdom about the place of art and the artist in American society, this classic work continues to be a must-read for anyone interested in the power of creation and the beauty of art.” 12. The Dot, Ish, and Sky Color by Peter H. Reynolds Really what can I say about Peter H. Reynolds? I stood in line for 2.5 hours to meet him at NAEA Boston and collect his books. Every year I have my preservice college students do a “Dot Day” and I have YouTube read the book because I’m afraid if I read it I will get chocked up in front of the class. These books are very important to my life as an art teacher, and my own creative growth. Here is the official tag lines for each from Amazon, "The Dot An enchanting invitation to self-expression! Don’t worry, just make a mark — and see where it takes you. Ish A creative spirit learns that thinking "ishly" leads to a far more wonderful outcome than "getting it right." Sky Color The sky’s no limit in this gentle, playful tale — a reminder that if we open our eyes and look beyond the expected, inspiration will come.” 13. Art and Fear by David Bayles and Ted Orland Art & Fear explores the way art gets made, the reasons it often doesn't get made, and the nature of the difficulties that cause so many artists to give up along the way. "This is a book about making art. Ordinary art. Ordinary art means something like: all art not made by Mozart. After all, art is rarely made by Mozart-like people; essentially—statistically speaking—there aren't any people like that. Geniuses get made once-a-century or so, yet good art gets made all the time, so to equate the making of art with the workings of genius removes this intimately human activity to a strangely unreachable and unknowable place. For all practical purposes making art can be examined in great detail without ever getting entangled in the very remote problems of genius." From the Introduction 14. I’d Rather be in the Studio by Alyson B. Stanfield This is a self-promotion tool to introduce yourself as an artist, write an artist statement, have marketing messages, expand your mailing list, cultivate collectors, and become a media magnet to build a bigger audience for your artwork. 15. Drawing on the Right Side of the Brain by Betty Edwards Amazon reviews says, “Drawing on the Right Side of the Brain is the world's most widely used instructional drawing book. Whether you are drawing as a professional artist, as an artist in training, or as a hobby, this book will give you greater confidence in your ability and deepen your artistic perception, as well as foster a new appreciation of the world around you.” If you have read one of the books on my list, let me know. Also if you would like to see a list like this of art related book for children, let me know by leaving a comment.
Happy Reading!
1 Comment
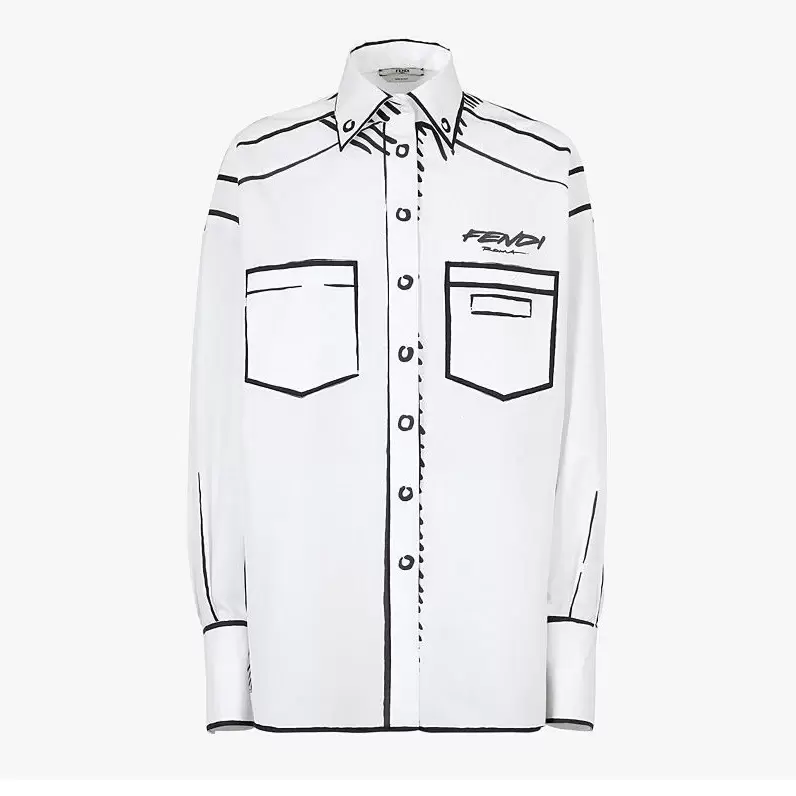
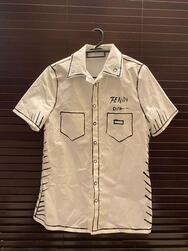
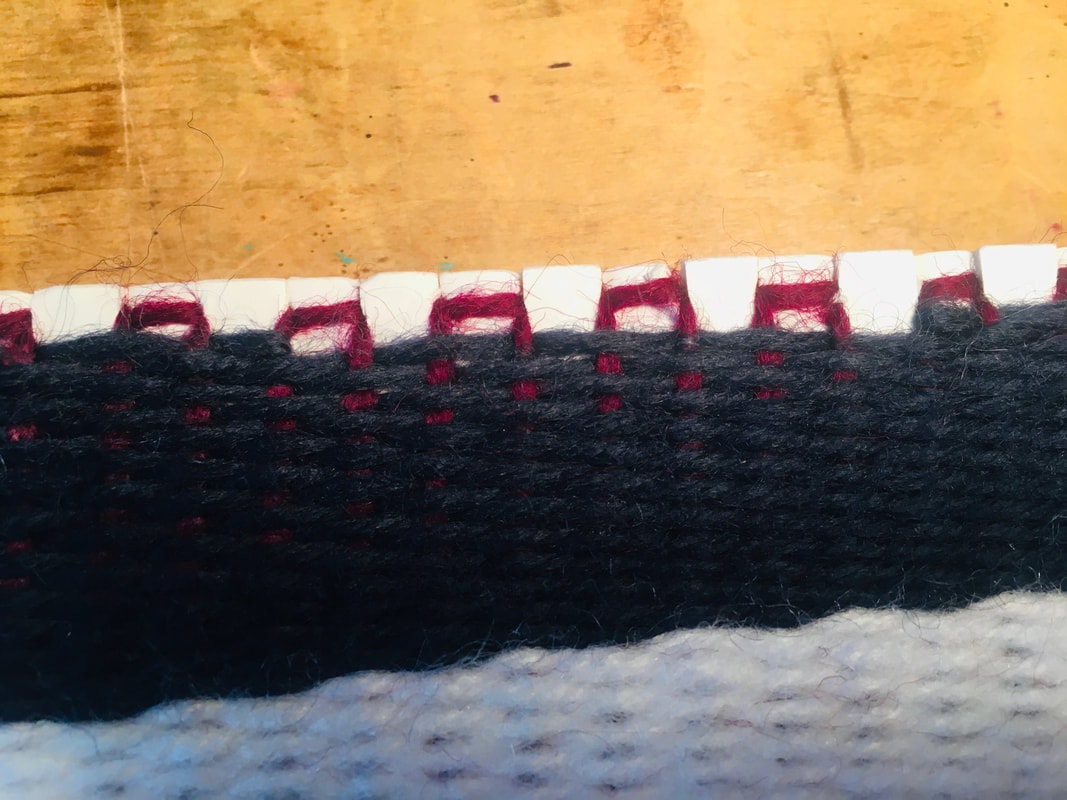
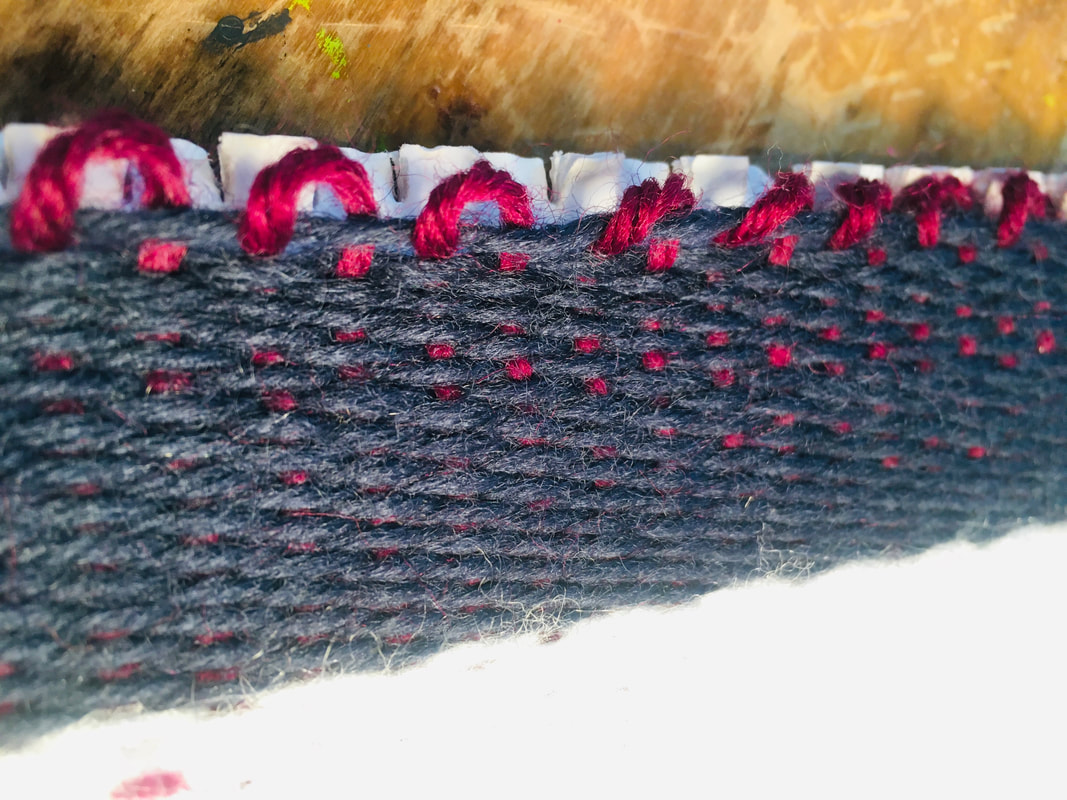
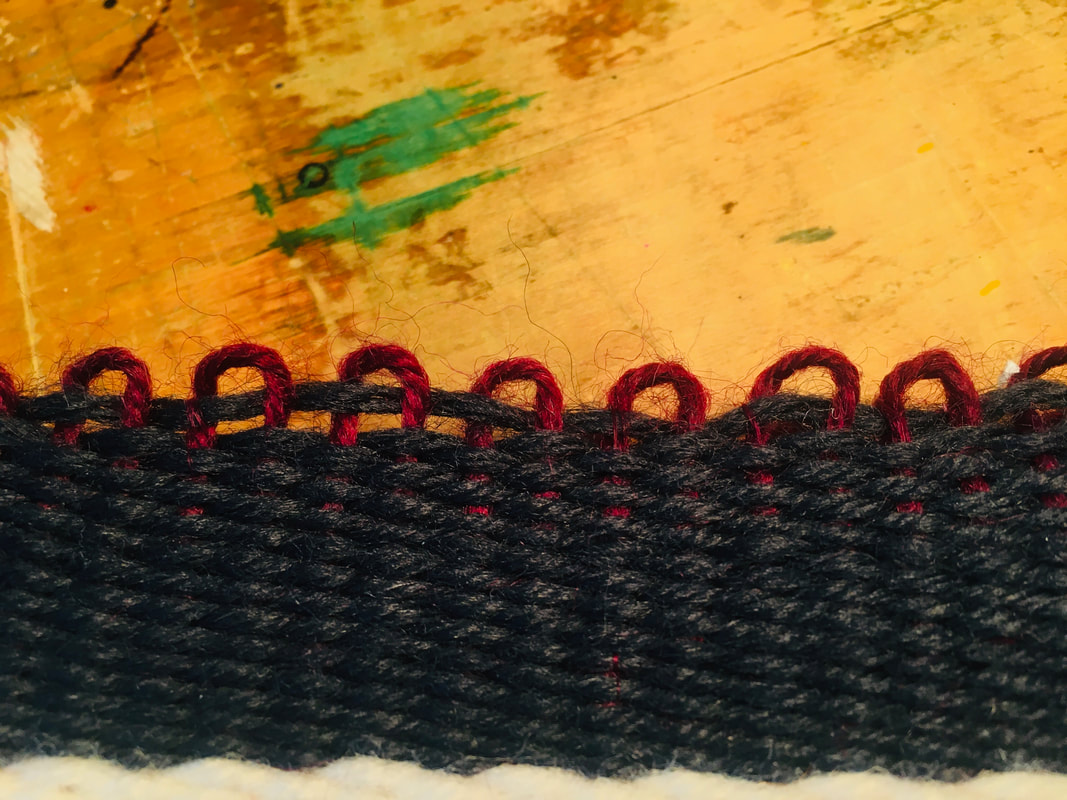
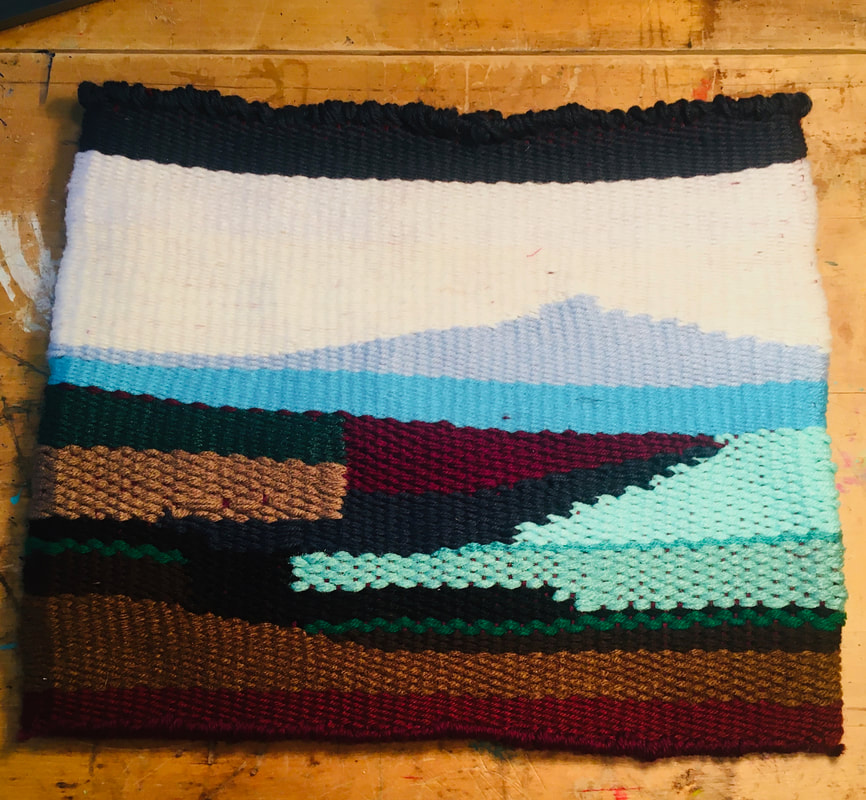
This is my inspiration, the Fendi Cartoon Shirt. I don’t know how much it was originally, but I found it a couple of places on the internet and it resales for between 800 and 1200 dollars. Ya’ll know that I am a teacher so that price is out of my budget. I decided to make one.
We made it! This is the last week of work for many of my fellow teachers, and here at the University, we just finished our commencement ceremony. I’m not sure I can convey to you the grand challenge that this school year has been, but trust me, it was. Taking some time this last couple of days to relax, I realize how high my anxiety level has been. It was high for so long I stopped noticing it. I remember looking at my new college students, some of them first-year students or transfer students and new to the university themselves. They wanted to learn but had to deal with stress, anxiety, emotions, and sometimes sickness all at the same time. We were fortunate that our students were face-to-face all year, the ones that choose to attend school. The students had the option of being online if they needed to or felt it was in their best interest. However, they came, wherever they were, I taught them. I taught them as they sat at desks away from one another. I taught them from behind a hanging piece of plexiglass. I taught them from under a mask, while they wore masks as well. I taught them from the other side of a computer screen, simultaneously as students in the classroom. I taught them from videos I made in the middle of the night. I taught them while passing out hand sanitizer and cleaning wipes. What I remember most is how big and unsettled their eyes were and how I secretly wondered if they would get sick. If I was going to get sick. I taught them through an ugly election, rioting, and no spring break. Amid such awfulness, my courses did well, and I felt like I was making connections in Emporia and with my students. On this morning, I am sitting here looking at pictures of a house I might purchase, to further put down some roots in this town. I’m thankful I made a move to Emporia last year and thankful that God guided this teacher through the storm and onto another year. As teachers plan art learning activities, they should consider what students know about various art concepts and processes in order to develop useful experiences for them. Should thieve art tests? If so, what should they look like? A drawing test? An art history quiz? That sounds pretty intimidating. And, it probably goes against our very ideas about art. What about individuality, anyway?
Many times when we think of evaluation, our thoughts turn to papers and pencils, stress, and percentages. Actually, there are any number of ways to figure out where students level of art learning is without all the anxiety and averaging. If you want to know what students know and can do, why not ask them? Or, better still, let them show you. Evaluation is all about collecting evidence of learning and assigning some “value” to it. We usually place value by comparisons. Some basic comparisons in art education are, product or performance against:
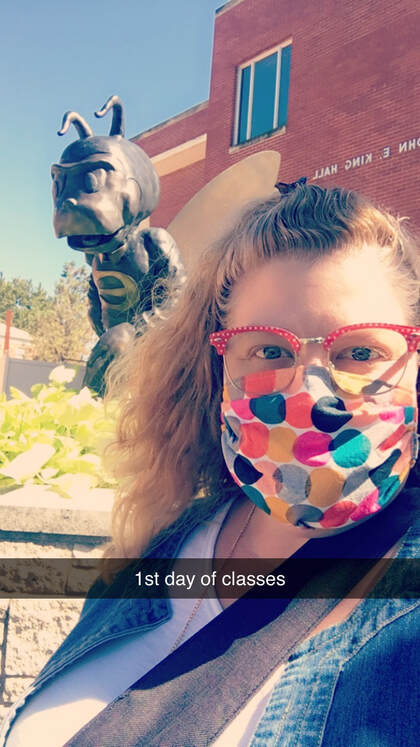
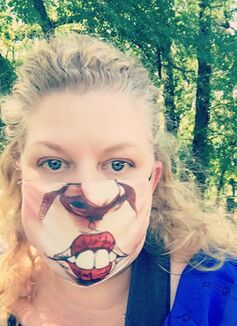
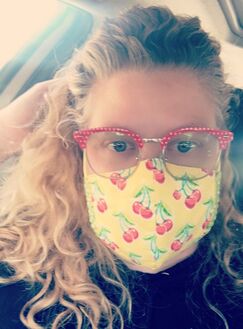
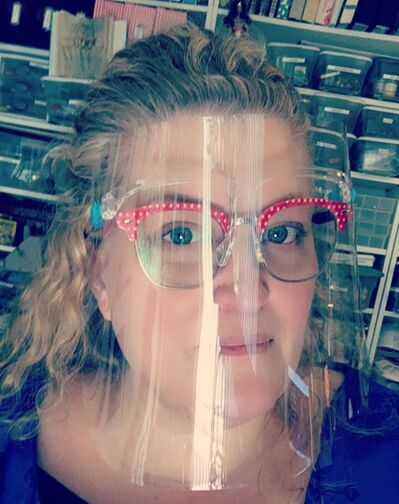
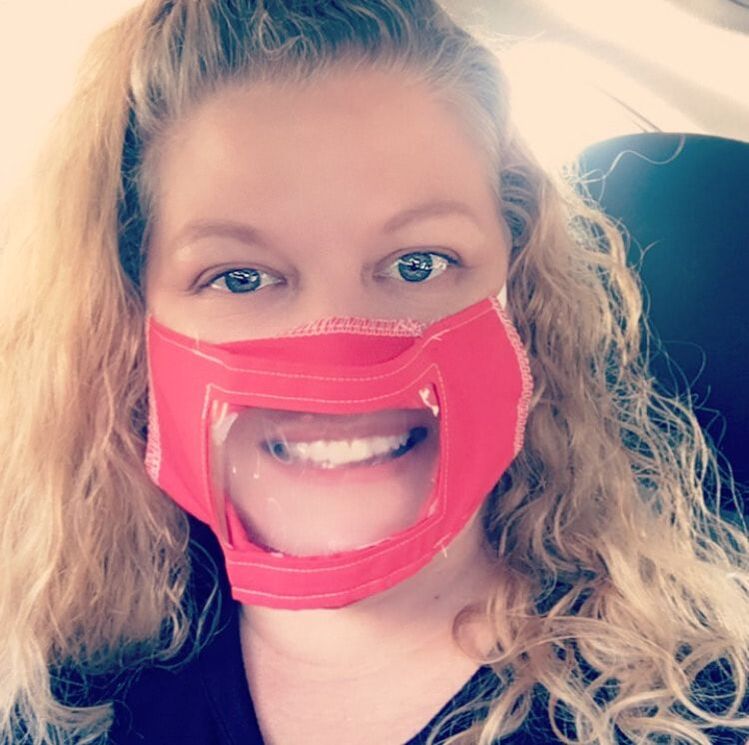
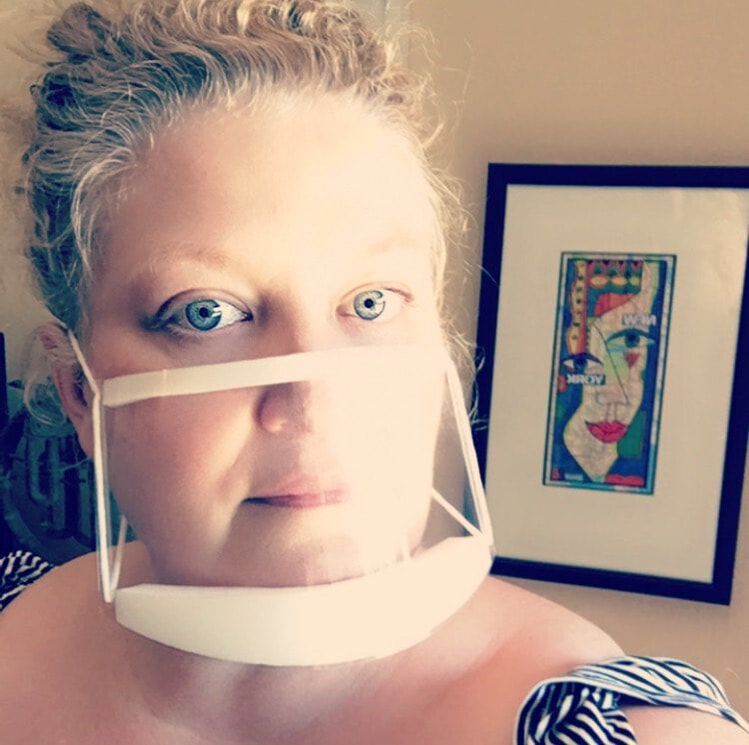
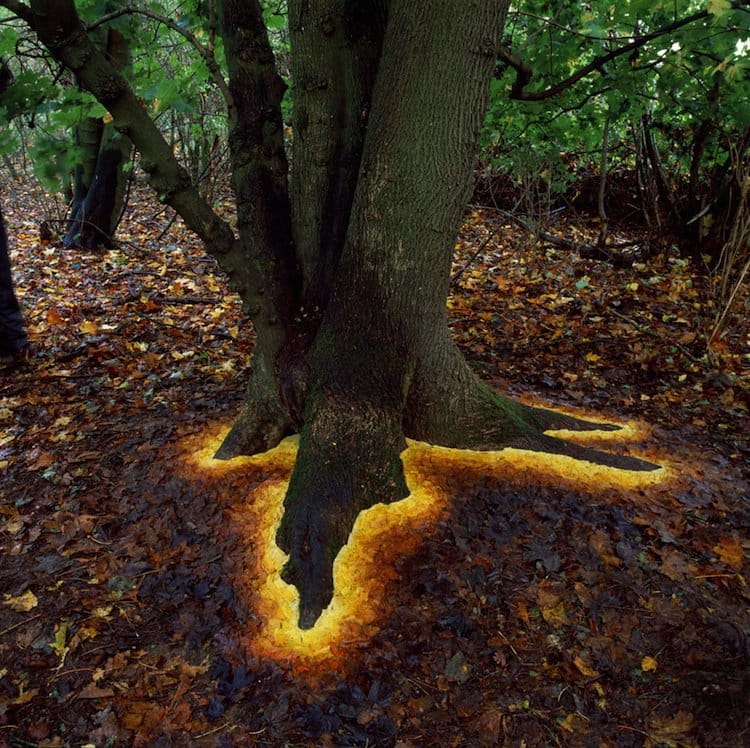
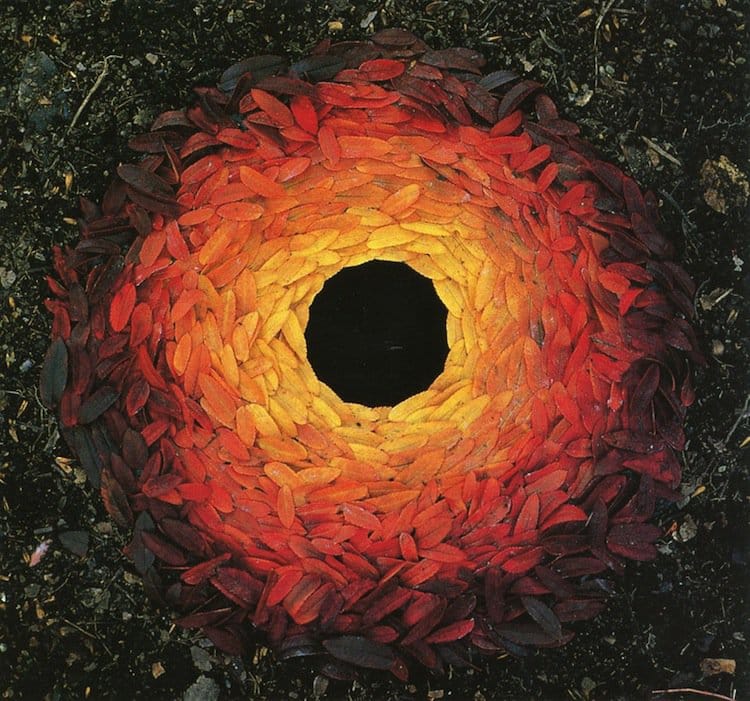
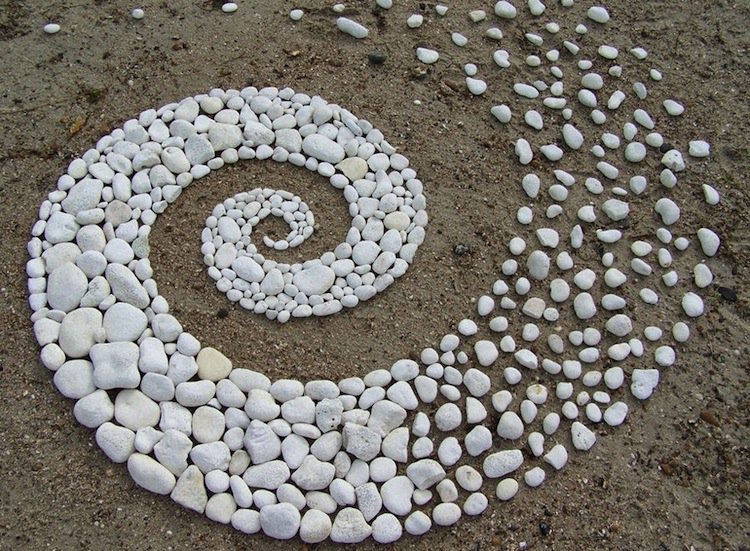
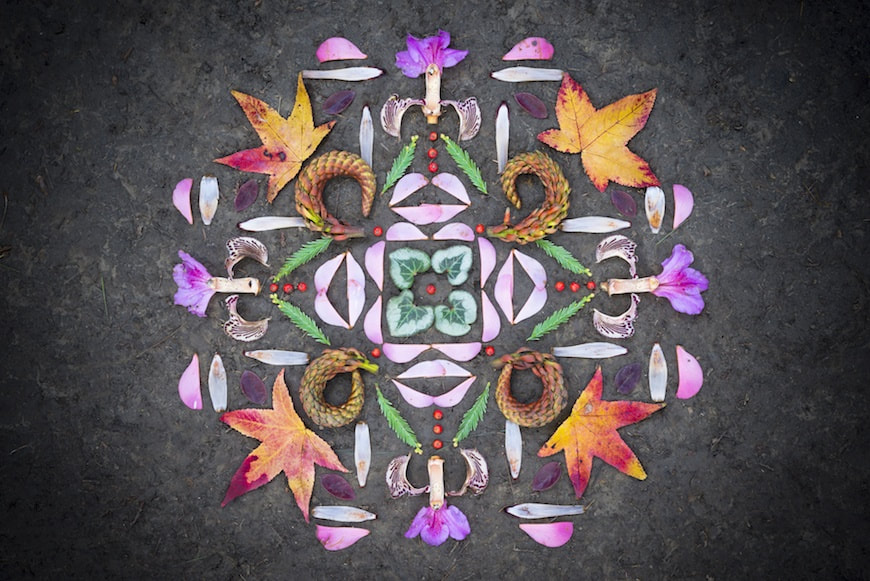
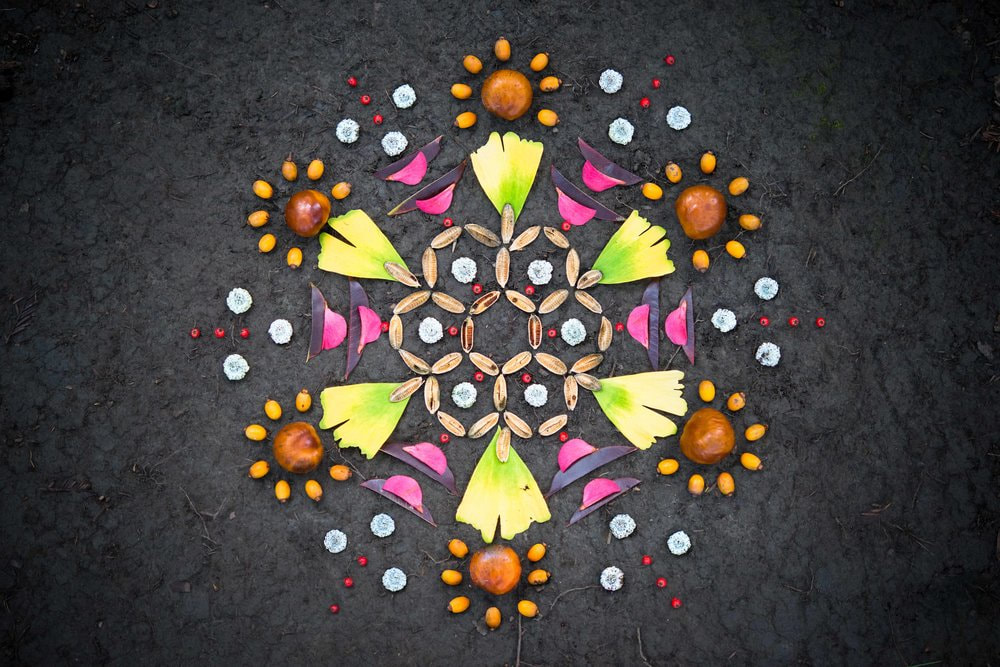
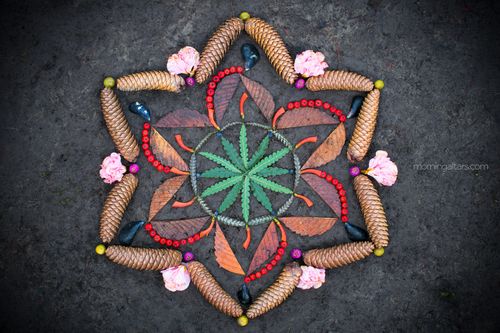
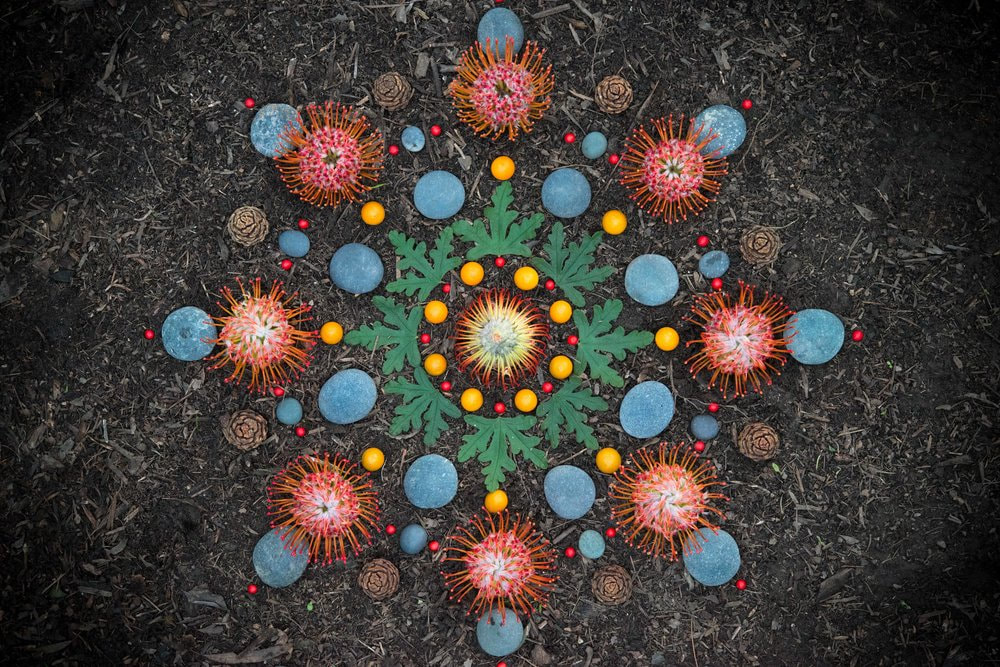
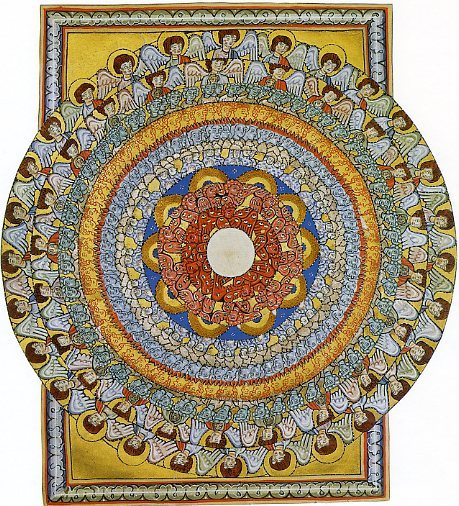
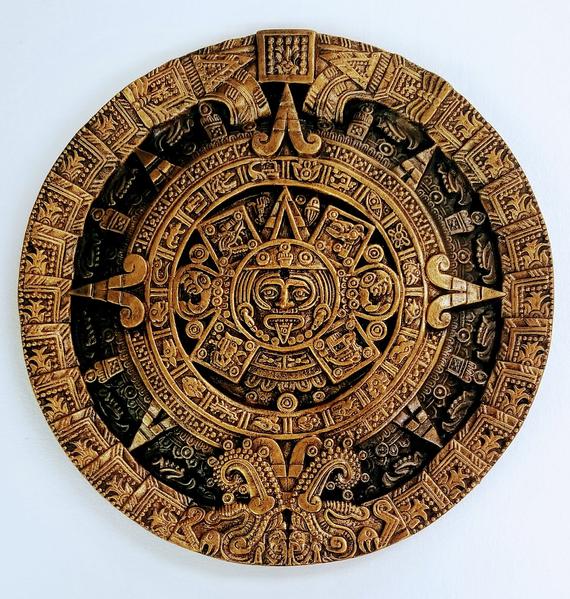
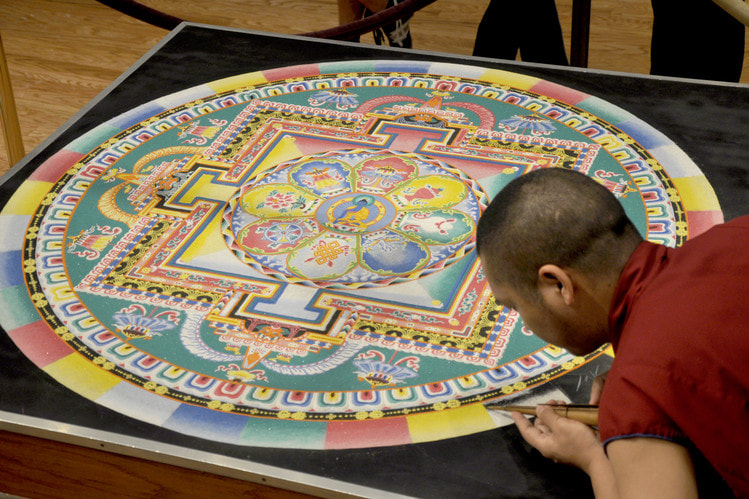
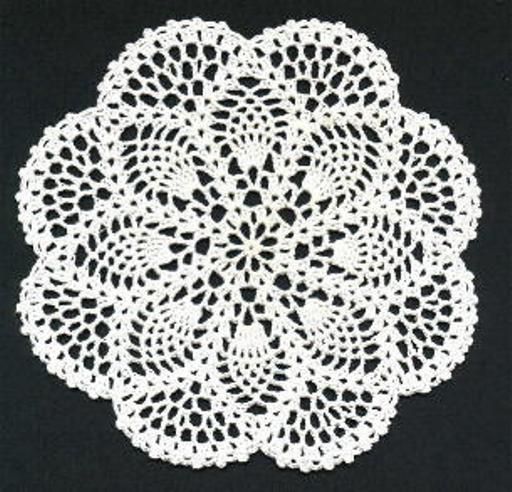
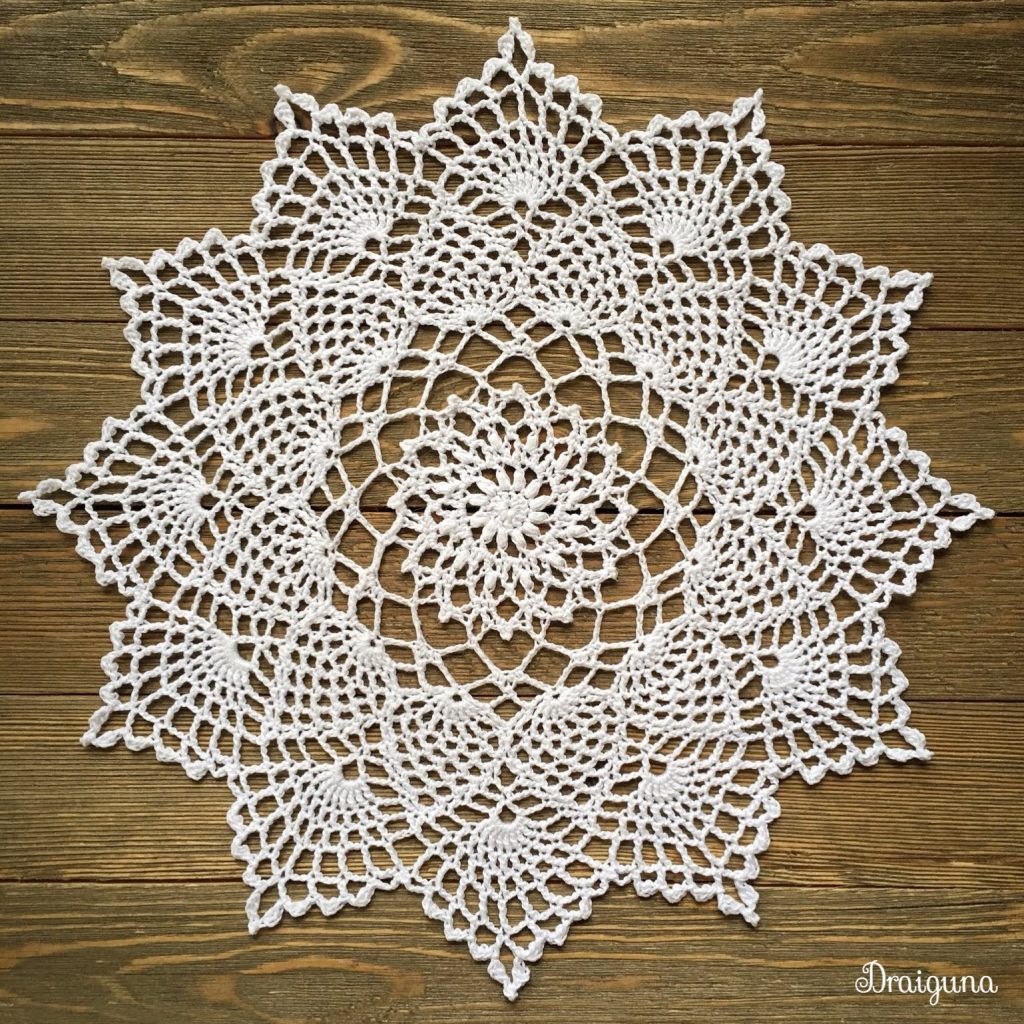
Basically, what you as a teacher need to do for sound evaluation in art is to clarify what you want your students to know, figure out what your students could say, make, or do (your “criteria”) to show you they know, and then compare what they actually say, make, or do to your criteria. How much did each student change? Write it down in a short description. Don’t bother with a grade! That way, when parents come, you (and your students) will have something to tell them, and probably something to show, too! I see the posts on social media. The year of the rat. The year of the dragon. The year of the tiger. Over the last couple of years, I have selected a word to sit with me and guide me through the year. One year was music, another was joy. Two years ago, inspired by my friend Jen Livengood, I had the year of flowers. On the first day of each month, I bought myself cut flowers. It was fun to go to the store and select a bouquet of flowers, most less than $10 and have them in my house. I love to live with plants and flowers, and having a vase of flowers on the kitchen table made me incredibly happy. I would enjoy them for a couple of weeks, and when they had wilted, throw them out and have a week or two where I missed them until the first of the month when it was time to get some more. I kept that resolution all year long. It was fun to mark the seasons by what flowers were available in my grocery store. The tulips come in the early spring, and by late summer, the giant sunflowers are available. I decided that this year, 2021, is going to be the year of groundings. I need to feel grounded to the earth. Living next to a park and green space has helped, but I love to hike and didn’t do that last year, so I plan that in 2021. I moved to a new town and new university last year so continuing to get to know my new digs will help me feel grounded and put down roots. I also like the word groundings because it reminded me of when I was grounded in high school. Being grounded in high school meant spending more time with my family at home, spending a whole Saturday cleaning out and organizing the closet, and having to find other ways to connect with people. I foresee some of that this new year as well. Happy new year to you and yours; if you have a word that guides your year, share it with me in the comments. I finished my first two weeks of teaching at my new job! Last spring, at the height of the pandemic, I switched positions from one state university to another one. I teach almost the exact same Art Education pre-service classes, but now after 12 years in higher education, I am on the tenure track. My new art department is much larger, with more professors but also more art majors and a graduate program. I got a choice on how I would like to teach my classes Face-to-Face, completely Online, Hybrid, or a new model called HyFlex. I selected the HyFlex model. Let’s discuss. HyFlexMy class delivery is a new model called HyFlex. HyFlex means that I teach live in person in the classroom at the same time I teach live on Zoom for students outside the classroom. What I like about this technology nightmare is that the students get to select each class if they want to come to school and be exposed or if they need to join class remotely. I take attendance in my class and wouldn’t want a student to come to school who is sick just so their grade doesn’t drop. The decision is on the student, and they can switch every class depending on their situation. The academic year is only two weeks long at this point, but I have had very good attendance, not perfect. There are many things I need to do better with technology. I need to not get too wrapped up at the beginning of class with announcements that I forget to check the Zoom waiting room to let students into the class. A couple of students sat in there for about 5 minutes because I had walked away from the front podium to talk at the chalkboard. Speaking of the podium, I am a walk around the room teacher, and it is hard not to circulate while going through the Powerpoint. I was so excited that I could be on Zoom live, share my screen, AND my remote clicker worked to advance my PowerPoint slides while I walked around! If you know my technology levels, that was a huge accomplishment. Next week I’m going to remind the students joining remotely that they can unmute and chime into the discussion. Last class, they put answers in the chat, but that was not visible. I love seeing my students some in the classroom and online. We are all being safe, wearing masks and social distancing because we (students or faculty) do not want to go completely online. If it happens we will deal with it, but so far we are taking measures to be safe, and I feel comfortable in my setting. MasksI have tried so many different masks. I have bought some, I have made some, and I have painted on some. I have also experimented with two different types of face shields. This is not an exhausted list of options, but here are some of my recommendations. Handmade cloth face mask. A little warm, but I feel completely protected. If you wear a mask all day, I suggest a change of mask at lunch. The mask gets moist with your breath and talking all morning that a change after lunch will reenergize you for the afternoon classes. I have a pile of masks that get hand-washed every weekend, so they are ready for the coming week. The face shield. I tried two face shields, the headband one (not pictured) gave me a headache. I normally need to watch that because being prone to headaches, some headbands and glasses also do it. The face shield with the nose piece was better, but with my glasses, it makes my glasses slide down my nose, making me readjust them several times through class. The plus side of the face shield is that you can see a whole face! Let’s be honest, being new and meeting so many people and students, I will not recognize them if they switch masks or if I see them without a mask. The first time I wore the face shield to class, my students said, “You look so different!” The face shield I got does not fog up, and the major plus is that you can wear lipstick. Clear face masks. I have a handmade cloth face mask with just an inset of plastic acetate, and it fogs after a couple of minutes. I tried an old trick of putting soap (Dawn liquid dish soap) on the inside and then wiped it off with a paper towel. That works a little bit better; you might get 45 minutes to an hour out of it. I wore it to the hairdresser, and it was no match for the hairdryer and high humidity. The solid clear mask I have on in the photo below is by a company called Clear Mask. I learned about this product on the Today Show. According to their website, this product is FDA approved, and I have worn it for a class, and it did not fog up. It also has foam on the top and bottom, so it sits differently on your face. My glasses didn't fog up with it, so that is an improvement. I got some of these masks for my students because I want to see their faces. I think the transparent masks are useful if you have deaf students or work with students and faculty that are hard of hearing. I didn’t realize how I relied on lips until they were gone. I’m now asking my pre-service student teachers to “Use your teacher voice and project in the class.” Lastly, we are still teaching in a pandemic. There are so many apps and new technologies floating around there. You cannot be a master of every single thing. Start small and try to add one new technology. I see teachers making amazing videos, using editing software for closed captioning, and linking everything to their Bitmoji classroom. That is wonderful! Do not beat yourself up if you are going a little slower than usual and trying the technology at a different pace than fellow teachers. You are doing great, even without a Bitmoji classroom. Be kind to yourself. You will be amazingly marketable after this is all over with what you have already learned and will be a better, more compassionate teacher. I have a friend that just recently got her first job in school administration. This year she became a high school vice-principal. We laughed about how this is not the ideal year to begin an administration journey because it’s…well this year. I do not envy the tasks that school leaders have with a global pandemic looming overhead in the fall of 2020. I feel there will be voices of discontent on both sides. School leaders will be faulted if they open schools on time, faulted if they wait a couple of weeks to open schools, faulted if they let students back in the building, faulted if they start the school year with online distance learning, faulted, faulted, faulted. What is the right decision? I work in higher education, and my school has three models; face-to-face classes, online classes, or a combination referred to as hybrid. I prefer the hybrid model because I can see my student a few times during the semester. Whatever your preference, and we all have an opinion on schools opening up, and if it’s safe, we as teachers and parents must present it to the students as “It’s going to be a great school year!” I have been involved in the planning meetings to reopen the school, and I know more meetings did not include the faculty. I have been asked my opinion on some matters, but other times regulations were handed down to me, and I just had to implement them. Even if I do not like the decision, I know that my fellow teachers and leaders do have the students’ best interests at heart. Whatever side you fought for behind closed doors, when the decision is made, trust the decision. As teachers and parents, we need to leave our feelings to the side and put on a smile for our students. We have built amazing communities for our students, and we will do it again, in whatever form it may take this year. We do not need to project our heartbreak and dismay to our students. Our students can pick up on our anxiety and unhappiness. We do not need to burden the students with recapping conversations and our opinion on the outcome. We need to present a united front. That united front is that we are excited to have them in our class now or in a month, in the classroom or in an online classroom, with a mask on or without a mask. We are happy that you are here, and It’s going to be a great school year! Happy Earth Day! Today, April 22, 2020 marks the 50th anniversary of Earth Day. According to earthday.org the origins of Earth Day began on April 22, 1970 and was the brainchild of Senator Gaylord Nelson. “Earth Day 1970 would come to provide a voice to this emerging environmental consciousness and putting environmental concerns on the front page.” To celebrate Earth Day this year I am going to take all of the advice from the previous blog (Mandalas: It’s all about the Math) and hit the outdoors to create a Nature Mandala. Nature Mandala are inspired from two sources and artist and a book. Artist, Andy Goldsworthy Andy Goldsworthy is a British artist who now lives in Scotland. He is a contemporary artist who sculpts the land and the environment to create a site- specific sculpture in the tradition of land art. Below are some examples of Andy's artwork. Images taken from his website. Book, Morning Altars The second inspiration is the book and Instagram account for Morning Altars by Day Schildkret. This is a beautiful book with the lovely photography from the author, and in the forward by Anne Bogart they state that they are debris arrangers. Arranging natural debris is the definition of a nature mandala at its most basic form. Images below are from the book, which can be purchased on Amazon. How to Create a Nature Mandala According to Morning Altars there are seven movements for morning practice. These seven movements are just a guide but presented here as your guide to creating one on this Earth Day. 1.Wander and Wonder. This is a treasure hunt and go for a long winding walk and begin to pick up multiple things of different sizes and shapes that interest you. Look for contrasts. Big- small, light- dark, smooth- bumpy, bright- dull 2.Place. Connect with where you are and witness the place come alive. 3.Clear. Use a brush or your hand to clear the space to reveal a blank canvas. You are looking for a flat area to work. 4.Create. Play! Play around arranging the items. Try them in several different locations and arrangements. You are an artist arranging shapes and colors and textures. 5.Gift. Practice generosity as you offer your altar in a celebration of nature, your family’s well-being, your ancestors, or a way to mark a special occasion. 6.Share. Photograph and share your beauty with your friends, the community, and with people you have never met. 7.Let Go. Practice walking away. This art is beautiful in its impermanence. The wind will take it away or someone might walk through it, and that is okay. Its job is already done. On this, the 50th anniversary of Earth Day, I encourage you to try to connect to the environment and see the beauty in its small wonders. I encourage you to get out of your house and play with nature. I encourage you to create a nature mandala. Please share your creations with me. You can post your photos in the comment section of this blog or on Instagram using the hashtag, #professorcharity or @charitymika. Last month the art teachers of Southeast Kansas region got together for a professional development workshop. The workshop on Mandalas was held at Pittsburg High School in Pittsburg, KS and lead by art teacher, Rebecca Lomshek. Rebecca and the other art teachers that attended the workshop were so generous with their knowledge and resources. History of Mandalas The word “mandala” is from the classical Indian language of Sanskrit. Loosely translated to mean “circle.” A mandala is more than a simple shape. Mandalas represent wholeness and can be found in many aspects of life such as the celestial circles to conceptual circles of our friends and family. Mandalas patterns are used in many religious traditions. Hildegard von Bingen, a Christian nun in the 12th century created many beautiful mandalas to express her visions and beliefs. In the Americans, the circular Aztec calendar was both a timekeeping device and a religious expression in a mandala format. In Asia the Taoist “Yin-Yang” symbol represents opposition as well as interdependence. Tibetan mandalas are often highly intricate illustrations of religious significance that are used for meditation. In ancient Tibet, as part of a spiritual practice, monks created intricate mandalas with colored sand made of crushed semiprecious stones. The tradition continues to this day as the monks travel to different cultures around the world to create sand mandalas and educate people about the culture of Tibet. A world away, the American Navajo people also create impermanent sand paintings which are used in spiritual rituals–in much the same way as they are used by Tibetans. A Navajo sand painting ritual may last from five to nine days and range in size from three to fifteen feet or more. The Native American mandala is created in honor of a people that truly understand the deeper undercurrents of thought, nature, and life. Using the antique art of crochet Doilies were originally crocheted with thread and used to protect table and dresser tops, and gained popularity in the Victorian Era, when women hand worked them in their spare time to add a little elegance to their households. At one time, these items were considered so important that a young lady was expected to have at least 10 to be ready for marriage, and these were carefully stored in a hope chest to be used when she set up her household. How to draw a Mandala Step by Step Guide 1. Mark the center of your paper with a small dot, and then using a compass draw a circle.
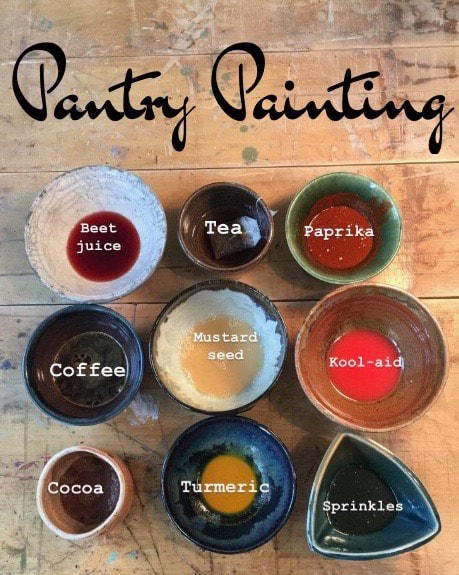
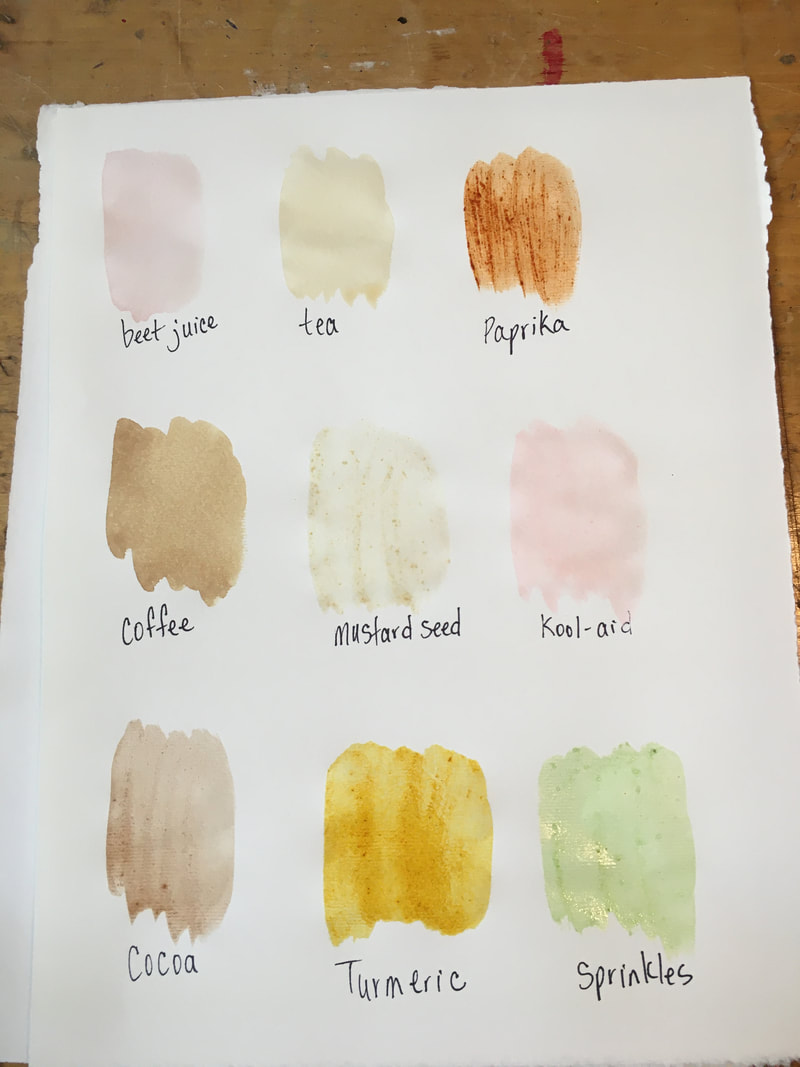
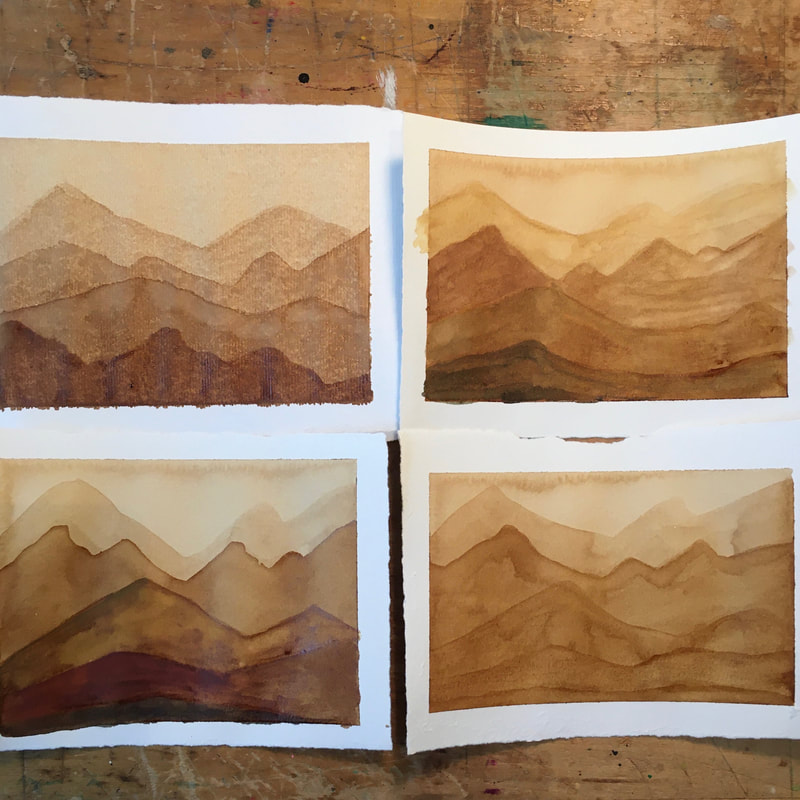
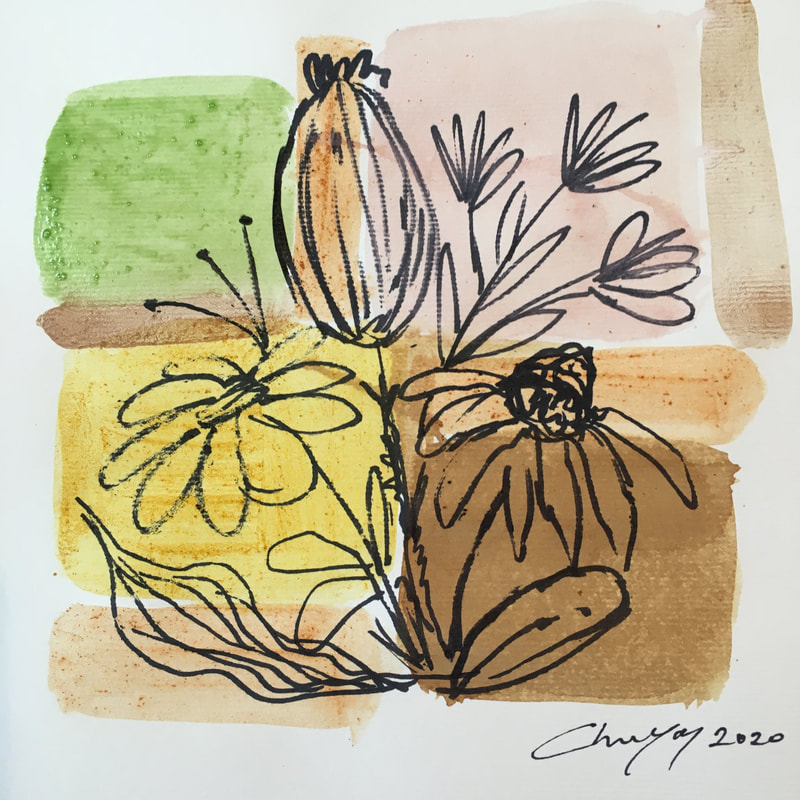
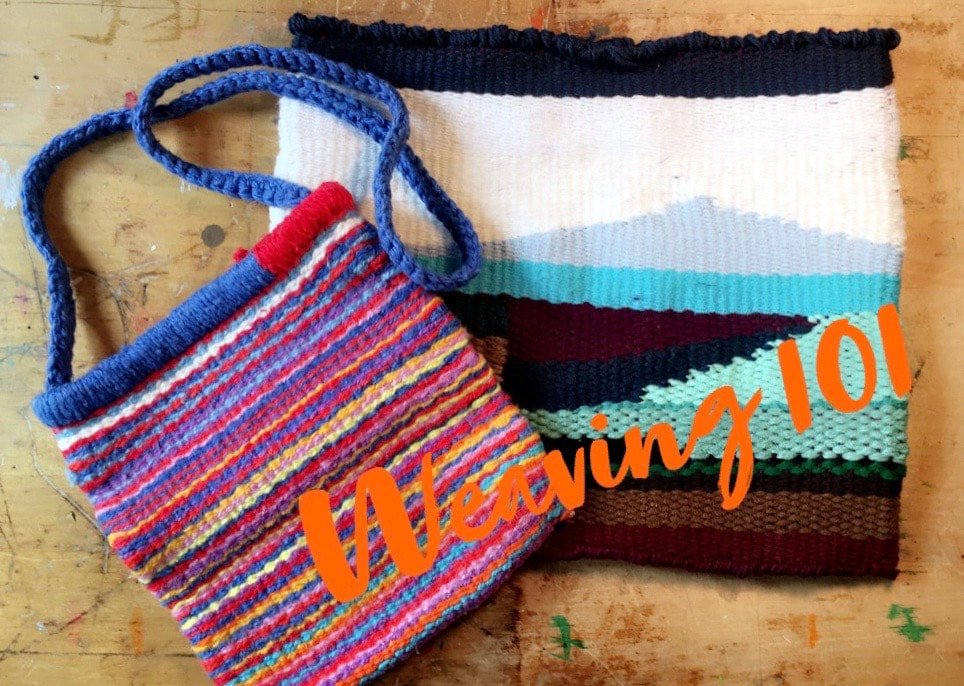
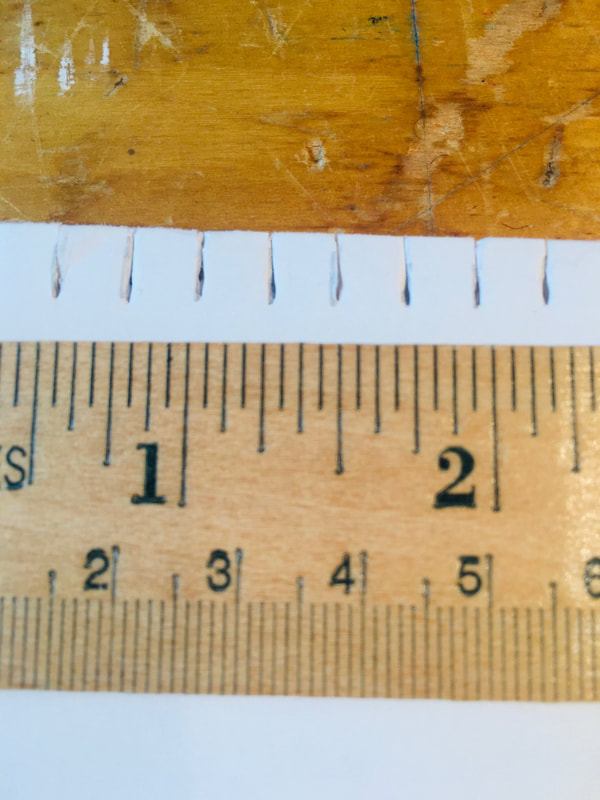
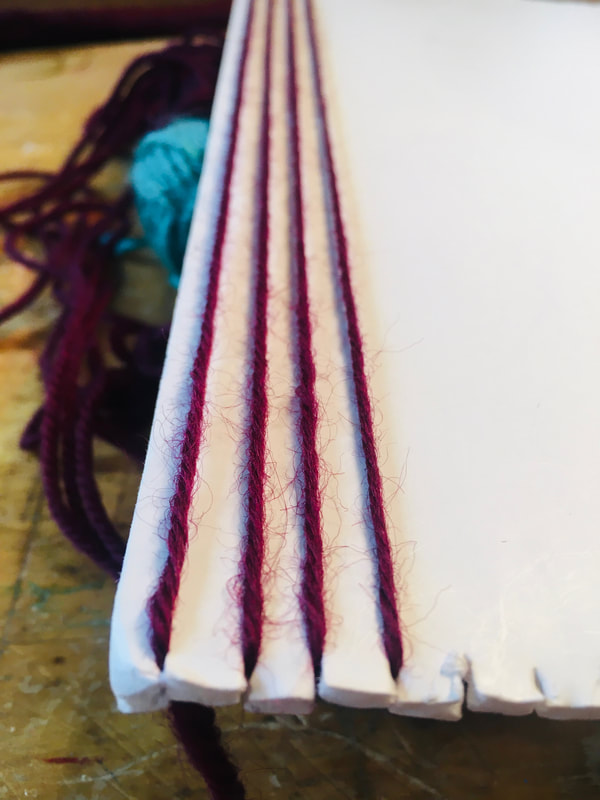
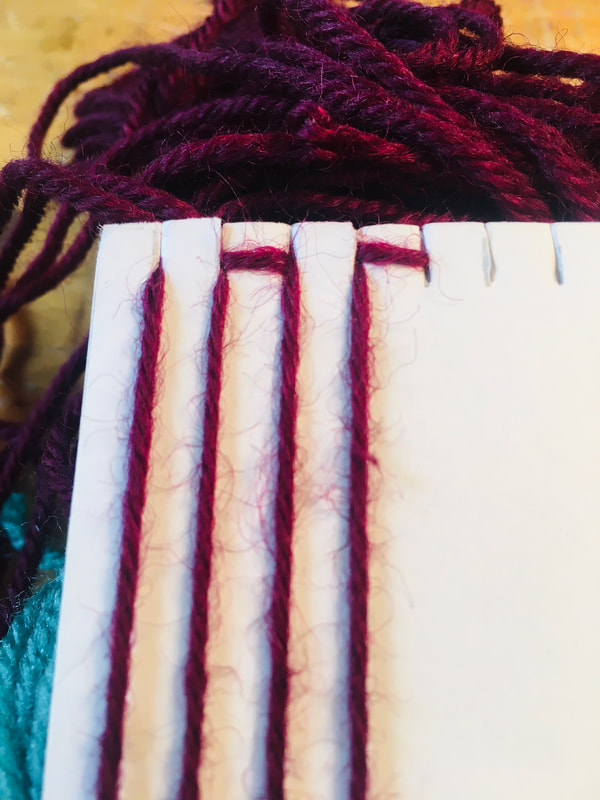
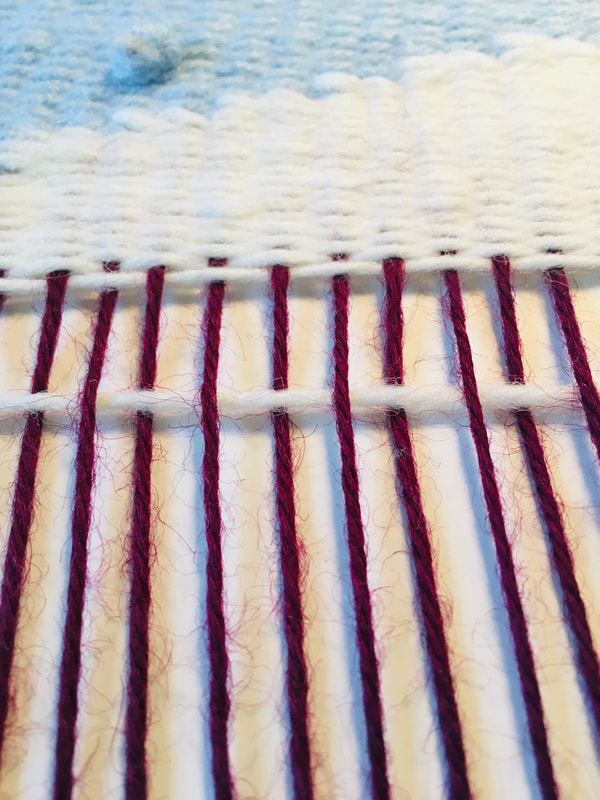
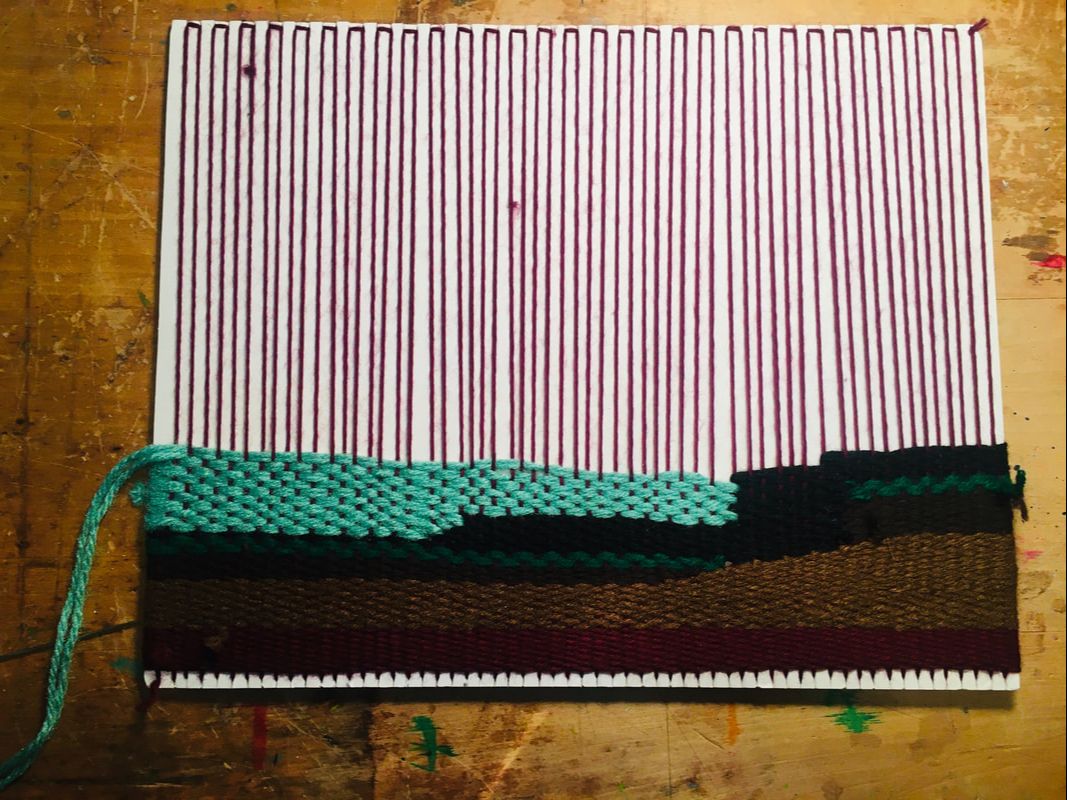
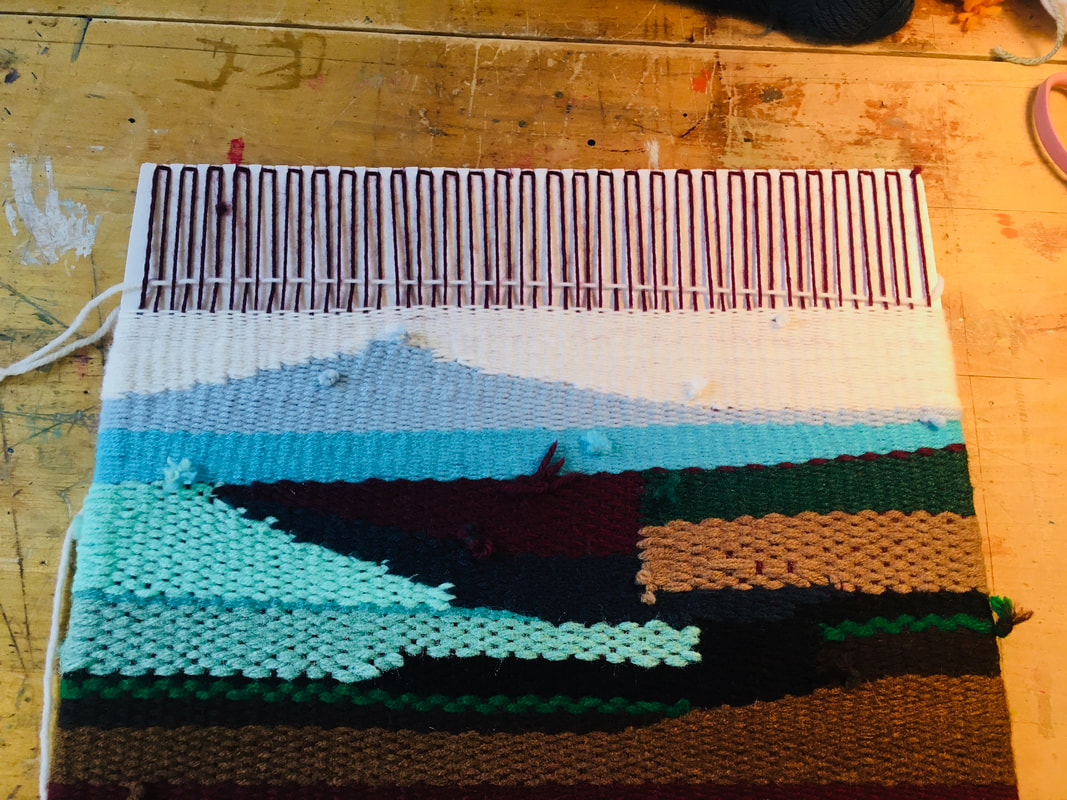
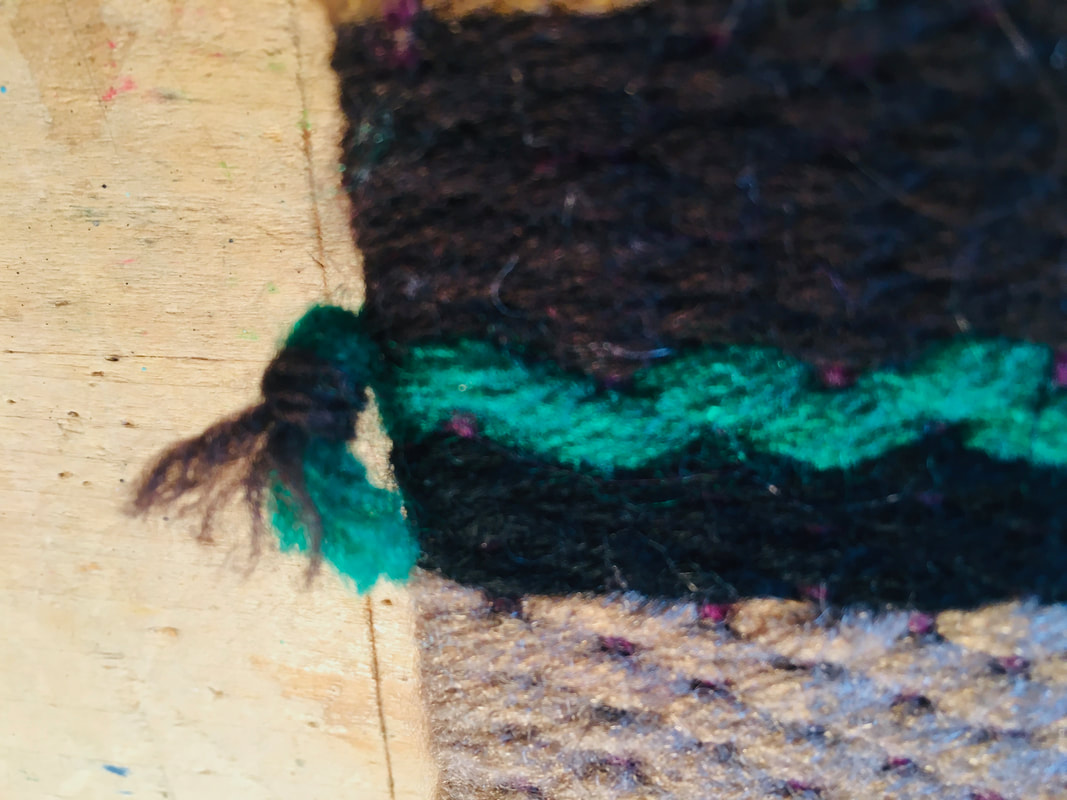
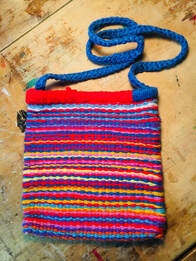
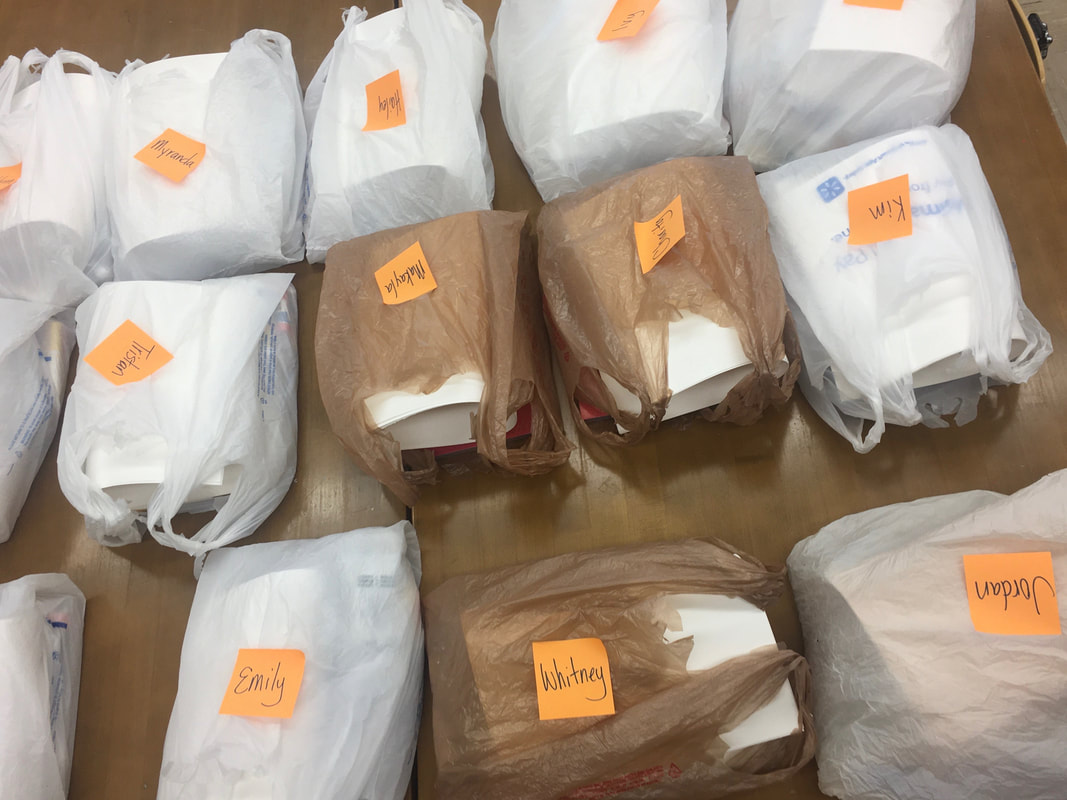
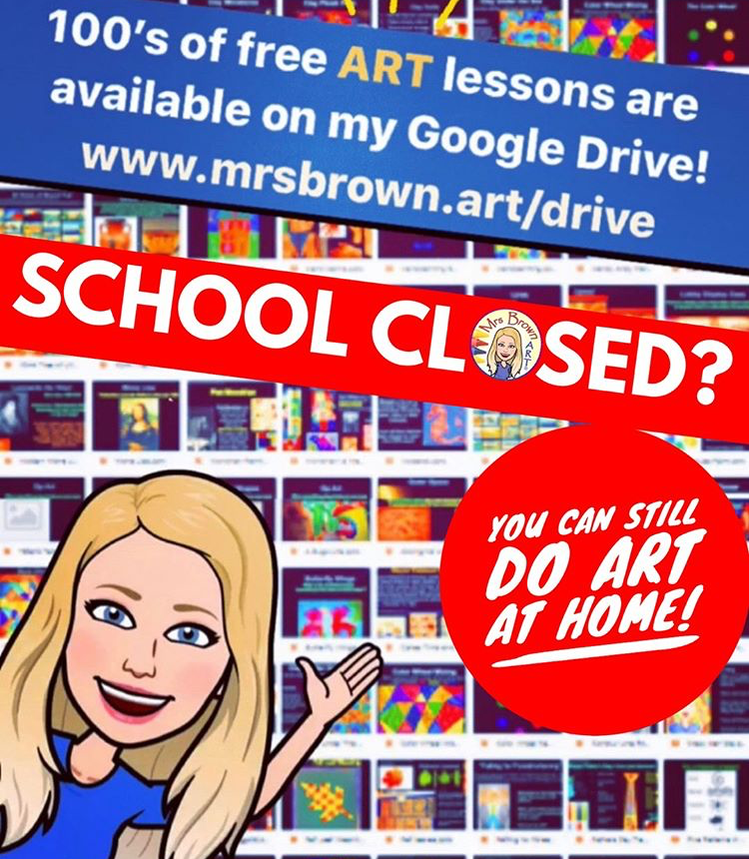
2. Draw several other circles with the same center point, this in math is called, Concentric Circles. 3. Take the ruler and draw a horizontal line across the center. 4. Take the protractor and place it along the horizontal line. Draw a mark every 30 degrees: at 30, 60, 90, 120, and 150. This will give us 12 sections. 5. Take the ruler again and draw a line between the center and every degree mark, across the whole paper. 6. OK, you will now have 12 sections or pieces of a pie. You need to fill each section with some kind of repetitive pattern. What can be easy to repeat? 7. Replicate the element until you fill the whole circle. Be slow and thoughtful—there's no hurry! Focus on what you're drawing at the moment. 8. Draw light until you know it's right! 9. Once you have your mandala filled in, darken it or "ink" it by going over the lines with a marker. 10. fill in the open spaces with watercolor, colored pencils, or markers to add bright colors. 11. Set back and look at your masterpiece. Beautiful! Like most of the United States and the world, for that matter, I am in quarantine. We are to be staying at home, not going out unless it is necessary for medicine of groceries, and even then, you have to stay 6 feet from people, which is called social distancing. As an art teacher I wanted to give my students a challenge of painting to help release stress and it would be a great distraction from their other online schoolwork. What happens if they don’t have any paint at home? I don’t want them to go out to the store for a set of watercolors or have to buy something on the internet that might not be shipped for a week. I found many things around my house that could be used as paint. The first thing I did was to sample all the pantry items by mixing them and doing swatches to see how they painted. I mixed all of the power spices with hot water and let them sit for an hour, hoping they would grow in intensity. The first row is Beet juice-from a can, Tea, and Paprika. The second row is Coffee, Mustard Seed, and Kool-Aid. The last row is Baking Cocoa, Turmeric, and Sanding Sugar, or it is also called Sprinkles. I worked with the coffee to create a coffee value scale in the little mountain landscapes. I painted the entire square first, then I painted the mountain range and down on each to build up the coffee color. I mixed up the pantry items to create a background color block, dried it with my hairdryer, and then drew on top of that design. The attached video is sideways but shows a spread up version of the project. I’m surprised; you never know what you might have in your house to create art. Happy Painting! Weaving is a fun activity, and each time I do the project with my classes, I am always surprised at the students who take to the weaving process. There is always some football player in the back of the class that is barely engaged in class that is an amazing weaver and goes above and beyond on their project. Some students just naturally enjoy the rhythmic nature of weaving and that it does not take a lot of decisions and talent. As soon as they are taught the basic step and vocabulary, it is just about setting them loose for an extended guided practice section. There are many weaving tutorials, I generally begin with paper weaving, or I have seen many students do bookmarks and wall hangings with homemade looms. This process is to make a bag, which can be big or small but is a continuous thread and two-sided. Vocabulary First, some vocabulary: Warp- these are the strings that go north and south (vertical) and are stable on the loom. Weft- the strings that you the weaver add that go in and out through the warp, which go east and west (horizontal) in the weaving. Loom- any apparatus used to make fabric by weaving thread or yarn. Loom Select a piece of cardboard, mat board, or foam core and cut it to the size that you want your bag. I wanted something that would hold my 15” laptop, so I worked with a piece of matboard that was 10” X 16”. The first step is to mark every ¼ inch marks across the bottom and top of your loom and cut small slits for your warp threads to hold securely. Make sure you have the same number of notches at the top and the bottom. Warping the loom Warping the loom is your second step in which you are adding the vertical string to your loom. Begin at the bottom corner by going around the loom and tying the string to itself. You will now begin wrapping the warp string around the loom going down and up the same notch and then moving the thread over to the next side. You will have a string on both sides of your loom. Make sure all the “moving over loops” are at the top, so when you finish your weaving, you can slip these off the loom and remove your woven bag. Make certain not to miss or skip any notches, if you have missed any go back and fix this now before you start weaving. Weaving The process of weaving is going over and under the warp strings in an A/B pattern. The string that you are weaving is called the weft, and it can be anything from yarn, strips of fabric, notions, or lace. You can mix and match the materials for a great look. When I begin, I tie my weft string to the bottom warp and start my pattern of in and out through the warps. When I get to the end, I flip over the loom and continue the pattern on the back side. I generally weave about five or six rows before I push the rows tight with a large hair comb or fork. You want to pack down your weaving, so you do not see the warp thread, this will make your bag nice and tight, but also strong to hold your goodies you plan to put in there. Just keep weaving….Just keep weaving! It takes some time to get your weaving to the tippy top. I spent 20-25 hours on my laptop bag. Don’t forget you are doing both sides. I also wanted to play around with triangles and other patterns; you can do this as well, just make sure you are connecting to the previous string. Adding a different color You can add more weft string and change colors as often as you desire. I do a double knot to add the new color to my existing string and then keep weaving. Don’t worry about the knots because when we get done weaving this bag and take it off the loom, we will turn it inside out so all our knots will be on the inside of the bag. Finishing the bag It is very hard to get the string up at the top of the loom because the warp thread is so tight, but I switched to a smaller needle to finish. I tied the end weft to the warp and began bending the cardboard loom to release the warp loops and then slide the bag off the loom. The bag is fine how it is, but to finish off the top, I just took the thread and reinforced the top and bottom, knowing that my bag was going to pad my laptop. You can also braid a handle for a bag as I have done here. If you have questions, please share those in the comment section and… Happy Weaving Everyone! We are going online. This is the sentence that was uttered around so many schools this week. I teach at a college, so online classes are actually a thing, but rarely in the fine art department. I do not want the spread of the Covid-19, so I’m glad the University is taking precautions, yet I feel sad for the students to have to leave their campus community. For students in K-12 schools, online education is very rare and presents some challenges, especially for hands-on classes, studio classes, service learning, internships, student teaching at schools, and anything that is a project or a group project. I have been gathering some resources for myself and colleagues and encourage you to dig into the blog posts on this page as well as the video lessons on my You-Tube Channel. I am hopeful that this experience will offer opportunities to emphasize different ideas in our classes and make us better teachers if we learn from this experience. Project-based Classes I teach future teachers at a University. In my Art Education classes, we are starting to put together lesson plans learning about Student learning outcomes, writing rubrics, and the National Visual Art Standards. These PowerPoints can be available online, but what about the simple art supplies for the students to do those projects? I do not want my students to have to go out and get supplies at a store with a college student’s tight budget when we have supplies in the classroom. I gathered my grocery sacks and packed a little gift bag for each student filled with watercolors, colored paper, drawing paper, pencils, erasers, paintbrush, airdry clay, and glue sticks. I figure we could use these supplies when we meet virtually online, or they will have these supplies to help fill the time during their social distancing. I felt that was a good thing, and I encourage teachers to send art supplies home with your students, or parents to think about picking up art supplies while you are going to the store to stock up on pantry items. Studio ClassesStudio classes where students are painting in the studio presents a different challenge. The students would be painting at home and uploading images of their artwork to be critiqued by the instructor. The good thing here is all the one-on-one instruction. You can meet each student’s needs. Think about a group chat or discussion board, so you are not the only one doing the critiquing. I learned so much from the other students in my art classes that I would hate for the students not to interact with each other, if only for inspiration. I know many teachers that transition to clay at the end of the year or Ceramics teachers that are beginning to work on glazing and finishing details. Ceramics Material Workshop is offering free online content for all educators who are moving to online platforms. Glaze for Our Lives, is a 23 episode series of recorded lectures explaining how and why to glaze pottery. Contact them at: ceramicmaterialsworkshop.com with an .edu email address, and they will get you set up. Also, visit https://www.ceramicmaterialsworkshop.com/glaze-of-our-lives.html for more information. K-12 ClassesBesides digging into my blog and YouTube channel to see ideas and lesson plans, I recommend two other resources that are full of good quality lessons prepared by art teachers with downloads and art production images. Although I understand that lots of people will be hitting Pinterest to find ideas, these resources are available in one place and are art teacher tried and true. Cassie Stephens: Art Teacher, Podcaster, and Author of two books I love, Clay Lab for Kids, and Stitch + String Lab for kids, has a whole of information on her website. I also recommend Mrs. Brown. Amy Brown is a K-5 art teacher and has a Google drive open and available with lesson plans and downloads for you. There are many more resources available; I saw on social media that educational websites were doing free trials for the next 30 days, so please take advantage of those. Comment below with your resources, and I will update this blog as need be. Remember, friends; this is not an ideal situation. We are trying the best we can to make it better for our students, but we are in triage. This is not "best practices" for distance-learning. Do not feel like a failure because you had to plan and move a class online in less than a week. It's ok, we are all trying to survive. Give plenty of grace to everyone you encounter and also to yourself! Blessings, Dr. Charity-Mika Woodard UPDATES:Studio Potter is offering free memberships for all educational institutions, including K-12 schools, affected by Covid-19. You can get a free three month membership to their archives of over 8,000 pages of ceramics content.
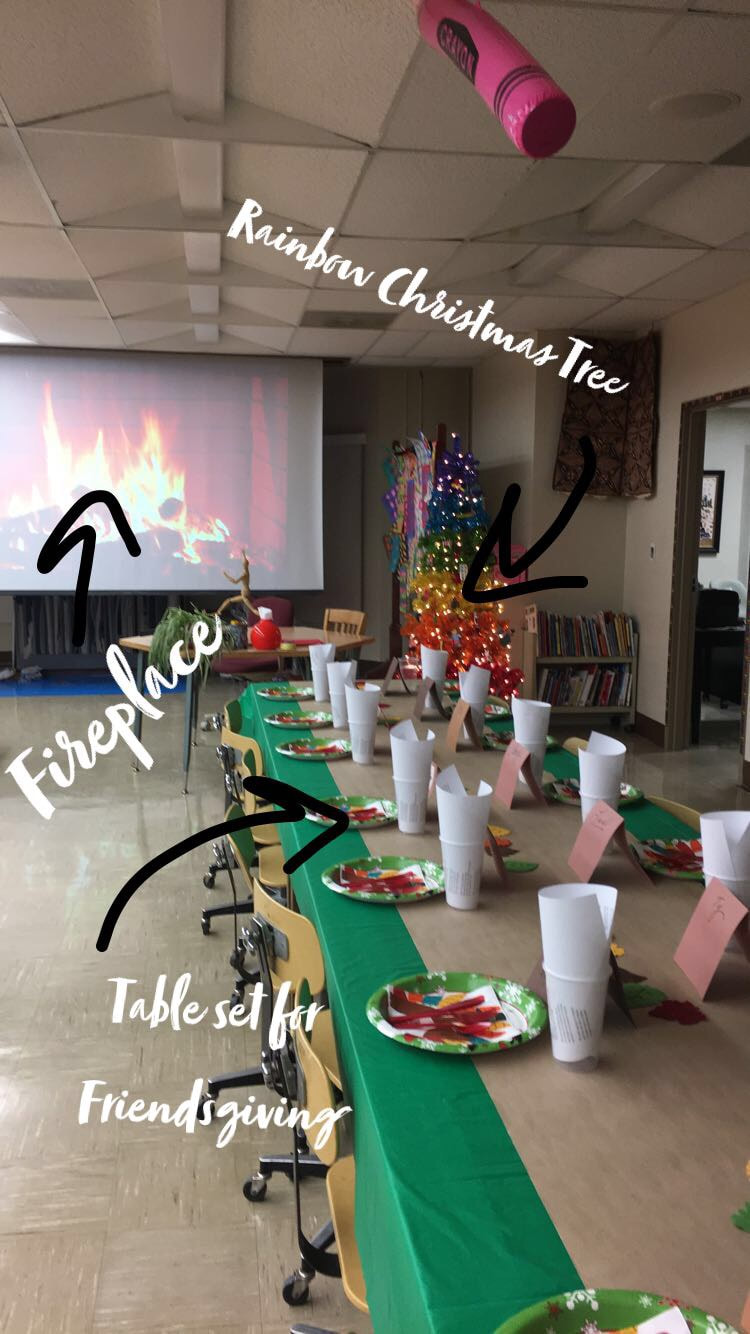
Music is a great way to set a tone in your classroom, reward your students, or to add an additional learning element to the overall classroom experience. I first started thinking about music in a classroom when I taught in an elementary school. My third-grade class said, “Don’t forget to tell our homeroom teacher that we were good in our special area because if we get enough stars, we get to listen to Christmas music.” That next day I popped into this classroom and was so shocked to see all the students on task at their desks while a CD player on a low volume was playing a Mannheim Steamroller CD. I think the teacher had purposely turned it on a lower level, so the students got quiet to hear it. I have since tried this in my classes, and it is correct, if you turn on music to reward your students, they will get quieter to hear the music. This is an excellent classroom management strategy. I love to have this dangling carrot to reward students but also something simple like background music to take away when voices get out of hand. I know that students are exposed to enough music from Disney CDs and the radio, so I do not play any Disney or top 40 hits in my classroom. Instead, I take the opportunity to use the music in the classroom to expose and teach the students about some great artists. I have a jar of names in the classroom, and once a week, a student selects an artist’s name from the jar, and they become our Musician of the Week. The artists in the jar include Fleetwood Mac, Beatles, Mozart, and Michael Jackson, just to name a few. I then go to my favorite streaming services such as Spotify, Pandora, or Amazon Music and type in that artist. I love it when after the Beatles week, a parent came to me and said that her child had correctly identified a Beatles song that was playing in the grocery store. The last great way to use music in your classroom is to enhance your lesson plans. If you are doing drawings on animals in the safari, why not try to find some African beats from the world music section? It would be a great tone-setter in the classroom and auditorily transport your students to that time and place. Global music is a terrific way to add a layer of multiculturalism to your classroom with very little effort. It can easily become an anticipatory set to help hook the students as they are walking into class, or as background music while they are working. Below is a link to a general Spotify album that I use in my classroom. As of this moment it has 52 of my favorite songs from Motown. Here is also a link to another Motown’s Greatest Hits on YouTube. It is 2 hours and 24 minutes of some of my favorite songs. How do you use music in your classroom and what are your favorite albums? Comment below to share your resources with others. Don’t you love the coziness of a crackling fire? You can pull your rocking chair right up to it and do a little weaving or read a good book. I think background ambiance can set a mood, so I have been using screensavers at school to do just that. If you have a projector, a screen, and the internet here are a list of the best screen savers on YouTube for your classroom. Here is a picture of my classroom ready for Friendsgiving with the fireplace on the screen in the background. It all started with an episode of Bob Ross's Joy of Painting (Netflix). I showed it during some open studio time in the classroom just as background noise. Bob, as you know, is wonderful and so soothing so he was a perfect choice while my students created. It was open studio time, so the students were busy working and I was walking around slowly giving advice and directions for their projects. I noticed a few students actually watching the Bob Ross video instead of working, and I redirected them to continue working on their own artwork. After this I went in search for a video that could set a mood but also be background. I didn't want students to be caught up in watching the screen like they watched the Bob Ross video. YouTube is filled with screensavers, many are 5 to 10 hours so I don't have to worry about what is on the overhead screen. I can literally, like the commercial says, set it and forget it. These are in no particular order, I encourage you to try them all. 1. Crackling Fireplace I use this one on a cold snowy day, and it seems to warm up the room. It is also good for story time, time when students are laying on the big pillows weaving, and for Holiday parties. FYI- This one is 10 hours! 2. Aquarium (Water Zoos) Even my college students love an aquarium. I have the Monterey Bay Aquarium Jelly Fish webcam as a permeant tab open on my laptop so I can click right to it and see the jellies. They also have webcams on otters if that is more your style. This is great for any “under the sea” unit or just to get your students to draw from life in a quick manner. Click the image of the jellyfish to be taken to the Monterey Bay Live Cams. The Jellyfish cam has music playing behind the swimming jellies, but the other webcams such as the otters or sharks do not. I go back and forth on the music so the following YouTube link is an aquarium screensavers without the music. Here is a second Aquarium with natural sounds instead of music in the background. 3. Waves Being from a land-locked state I love the ocean, but do not get to visit as much as I would like. This ocean waves helps and is very soothing to hear and see the waves come in and go out with the tides. 4. Winter Snow Just as the ocean waves is a hit in the middle of winter because it gets us dreaming of warmer weather, when school starts in September and it is still Hot, Hot, Hot, try this YouTube video of a snowstorm. It might also be a great screen saver on the day you are painting that polar bear in a snowstorm. 5. Birds in the trees It feels like a hike in the middle of your day. This screen saver is a gem to play in the background on any day but especially on a day when you might be working on drawing birds or insects. 6. Cave sounds My pre-service teachers showed me this video that they used with their cave art lesson. It was a great addition to the overall class period and really set a tone that we were in a cave. I know there are others, comment below on the ones you use in your classroom on a daily basis or for special assignments.
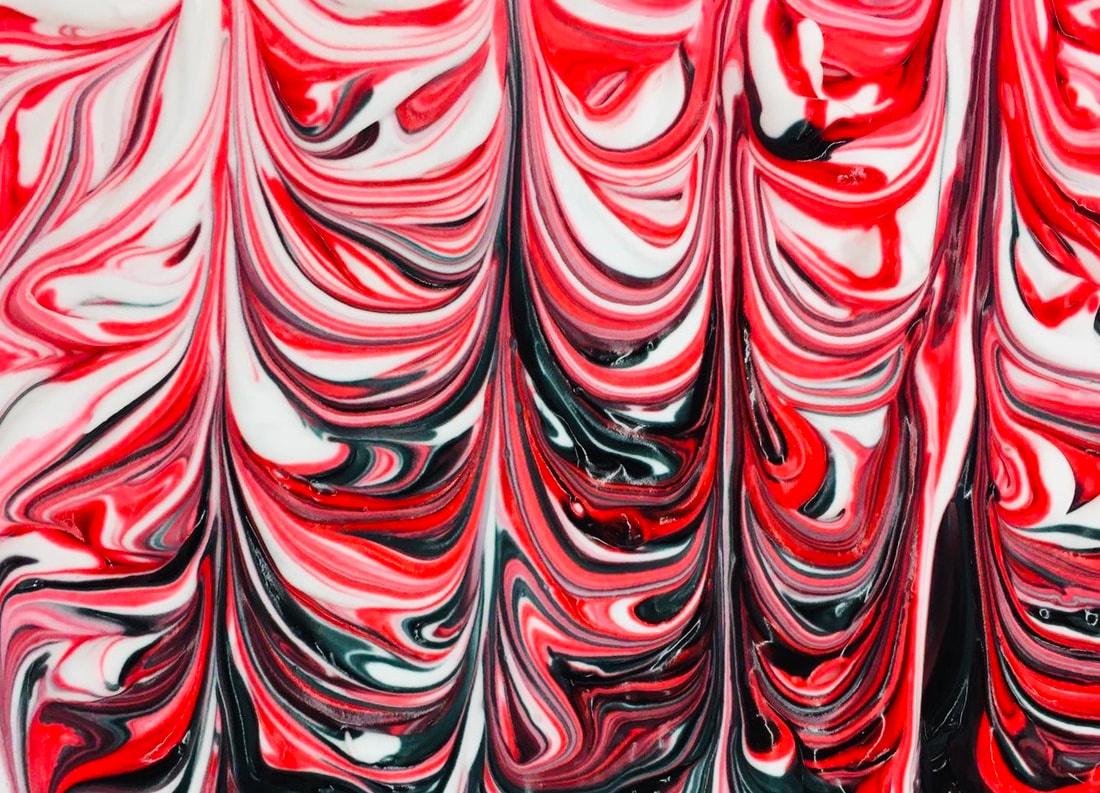
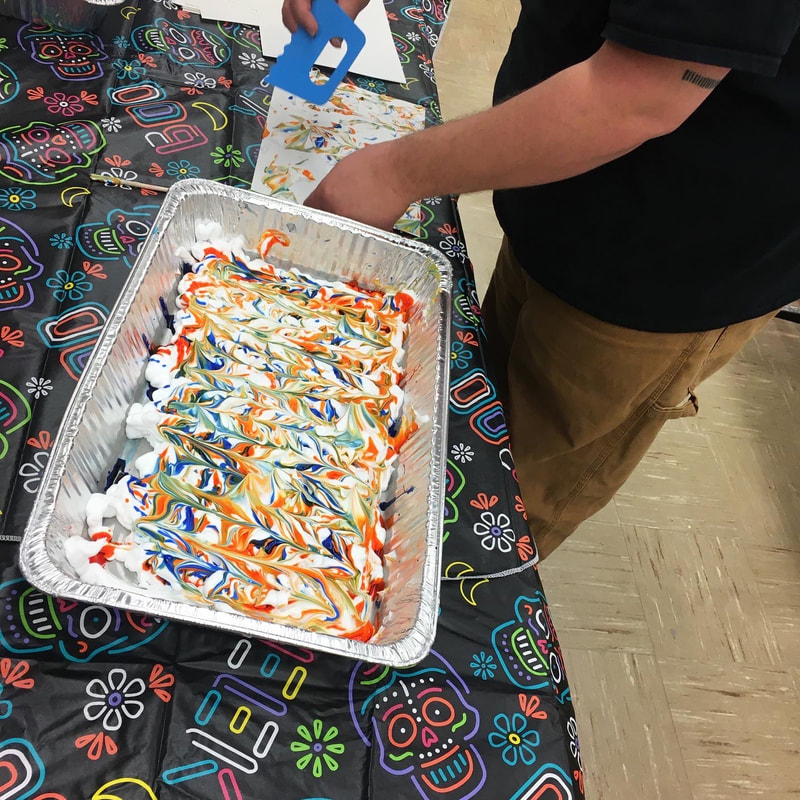
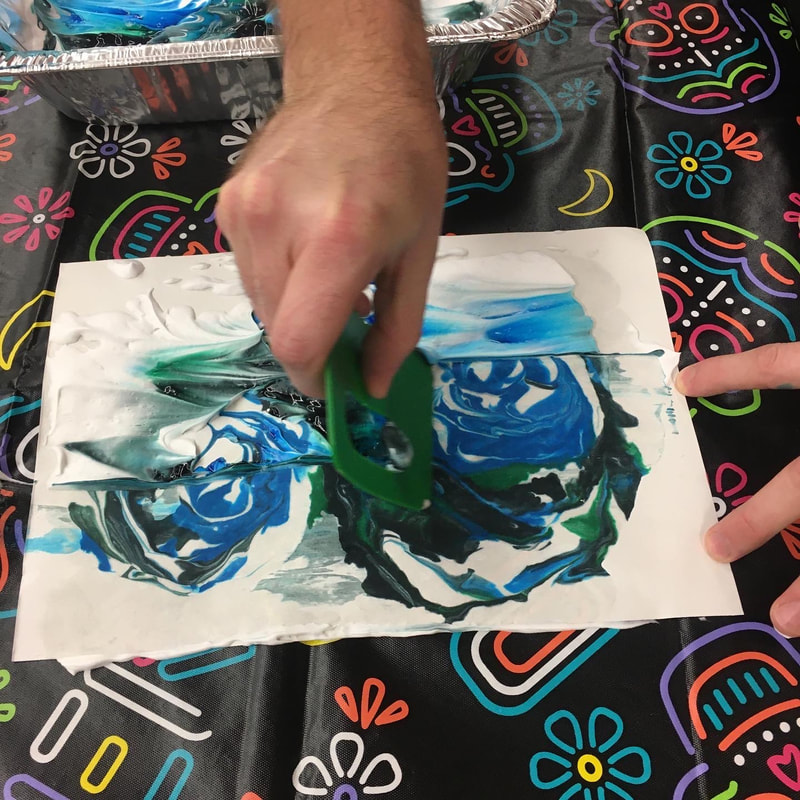
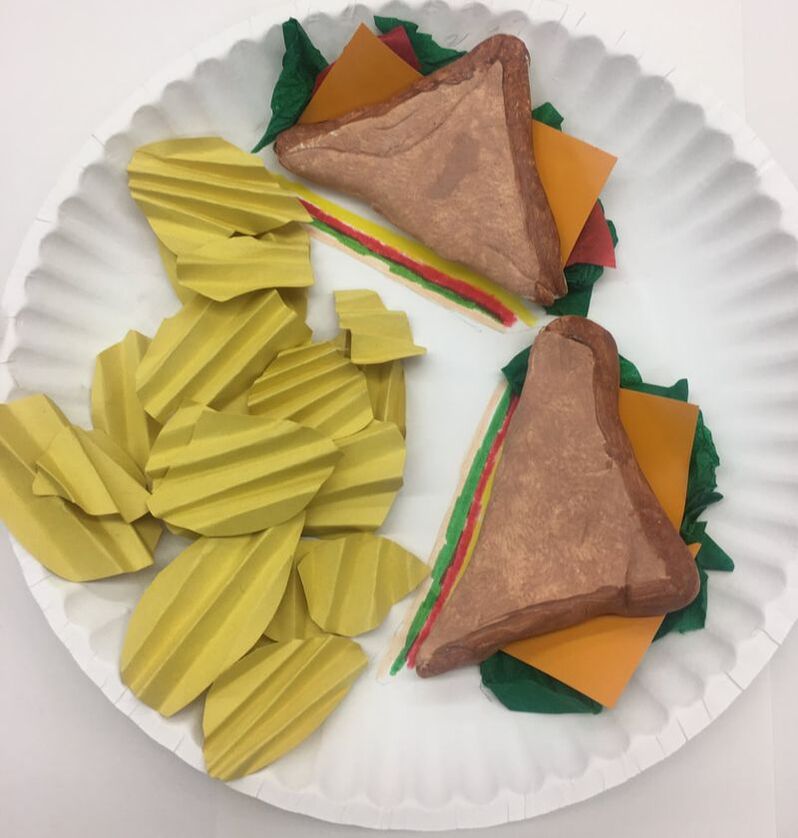
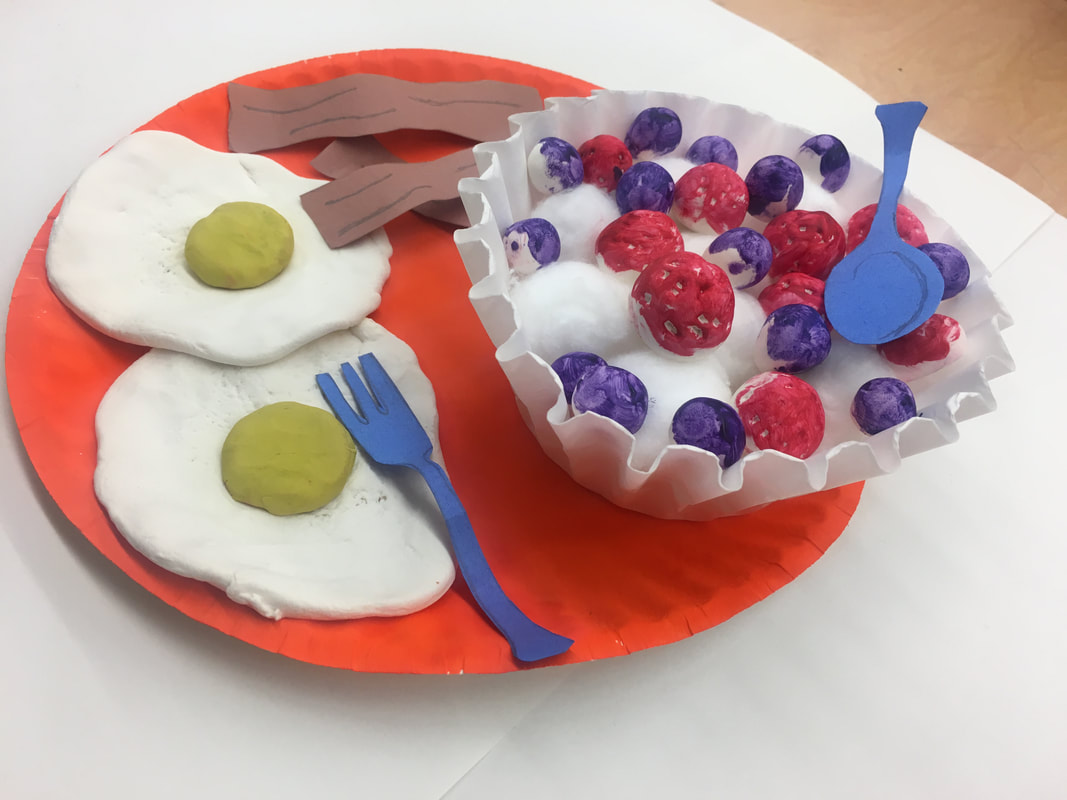
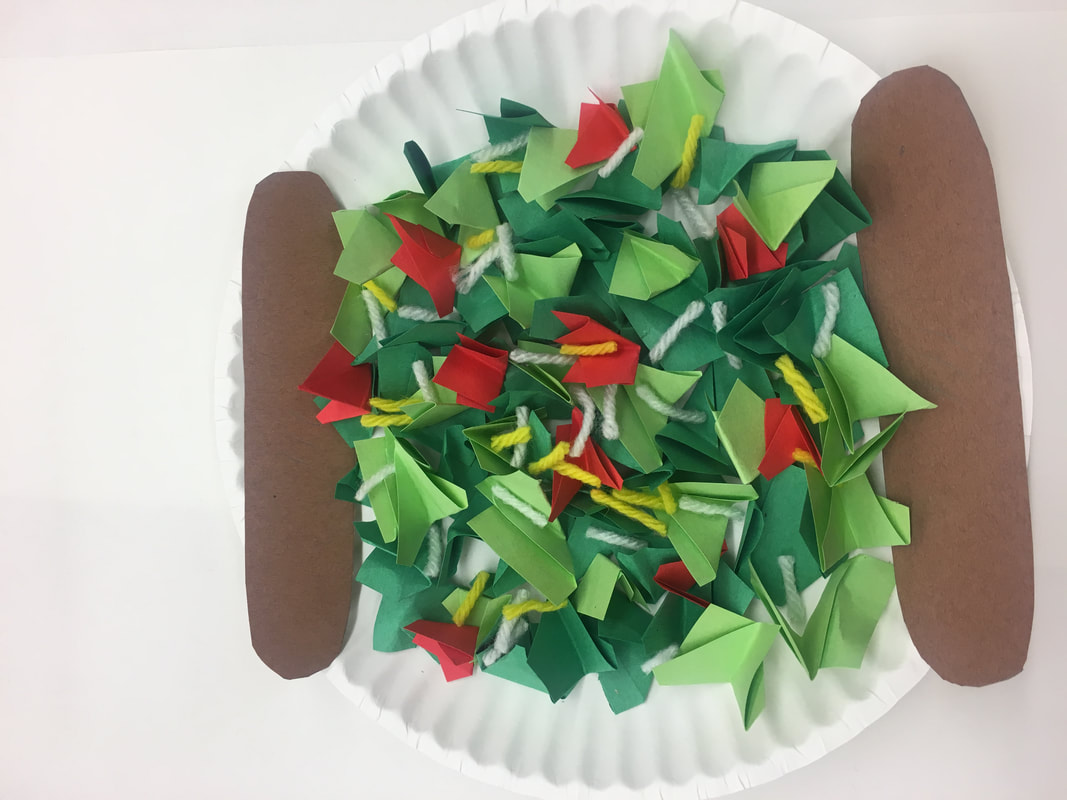
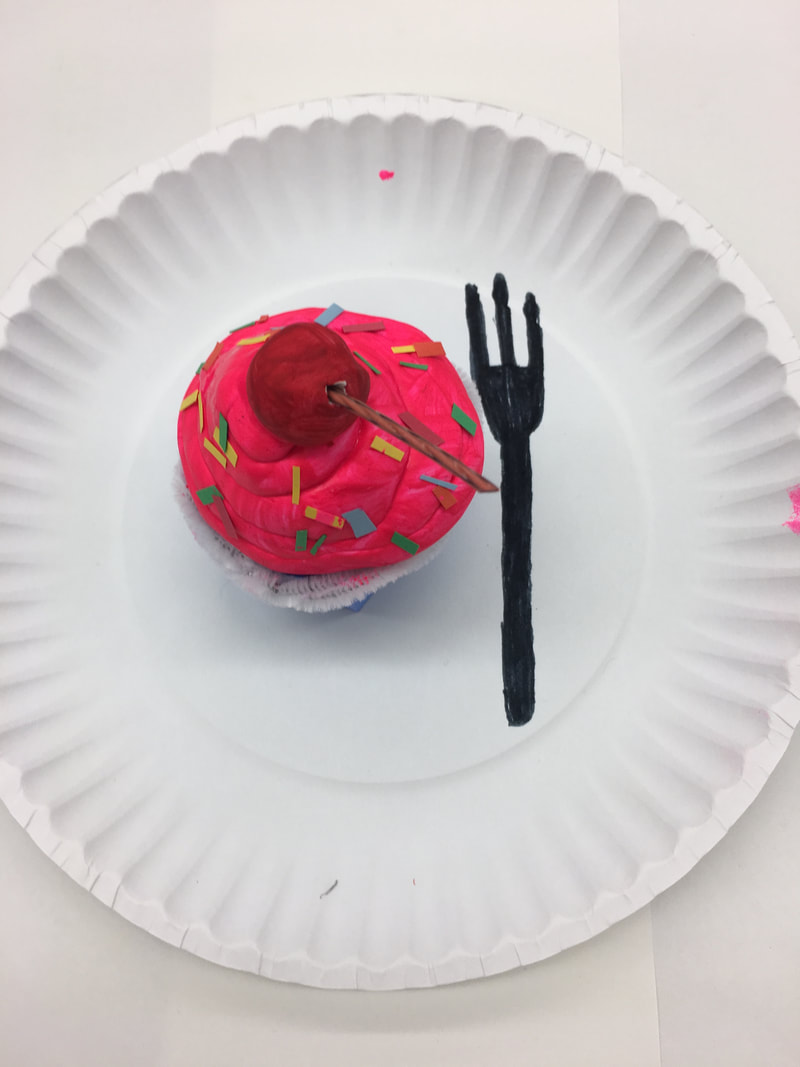
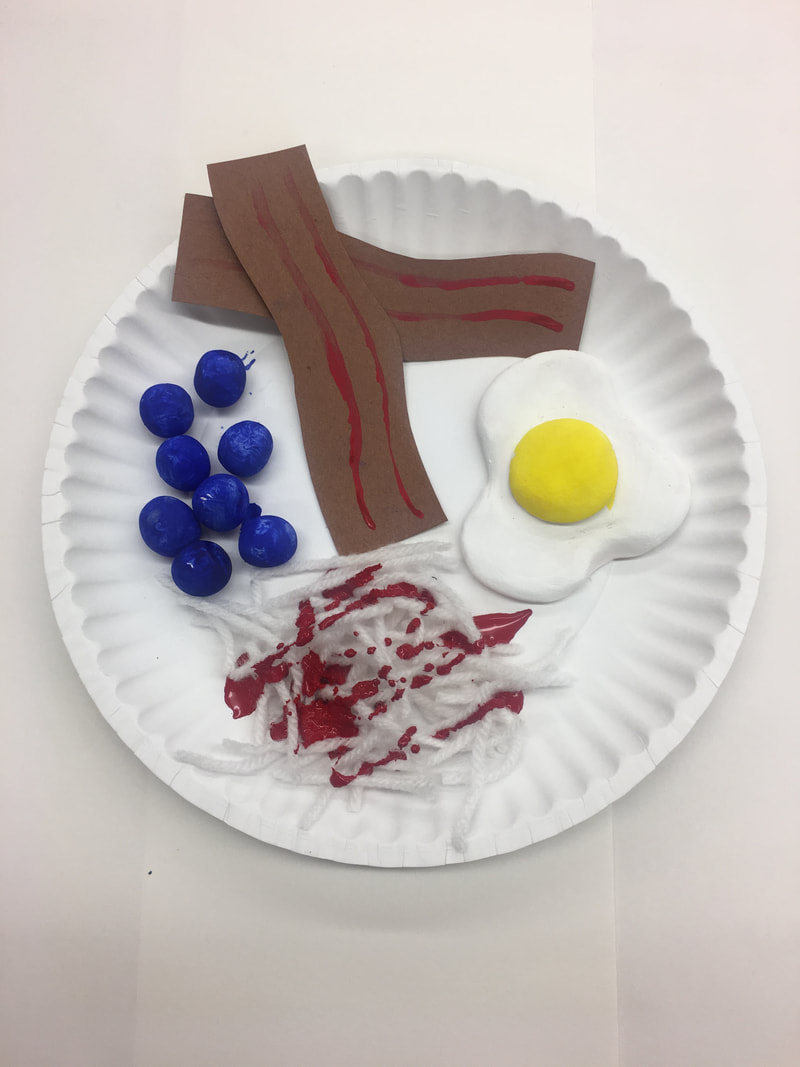
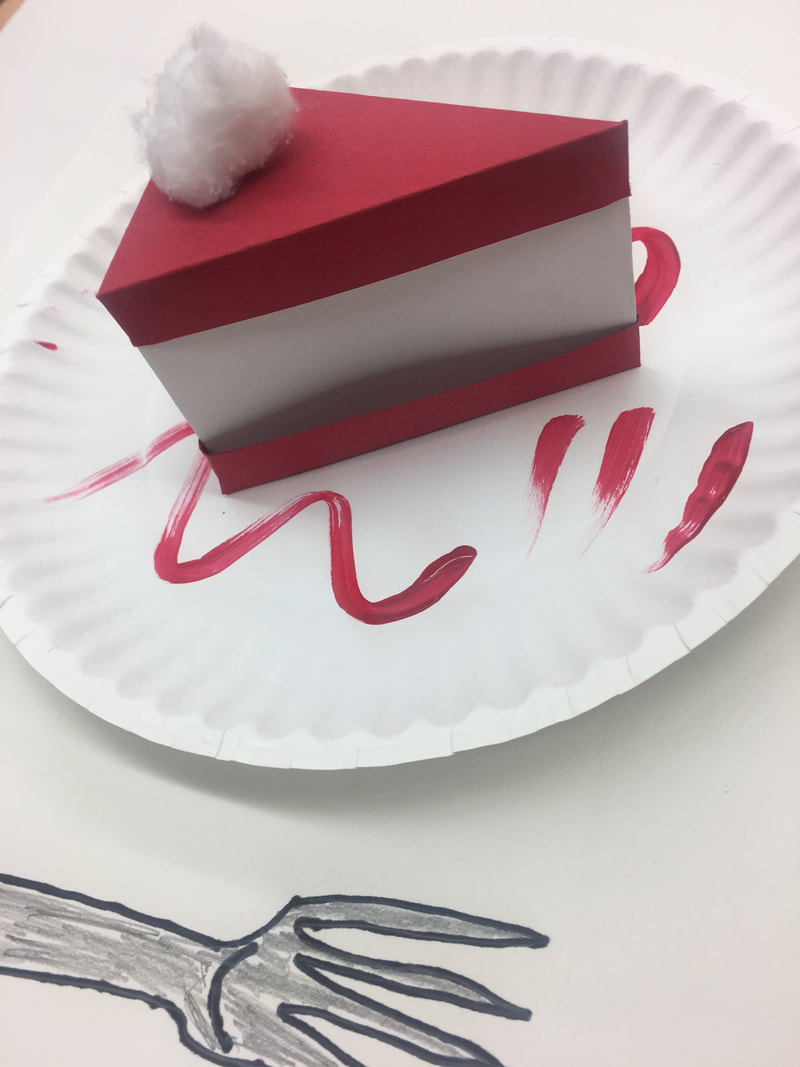
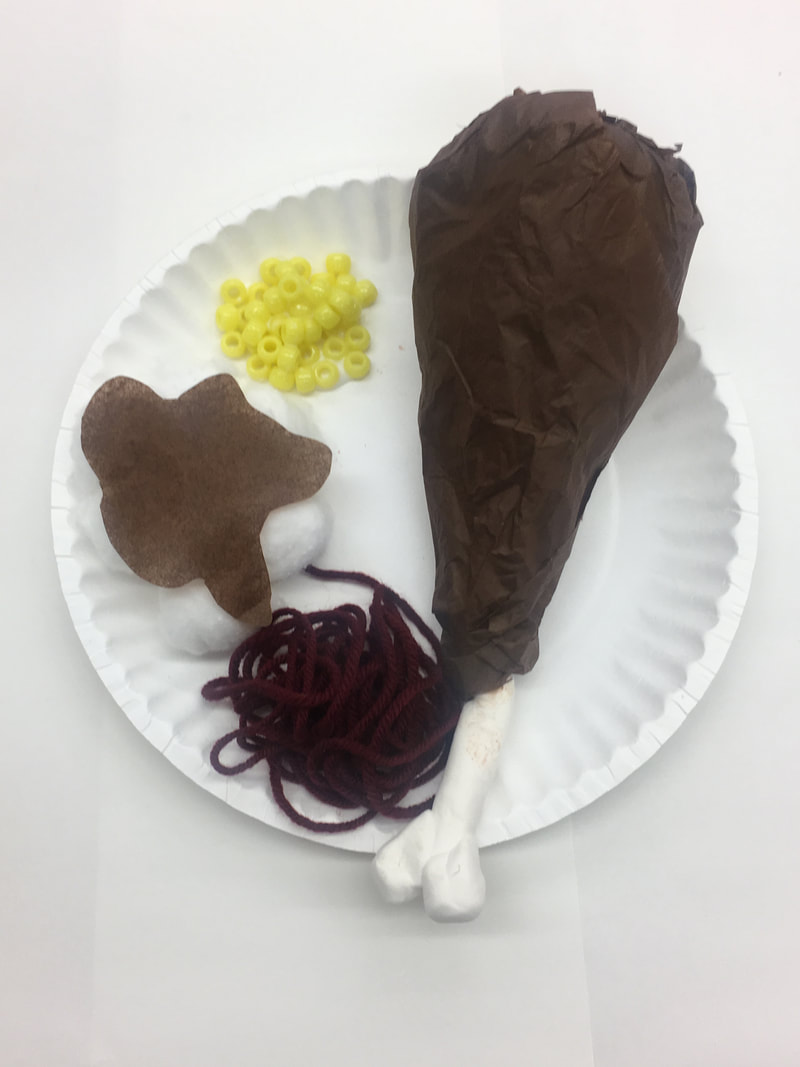
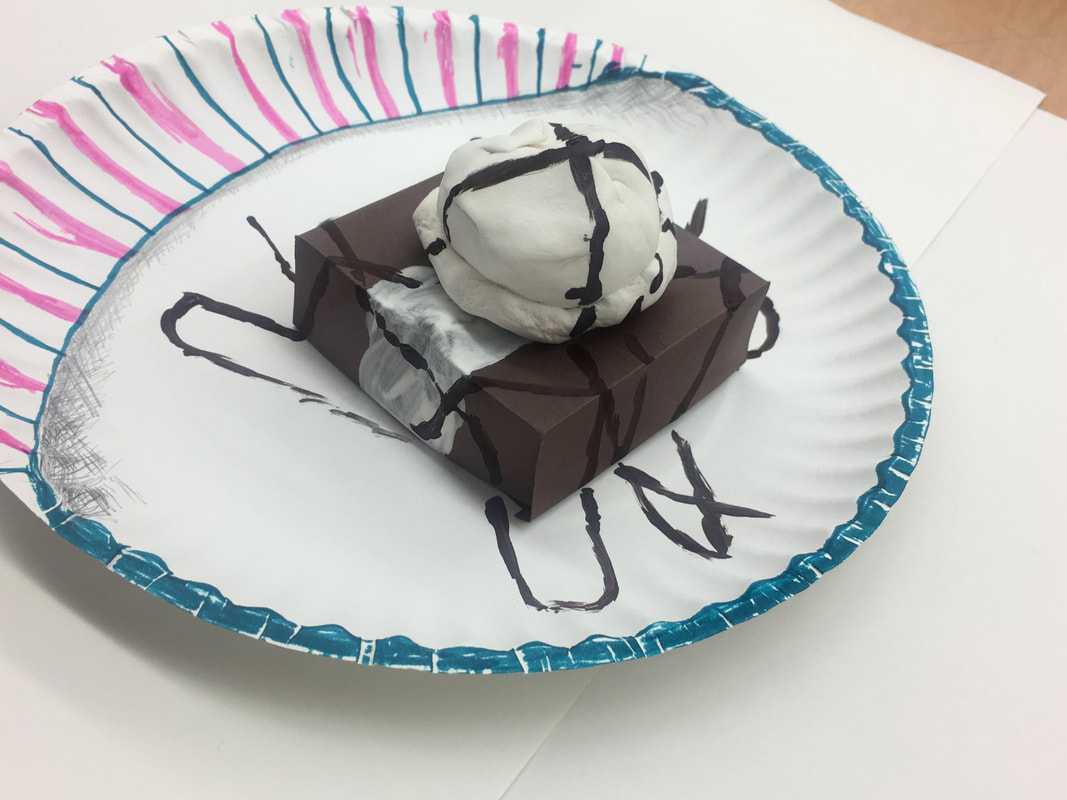
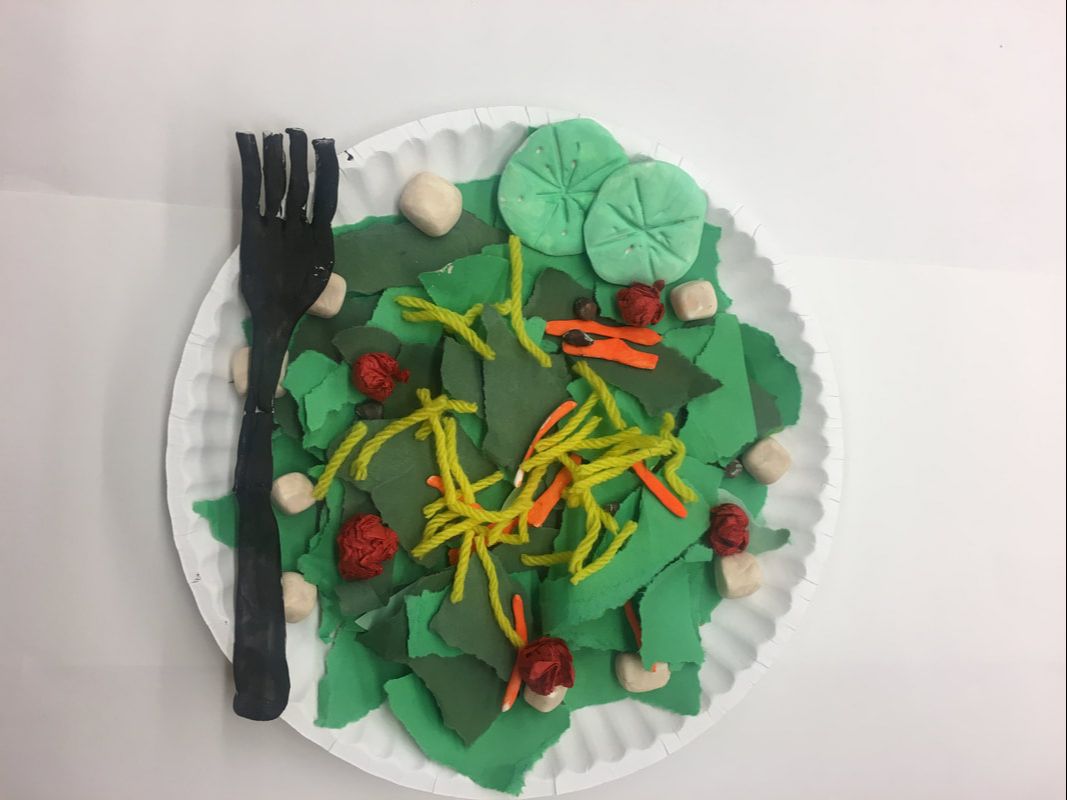
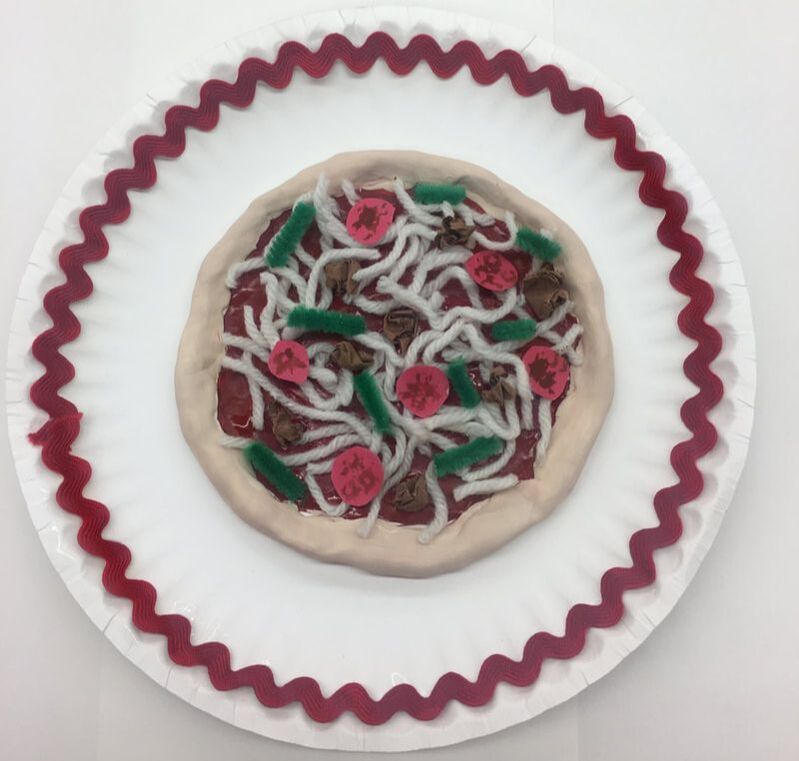
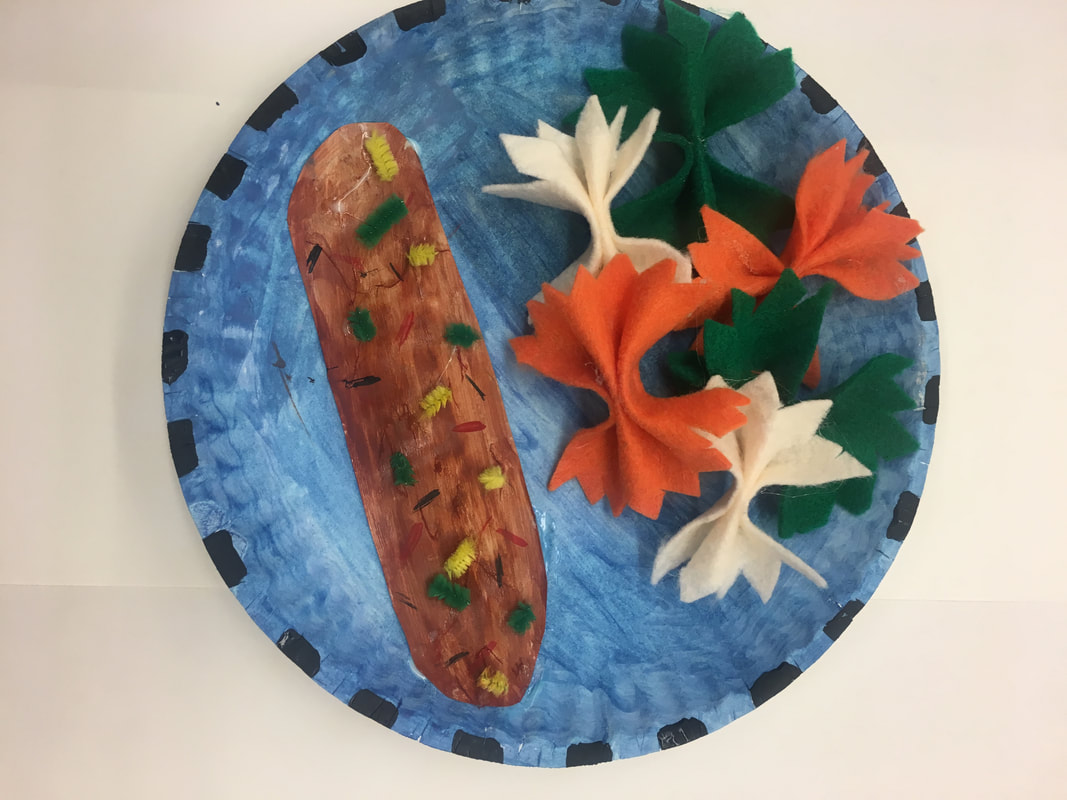
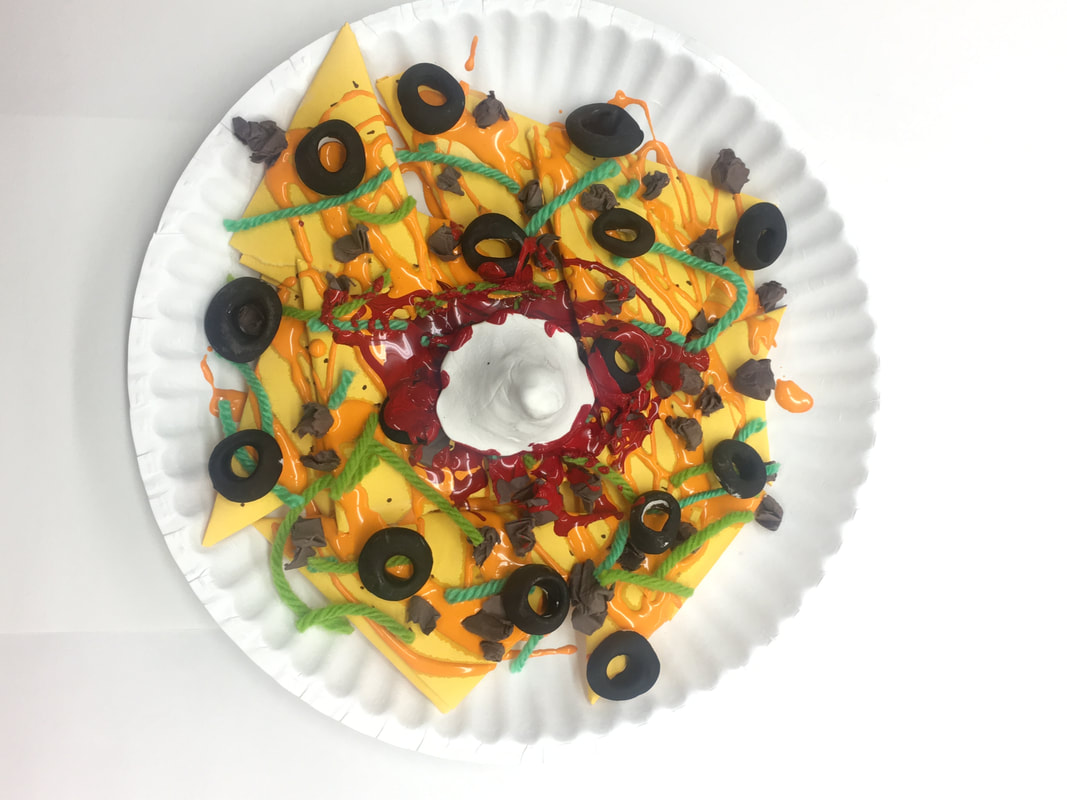
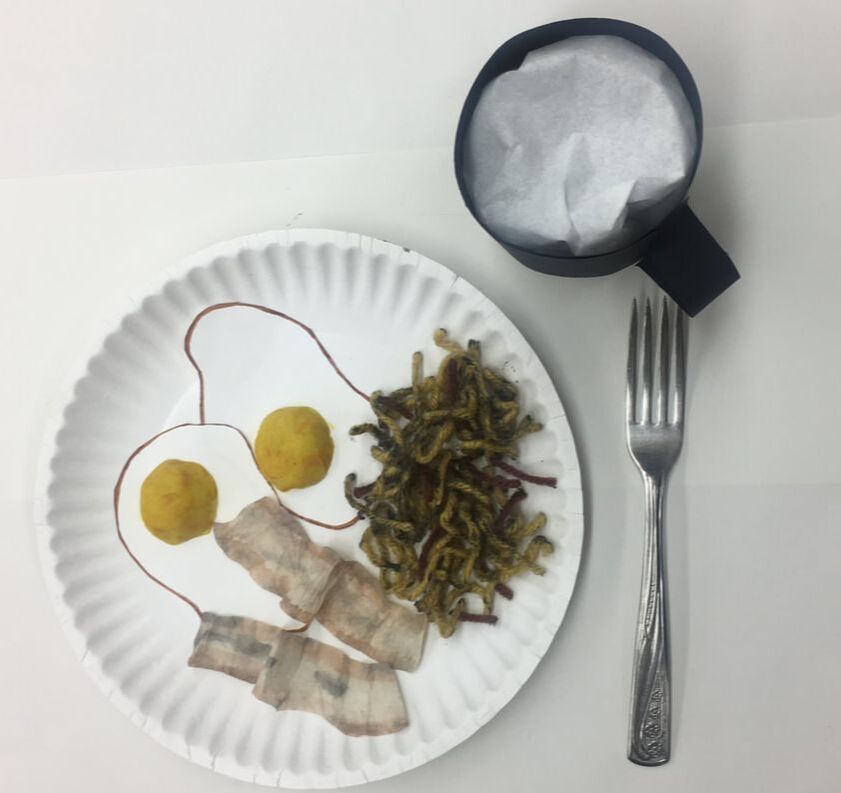
My students in Art Education: secondary spent part of our class time marbling paper today. We are allowing the paper to dry and then we will create 3-Dimentional pumpkins out of paper and pipe cleaners. Marbling Paper is so quick and easy to do. Supplies: Shallow pan, I used aluminum roasting pans Shaving cream- the cheap traditional kind, not the gel Tooth pick or dowel rod to blend the colors Liquid watercolors Paper Scraper, we used paint scrapers but old student ids or credit cards will work. Thank you for taking a look at how easy and fun it is to marble paper. You can use the paper to scrap book, make a sketchbook, or any paper crafts. Leave a comment on how you use your marbled paper. This is my first year to do a food plate in Art Education class and I am loving the results. Be Prepared for all the photos because so many of them turned out great. I began talking to my class about PopArt and showing the class pictures of food in artwork such as Andy Warhol’s 100 Soup Cans or Claes Olderburg’s Spoonbridge Cherry sculpture. We had previously discussed 2D elements that are flat and 3D elements that are sculptures, so a project where they had to combine both 2D and 3D was appealing. The second objective in this lesson was the student had to use multiple media to create their projects. They have a tendency to stay in their comfort zone, and this objective got them moving around the room to use paint, clay, yarn, beads, cotton balls, etc. Having my Art Ed students begin to think about how art can be incorporated into the Core subjects, such as, a social studies unit with foods from other countries or a science lesson on nutrition and making good food choices based on the food pyramid, is a good place for them to be when we return from fall break and begin constructing a lesson plan. The students did draw out of a basket the category (Breakfast, Lunch, Dinner, Snack, Dessert) and then brainstormed three ideas on paper before they were given the supplies. Most students took home Model Magic air-dry clay to make their 3D element and let it dry overnight before bringing it back to class to paint. I just can't stop posting photos! This project turned out so great, and the students loved it!
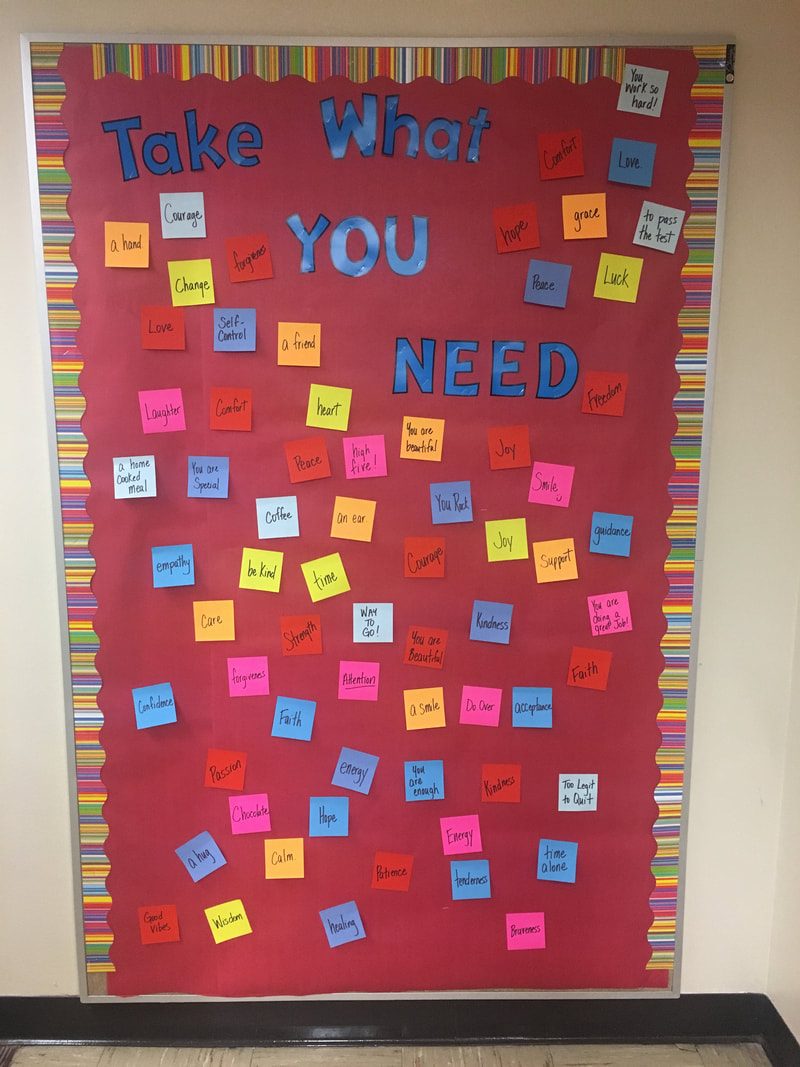
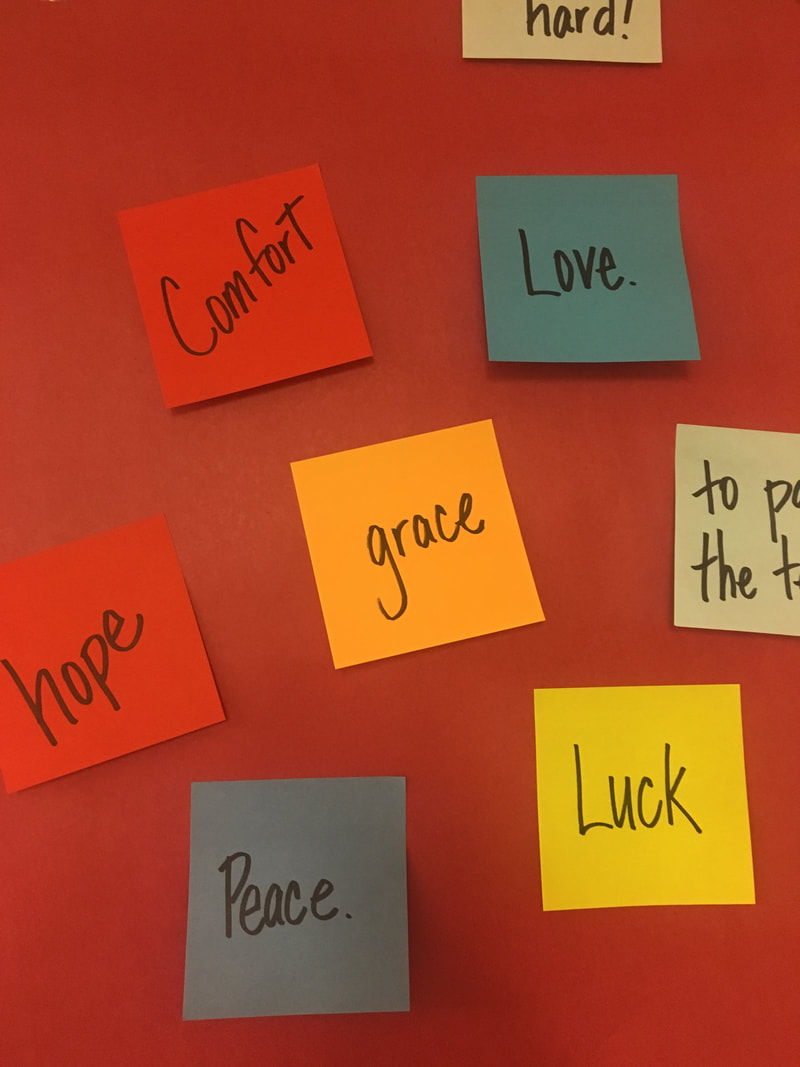
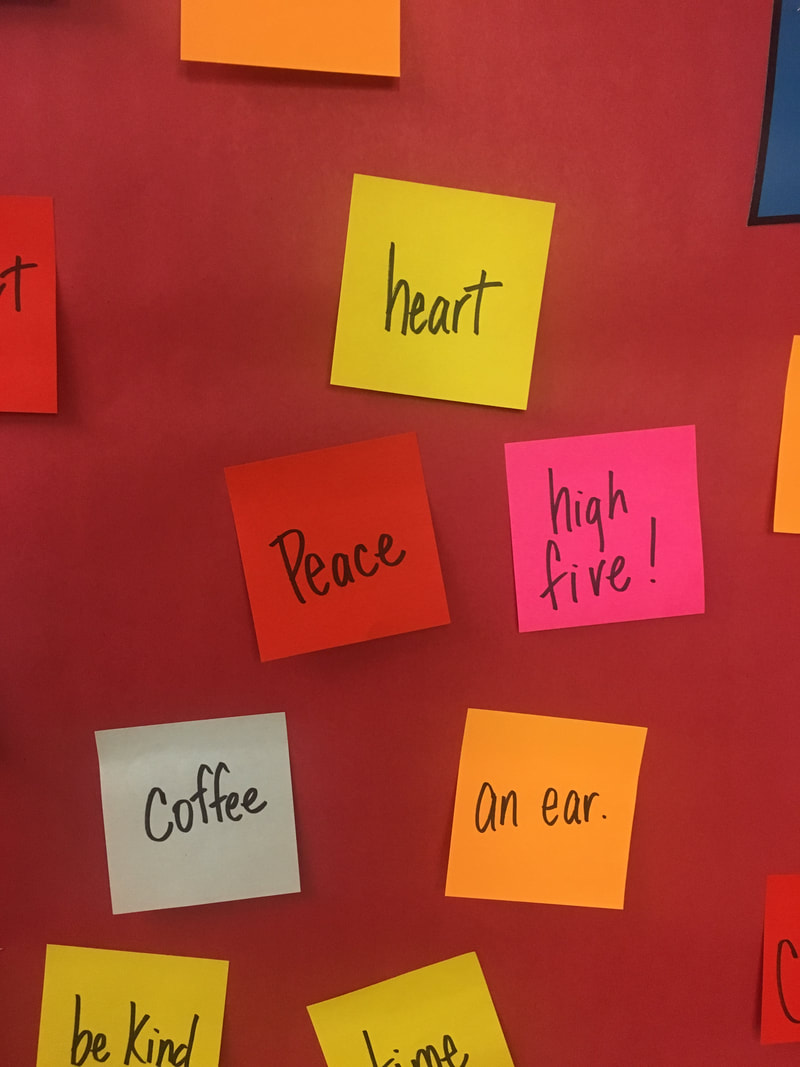
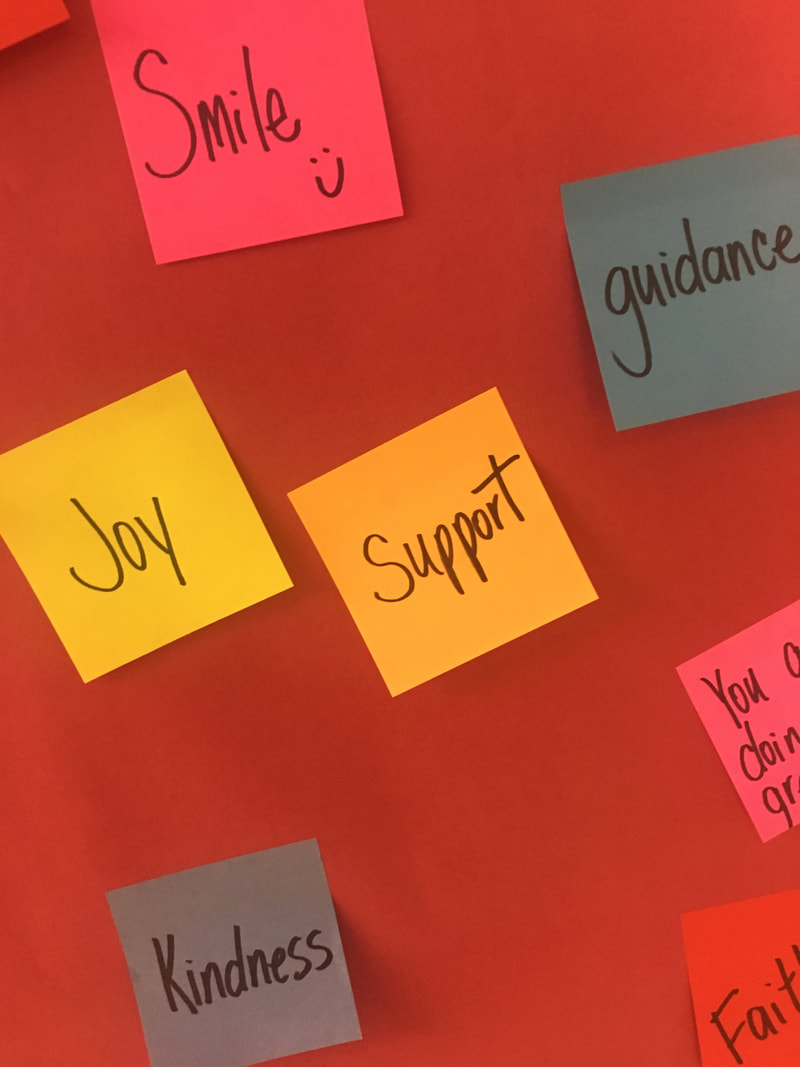
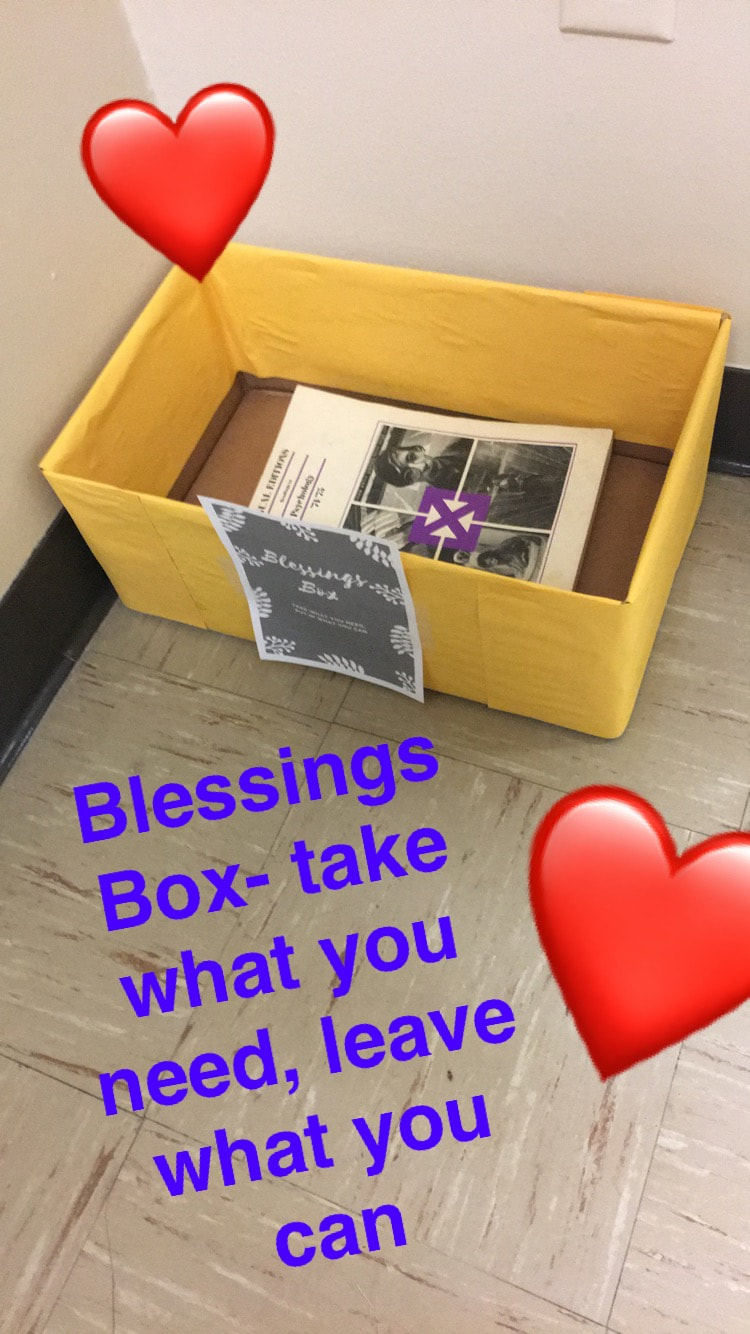
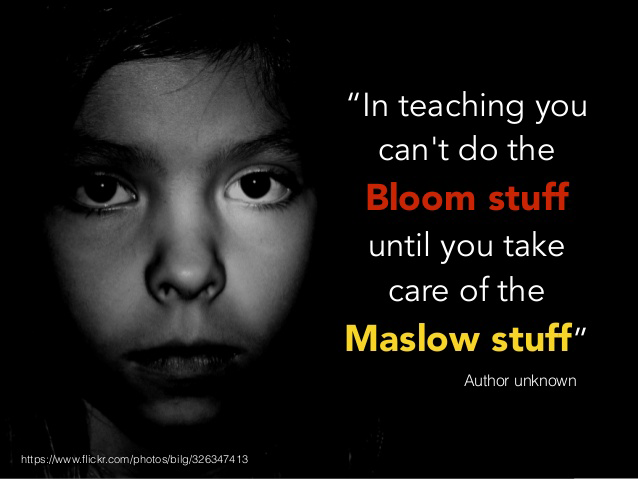
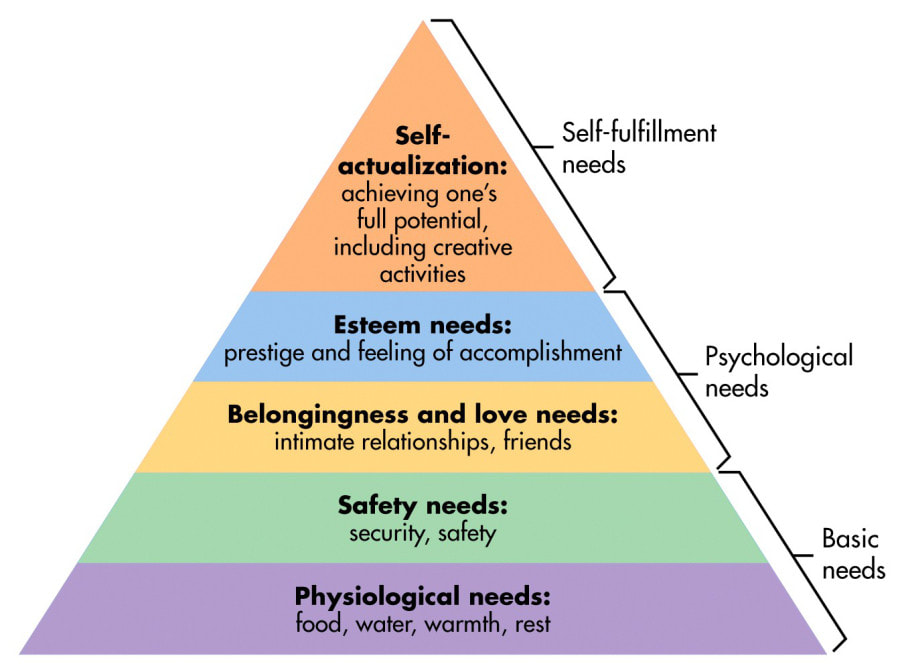
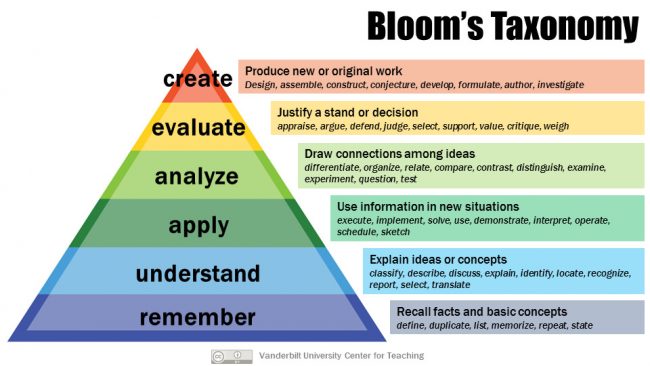
I put a new Bulletin Board is up outside of my classroom. I think it is the perfect spot for the class when they are leaving my classroom, and can just grab one of the post-it notes that they might need. The post-it notes say anything from, “a hug” to “courage” to “coffee.” Whatever a person might be needing on a particular day. Along with this bulletin board effort I have placed Blessing Boxes around the Art department in different locations the last two years. The first year it was outside my classroom and I don’t think it was well used. Last year I placed one by the main entry doors and filled it with portable ready to eat or easily microwaved food. I like this for two reasons, one the students know it is there, many of our art students are working in the building long hours, and they know this box is an option for them. The second reason I like this is there is a way, a place for them to give back as well. I have found in my experience, when you give students an opportunity to “pay it forward” they will. I am providing these Bulletin Boards and Blessing Boxes and I am happy to fill them up and contribute because it adds to the whole experience and can be a help for students in college, but I love that other students are contributing to them as well. This meme stated that, “You can’t teach Blooms until you take care of the Maslow stuff.” In reference to Bloom’s Taxonomy with moving our students to higher order thinking and learning skills, and Maslow Hierarchy of Needs. Maslow’s Hierarchy of Needs states that you can’t learn if you are hungry in class and your basic needs of food, clothing, shelter, etc. are not met. Something for us as educators to think about…
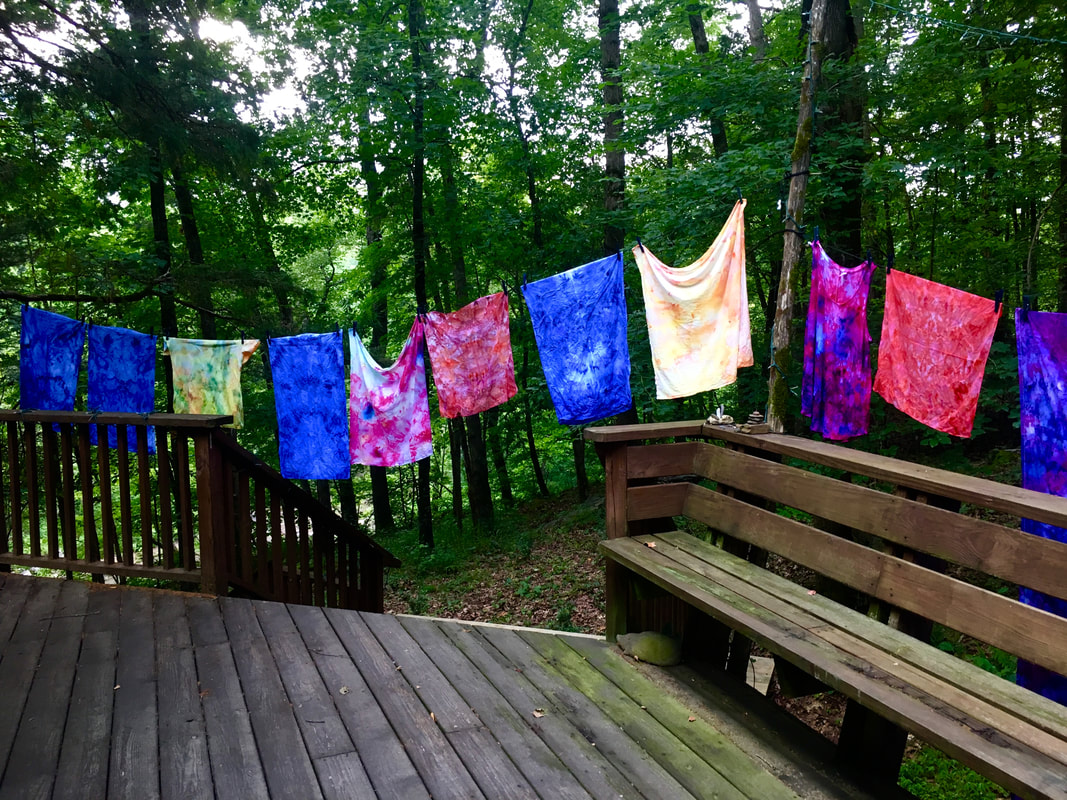
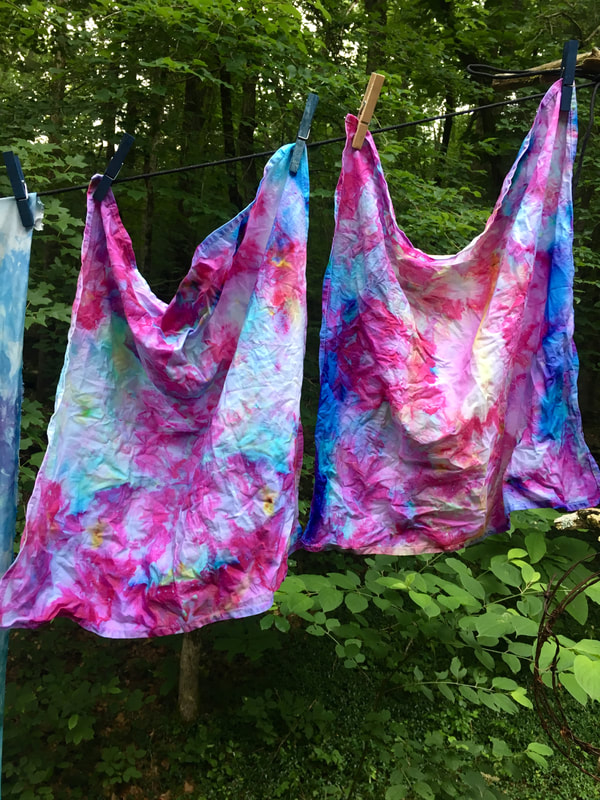
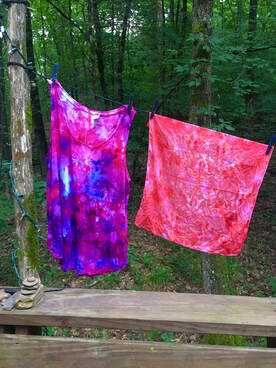
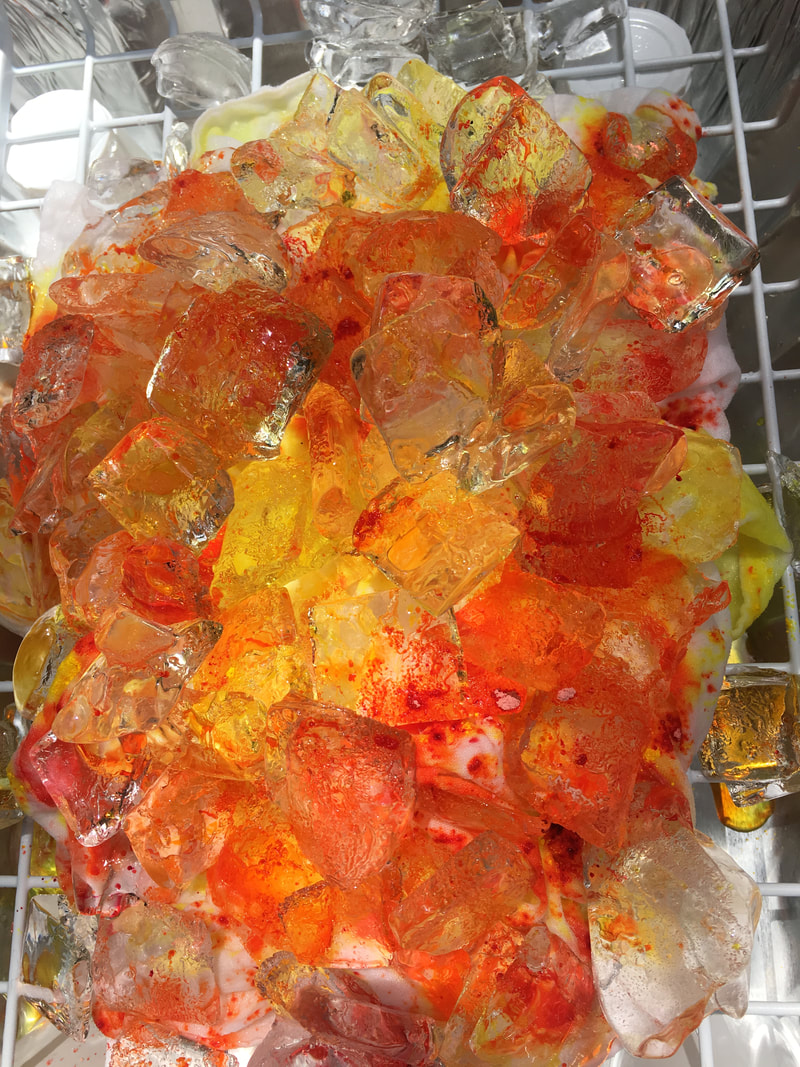
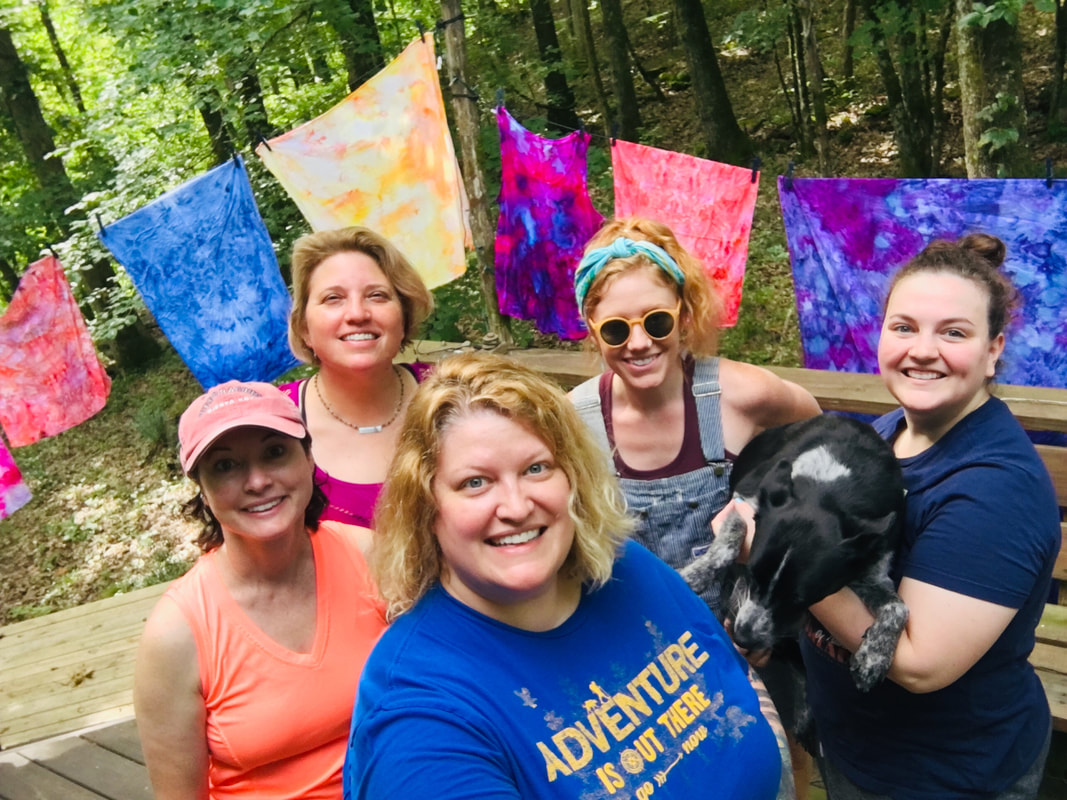
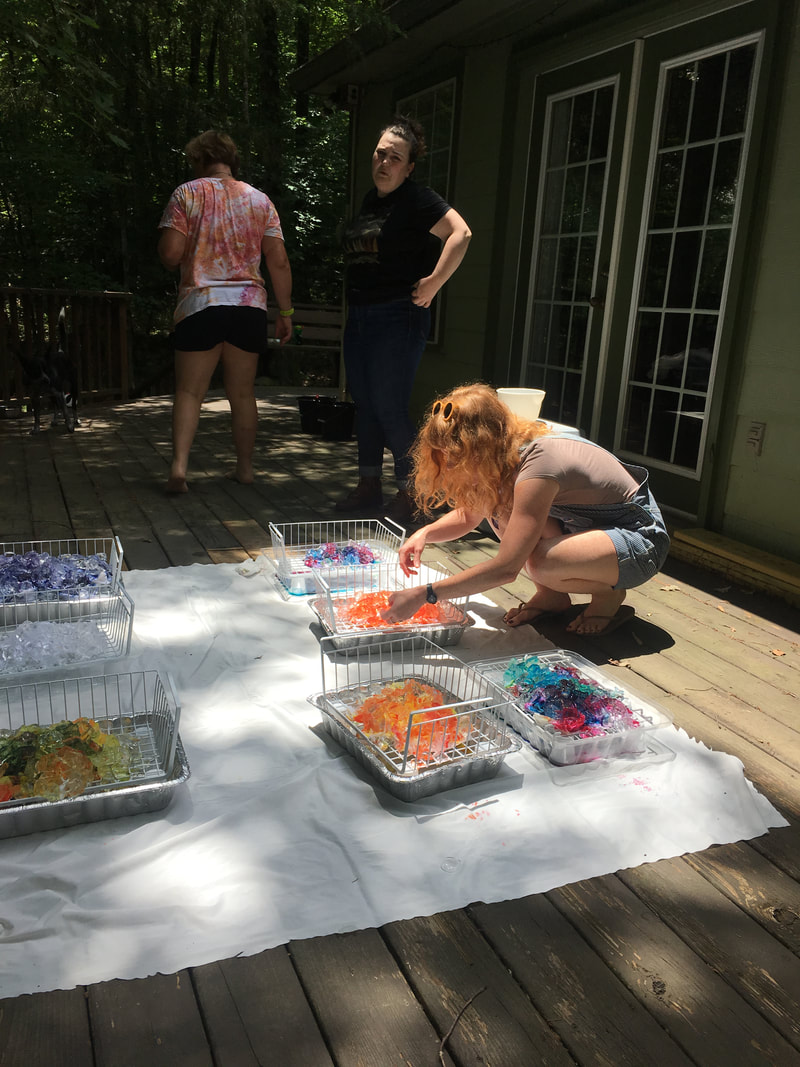
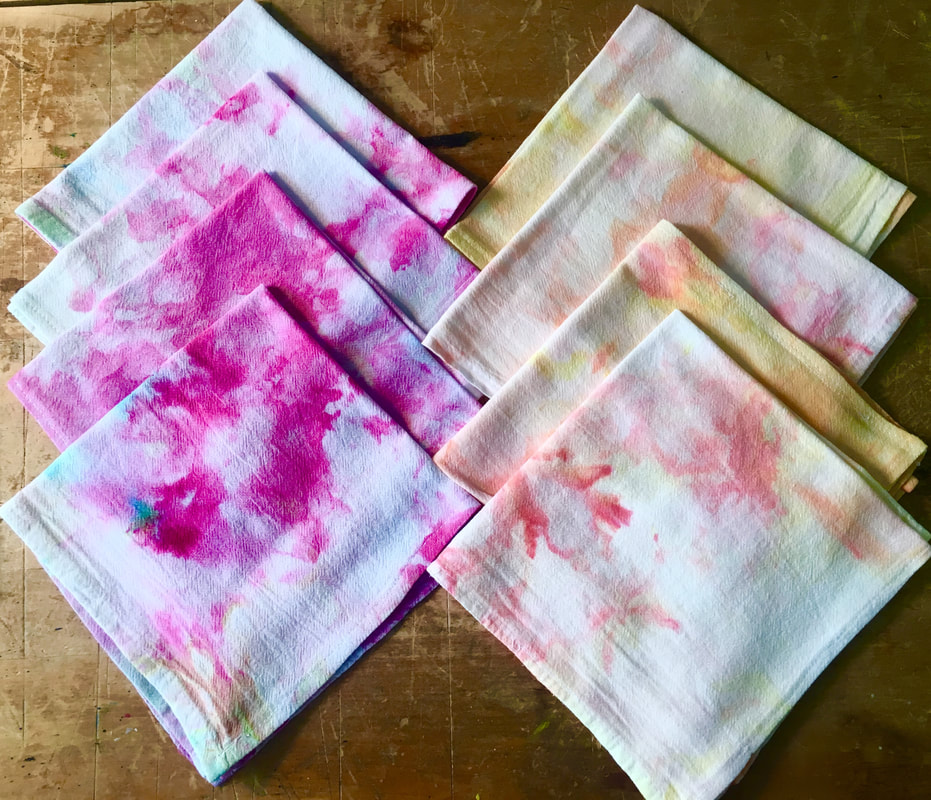
Recently I went on an artist’s retreat to the Ozark mountains in northwest Arkansas. It was a great time with other artists all doing our art side by side. At this retreat, there was a printmaker, a metal jewelry designer, a fiber artist, a painter, and a draftsman. I learned many things, just working alongside these other artists, and being part of this community. The fiber artist, Caroline Day, was doing some ice dyeing, and I had the opportunity to watch and learn. I had purchased some raw cotton material to dye in this new method, and I ended up making the fabric into eight napkins for my table. The method of ice dying was easy and fun, and I can’t wait to show my students in the fall. I love the look, it turned out vibrant and beautiful and like a watercolor painting, completely different from my experience tie-dyeing. Here I am with some amazing artists on a mountain in Arkansas! I am not an expert on ice dying, but I loved the process and will be doing this method again. Step one: Mix soda ash, 2 cups per gallon of hot water, and let the pre-washed fabric soak for 10 to 15 minutes. After that time, pull out the fabric and squeeze out the excess water. You may want to wear rubber gloves for that step. Step Two: Set up the dying center. Caroline had trays to catch the dripping and a grate to hold the fabric up while it was dying. You can see that set up in this photo. Step three: Scrunch the fabric to lay it on the grate and begin piling it with ice. Caroline told me it was best when the ice is a little melty, so it sticks to the fabric. After the ice is covering all of the fabric, you sprinkle up to two tablespoons of dry powdered dyes. As the ice melts, it slowly transfers to the fabric. I love this method because you cannot control the dye. You never know what you are going to get. Step four: We let the ice melt and the fabric sit overnight and then hung it up on a makeshift clothesline to see the vibrant colors. Step five: The last step is to rinse your fabric. You should rinse your fabric in cold water until it runs clean, then warm water until the water runs clean, and finally hot water until the water runs clean. After that rinsing process, I put my pieces in the washing machine by themselves before cutting them up to make napkins. Here are my finished napkins ready for my next dinner party!
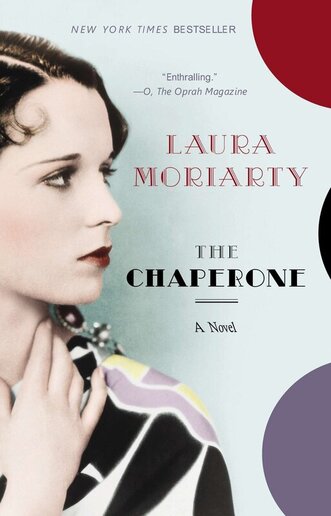
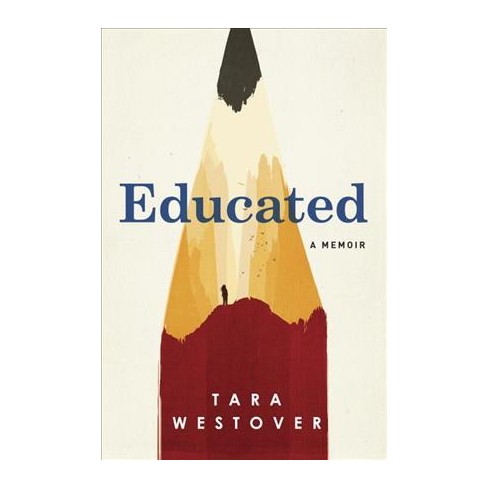
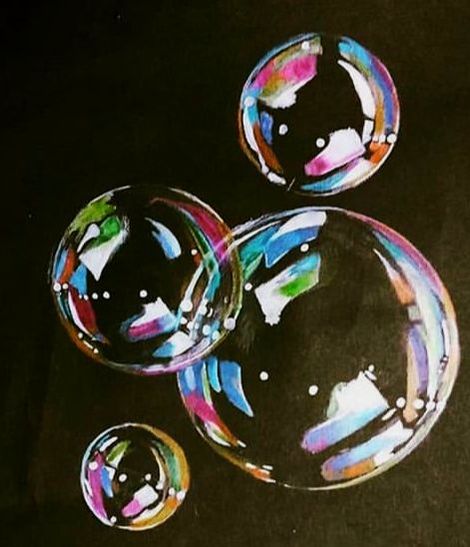
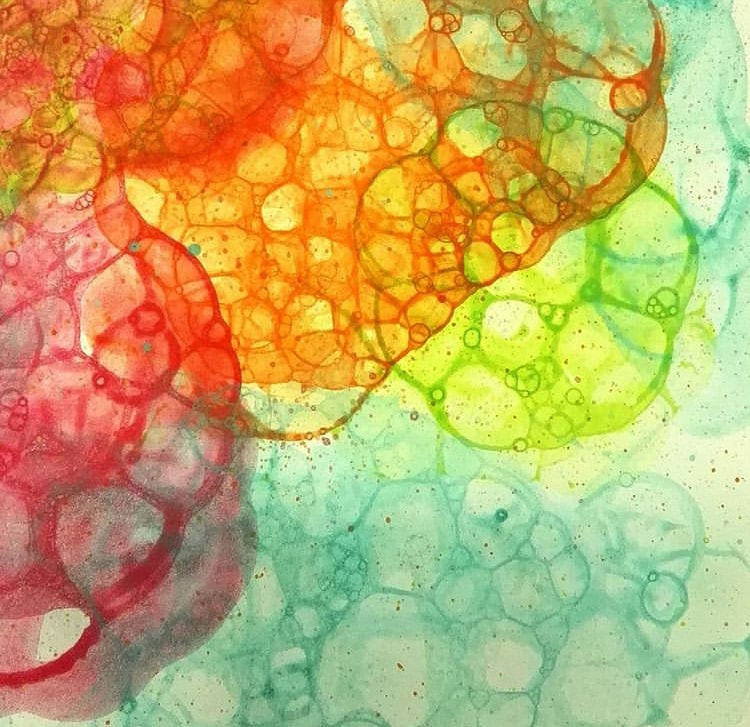
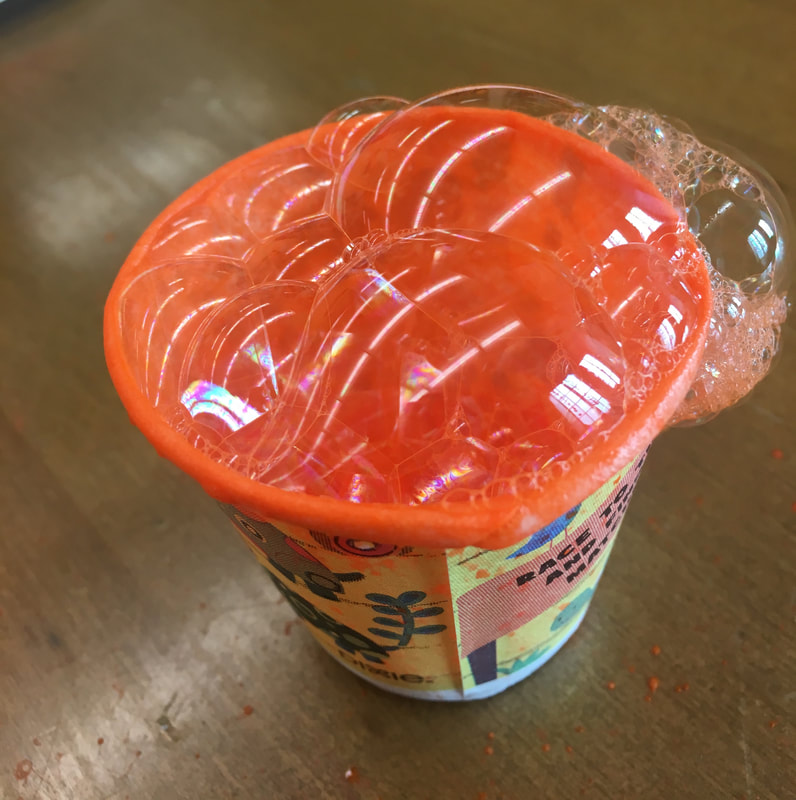
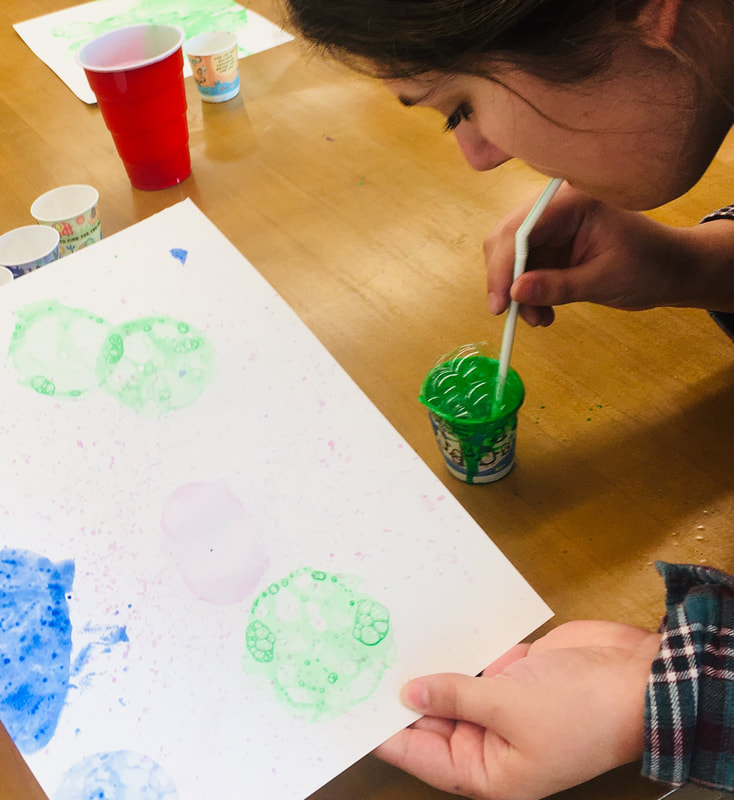
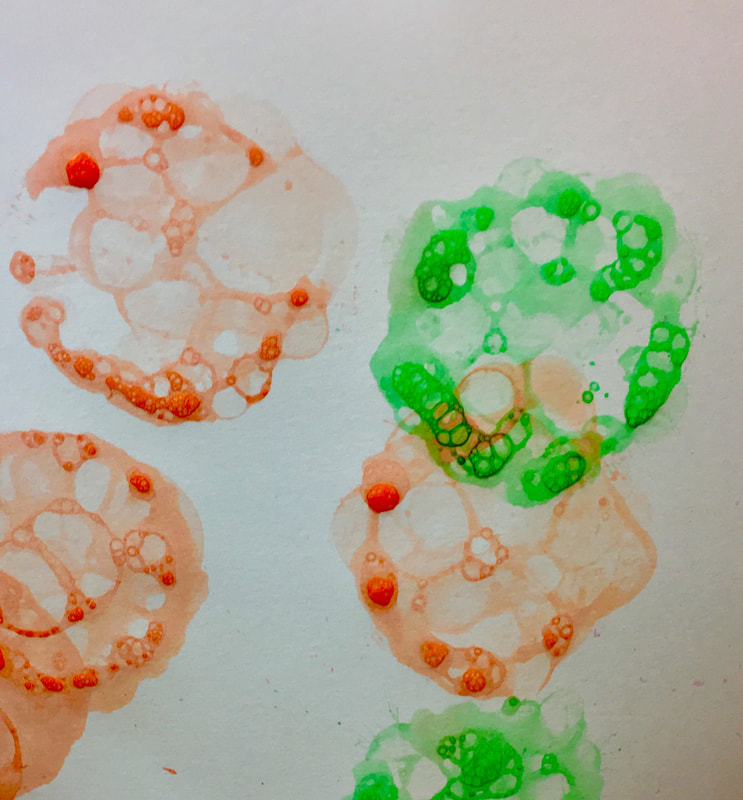
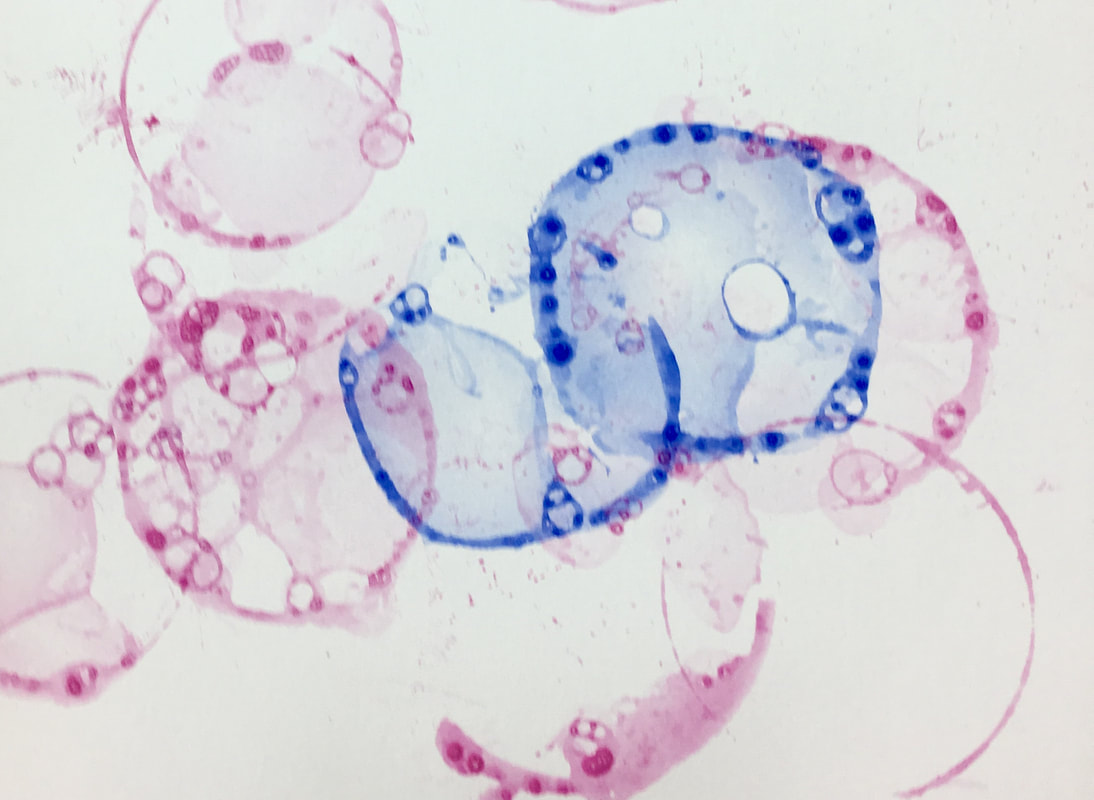
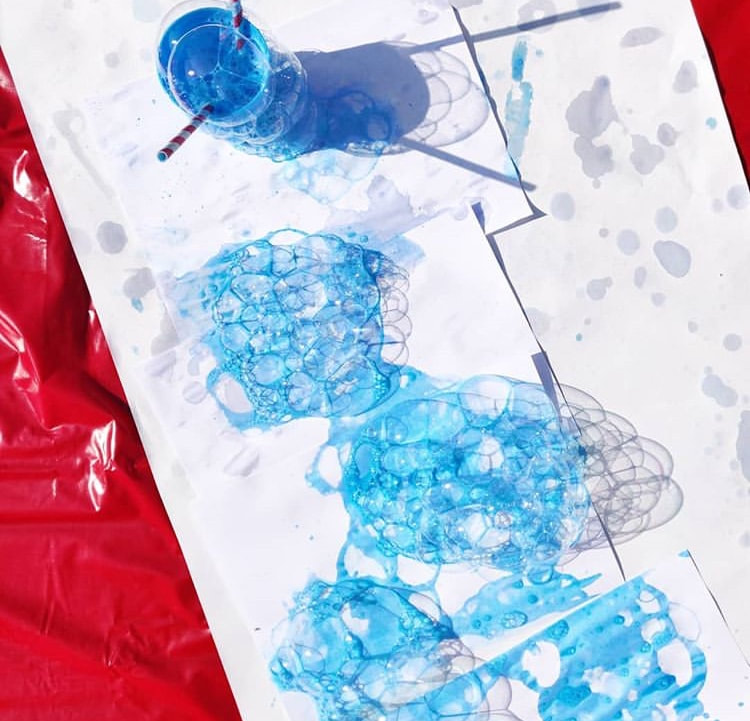
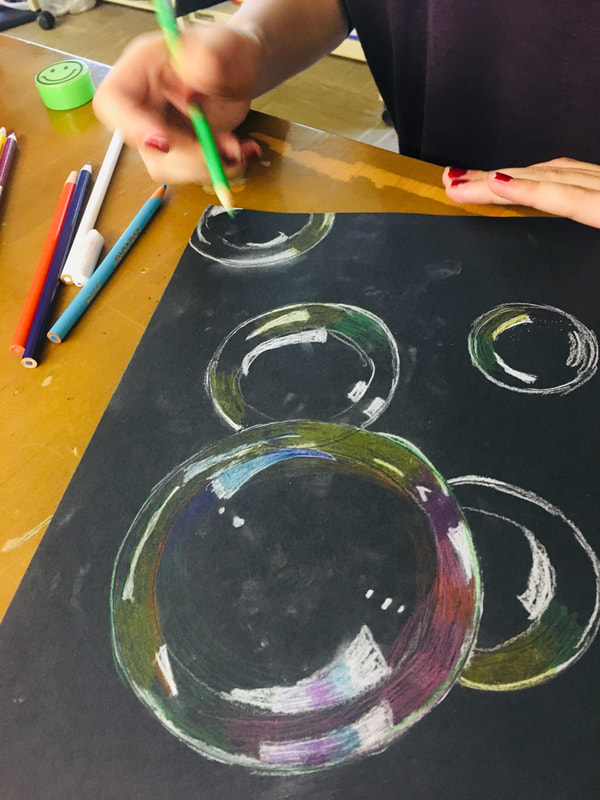
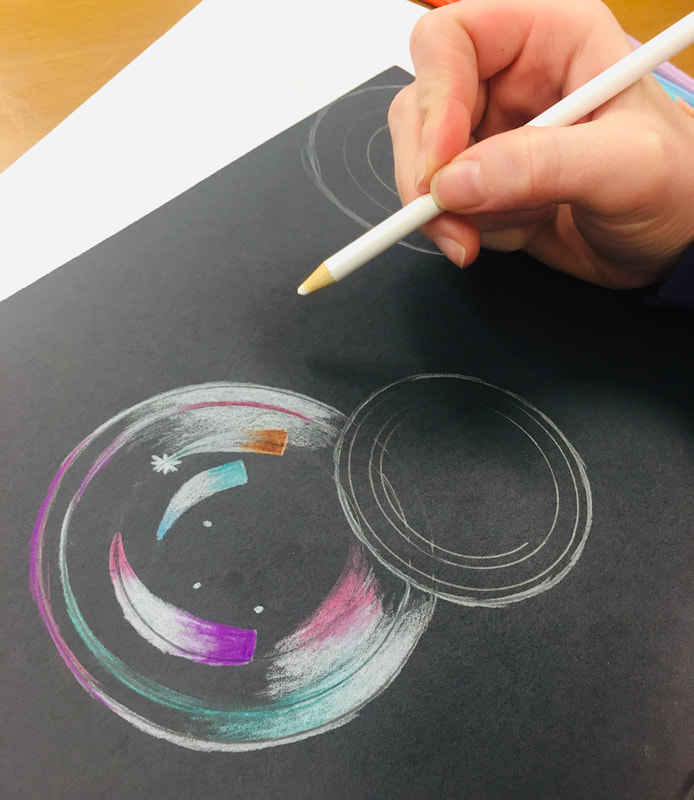
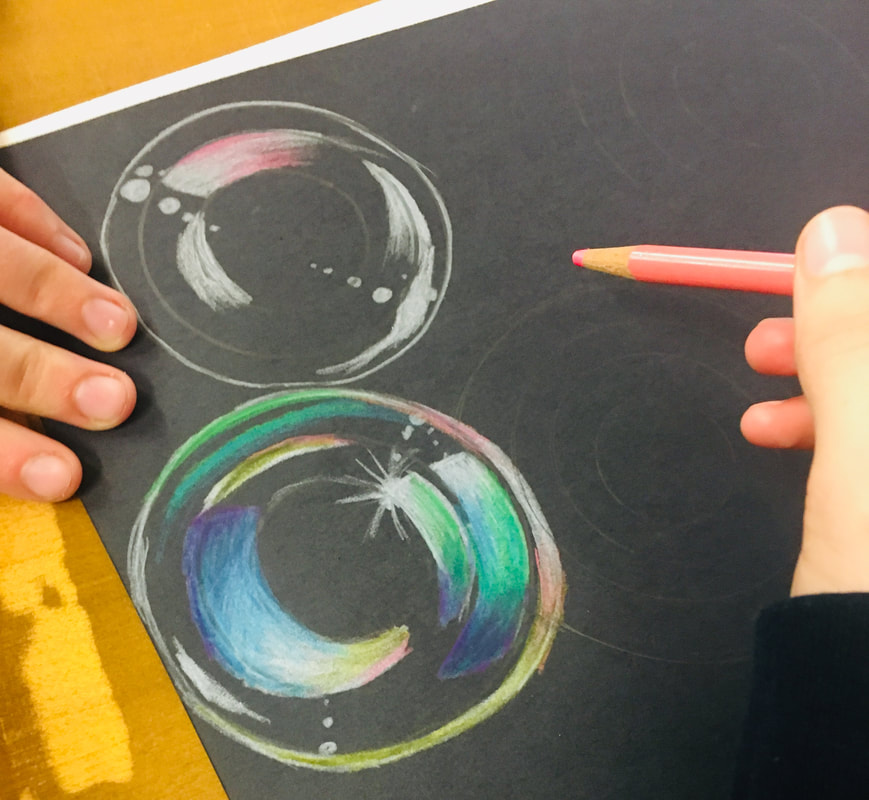
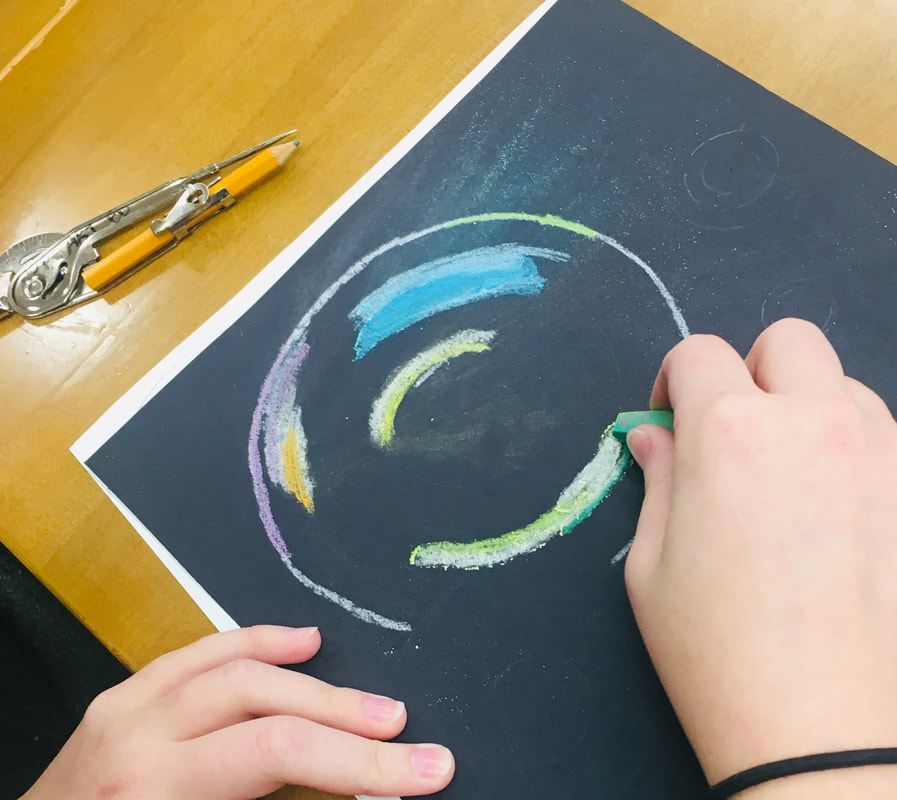
Oh….. relaxing summer! I know people joke about teachers having their summers “off” but when you look at all the doctor’s appointments I have failed to schedule during the year, the workshops, conferences, continuing education classes to take to remain certified, summer school to teach for that little bit of extra money, and vacation bible school to help with at church teachers, teachers rarely have the summer off. This summer is my first one in I don’t know how long (five years?) that I don’t have a long list of things to do. I’m in recovery! Since finishing my doctorate in April, I have heard many people ask what I intend to do this summer, trying to help fill my time with activities. It has been hard to have firm boundaries and to pick and choose their seemingly good-intentioned advances. I had to say no to so many things while I was in grad school and especially last year as I worked on my dissertation, that I want to be normal again and go and do everything. I called last year the season of sacrifice, so if that is true, this season of fun activities will be the season of plenty. Plenty of rest, plenty of food, plenty of sun, and plenty of books. I still love books, (I thought grad school would have killed that love of reading with all those journal articles) and now I get to read for pleasure. I have unlocked the joys of storytelling in fictional books. With all that said, here are a couple of books I recommend… The Chaperone by Laura Moriarty The Chaperone is a story of a woman who accompanies a young dancer to New York from their hometown of Wichita, KS. The girl’s journey is fantastic, but the story is really about what happens to the Chaperone while in New York and how that changes her life. When I was looking for an image of this book cover, I discovered that PBS Studios made it into a movie that came out March of 2019. The movie stars Elizabeth McGovern (Downton Abbey) and Haley Lu Richardson. Here is the trailer for the movie: The next book is the very popular: Educated, a Memoir by Tara Westover Educated seems to be on everyone’s list for a summer read, so it was hard to get my hands on. I was waiting for the audiobook from my local library for over a month when my friend sent the actual book as a graduation present. I went back and forth, listening to the book in my car and reading the book on my nightstand. The story is a memoir, so it follows the remembrances of the author, Tara in her life journey of not going to school being raised by their survivalist Mormon parents in Idaho to going to BYU and eventually getting her Ph.D. from Trinity College at Cambridge. According to her website, she was a visiting fellow at Harvard University in 2010. Here is Tara Westover on Ellen talking about her memoir. Enjoy your summer reading! Years ago, my sister and I took our turn playing with the babies in the church nursery during the second service. I quickly realized that the last 10 to 15 minutes before pickup time was the hardest. Those babies were done with me and wanted their mammas. That was the time my sister would break out the bubbles. Babies love bubbles! To be honest, I love bubbles and this last semester I learned that my college students love bubbles. Bubbles are universal and a great cheap trick for the last 15 minutes of any class! I separated my Art Education class into two different centers for the day and one half painted with bubbles, and the other half drew bubbles to show how a theme can go from elementary to secondary students. Painting with Bubbles What you will need is heavy 80-pound drawing paper or watercolor paper, tempera liquid paint, dish soap, small cups, and a straw for each person. In each small cup put two parts water to one part soap, and just a small amount (1 Tablespoon or so) paint. Have the students stir up the liquid with their straw and then they simply blow into the cup to create bubbles. When the bubbles are on the top of their cup, set a piece of paper on the cup to transfer the bubble to the paper. The bubbles eventually pop on the paper and leave their round impression like a print. I made a dozen different colors of bubble cups, and when the students wanted to change colors, they moved their straw to another cup. (That is the secret to not making everyone sick, each student has their straw instead of a straw per color!) The students layered color bubbles on their paper until class was over and then stacked them on the drying rack. The next day they wrote a quote on the dry paper like a beautiful watercolor background. , Drawing Bubbles To draw iridescent bubbles, my students began with black construction paper and colored pencils or oil pastels. The media was their choice. They practiced drawing circles with the compass until they had three to five concentric circles. They should draw lightly because the circles are only used as a guide to know where to place the reflection areas. As a class, we discussed the reflections in our eyes and how the squares match the squares of the windows where the light is coming into the classroom. Most students followed this same reflection pattern with the shapes inside the bubbles. Any color will work, but I found pastel colors of turquoise, green, and purple make a nice cool toned bubble. I saved the bright white and yellow for the dots and bursts of light. My students also enjoyed following this YouTube tutorial: Hope you enjoyed this blog post and share some photos of your own bubble artwork! Accommodations benefit all learners and it is your job as a teacher to make all learners that enter your classroom, no matter their level or ability, to feel comfortable, confident, and engaged. Art is important for all learners because it provides another avenue for communication. The openness of art and how there are many solutions to problems naturally allows the freedom of expression or voices of multiple learners. Art provides opportunities to problem solve, to observe the world around you, and to strengthen aesthetic awareness with critical thinking skills. Make sure the student can access the art materials comfortably, think about counter/desk height, stools with adjustable seats, and overhead lighting that can cause a glare. Don’t be afraid to change project requirements Small changes can make all learners successful, such as, 2 prints instead of 6 for a child struggling with stamina, or larger paper for students struggling with fine motor skills. Don’t be afraid to change the media Foam blocks are easier to carve than linoleum during a printmaking unit, and Model Magic is a great air dry clay alternative to traditional clay that still keeps the spirit of the project but make it user friendly. Make it applicable and relevant All artist look for meaning with their work. For some having art class is purely processed-based: spraying watercolor, smearing paint, dragging a tool a certain way. Accommodations that are common in the art room:
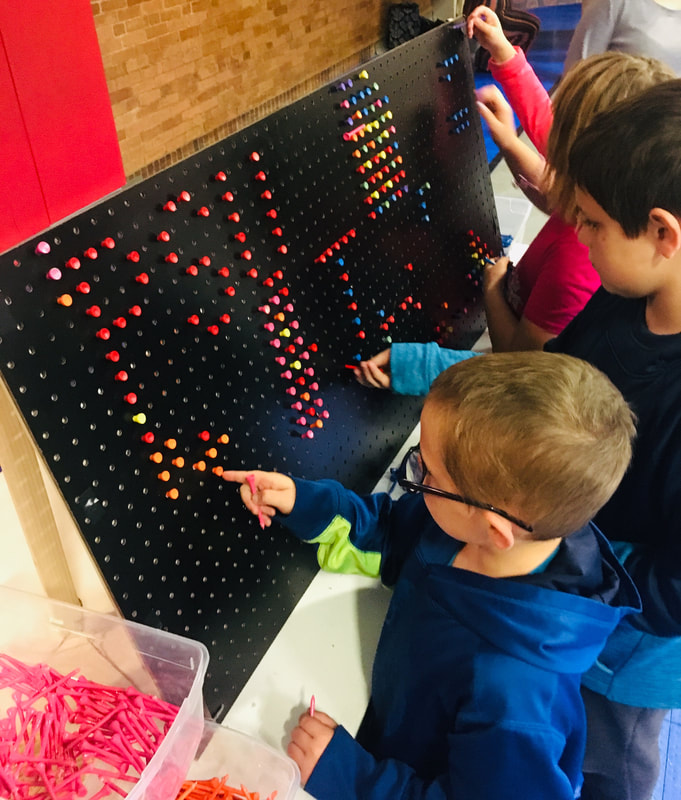
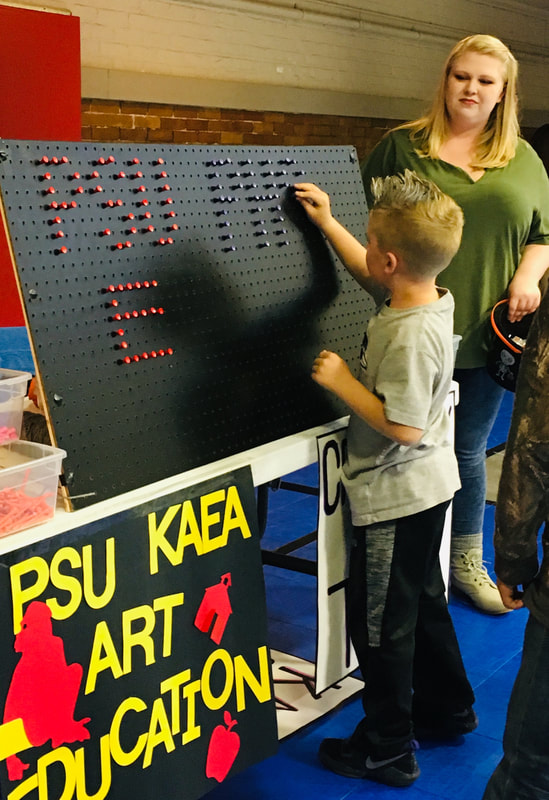
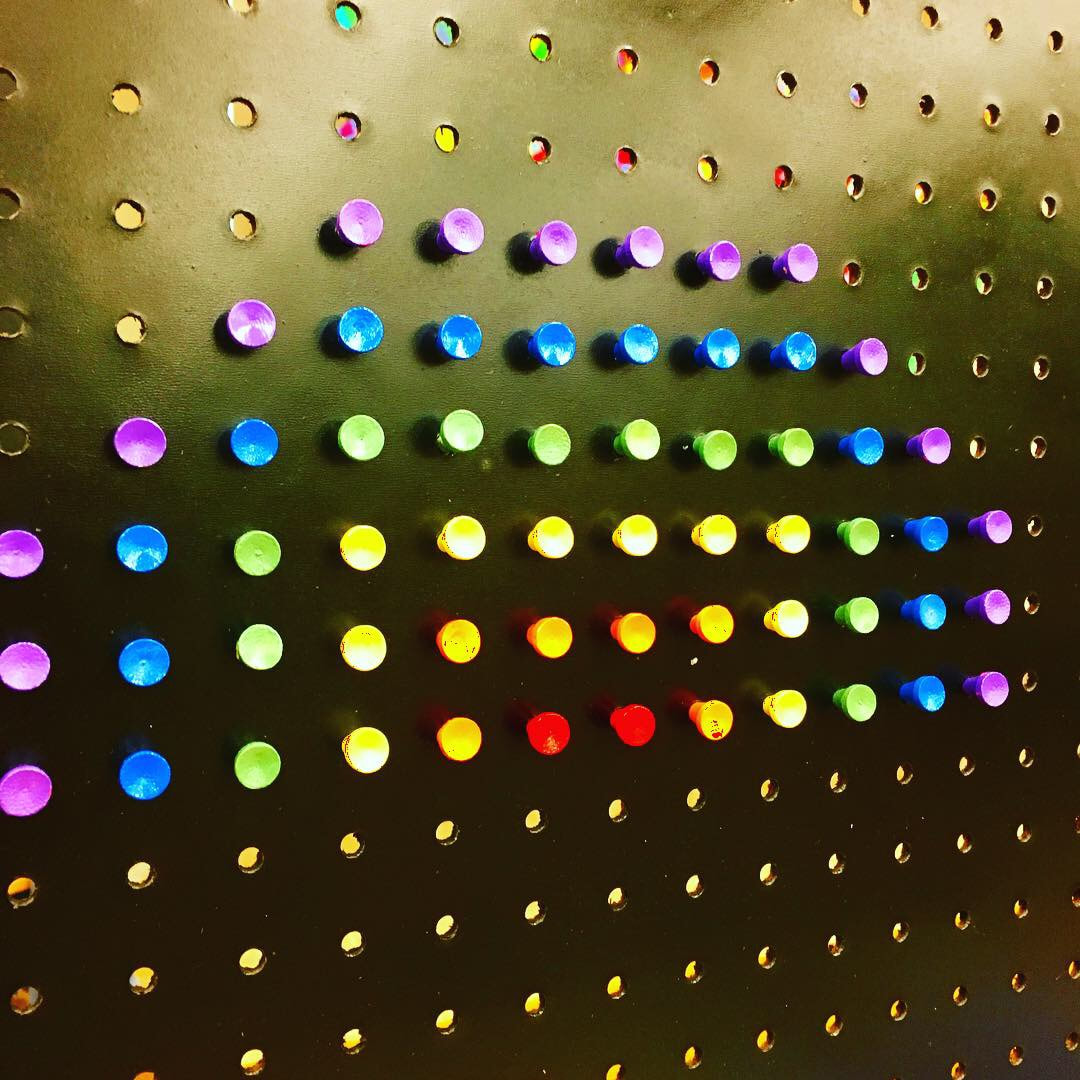
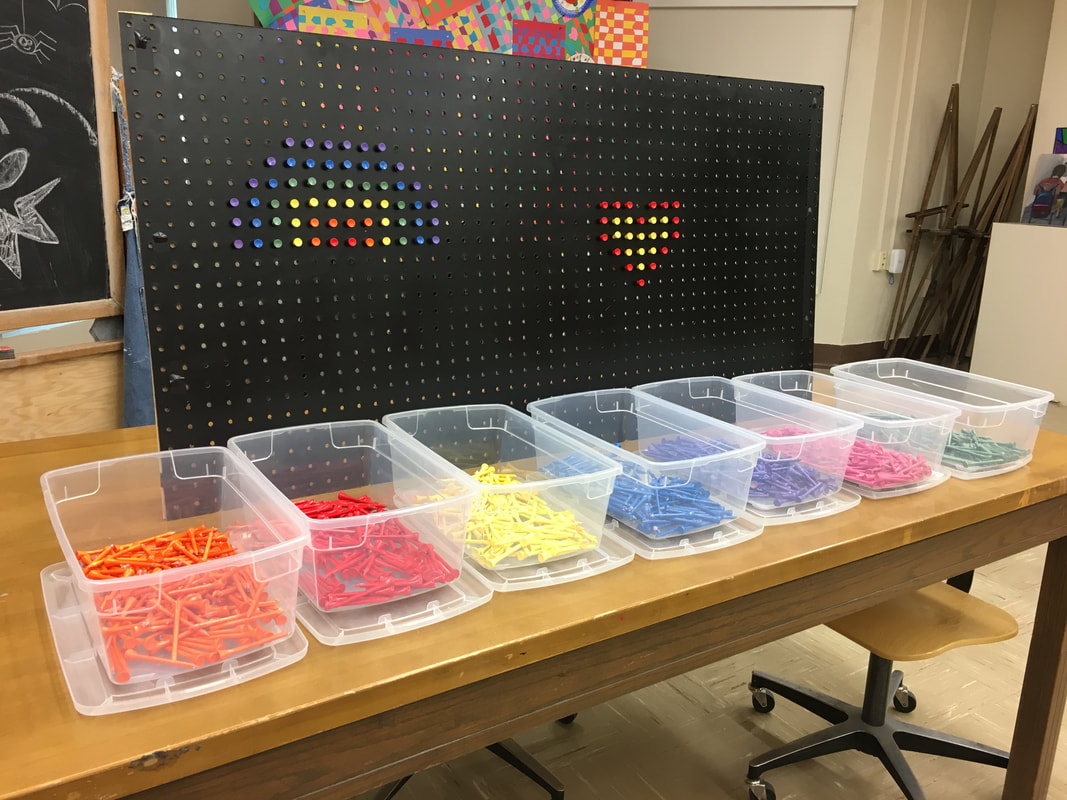
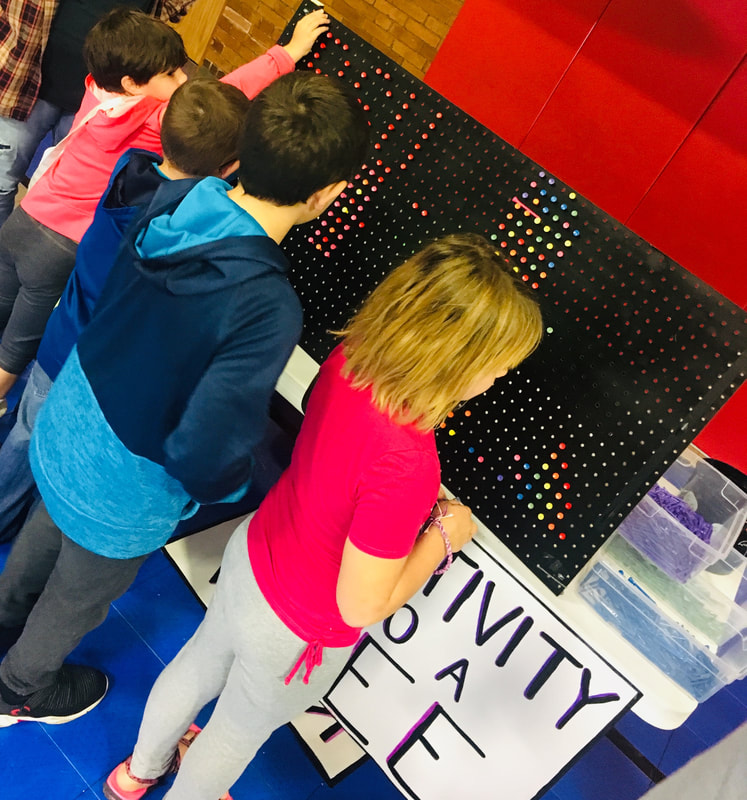
The local elementary school has been hosting a STEM (Science* Technology* Engineering* Math) night for many years. It was a cross between a science fair and a robotics team demonstration. Since the college art department has gotten involved, it is now called STEAM because we added the “A” for ART. Pair the STEAM night with an added book fair from the library, and a local pizza restaurant donated dinner, and you have a fun and educational time for the community. The student organization of future art teachers was asked to set up a booth during the STEAM night. Last year we were a novice to the STEAM night adventure, and we had make-it-and-take-it paper masks. We had long lines at our table and major glue issues. This year we followed suit with the other booths and had an experience booth whereby the students and families could interact and enjoy but not make something that needed to dry and be picked up later. Our idea was a pegboard and colored golf tees poked into the holes to create a pixilated picture. This project reminded me of the old LiteBrite from the 70s and 80s. Since my LiteBrite ‘s lightbulb was always burnt out this pegboard was very similar to my childhood experience. We used a pegboard we bought at the hardware store ($10) and painted it black with spray paint and 1000 golf tees we got on Amazon ($20) we spray painted various colors. Spray painting the golf tees were the most difficult part of putting this project together. We used empty boxes and sprayed the golf tees in the boxes a little at a time and then shook the box to make sure they were evenly coated. You have to continue to shake the box for an hour so the golf tees will not dry stuck together in a large ball. We tried to line the golf tees up on a piece of styrofoam but the spray paint dissolved the styrofoam. If you have an idea of how to easier paint the golf tees, I would love to hear about your ideas. The pegboard stood up on the card table and the tees were separated by color in front of the table ready to be arranged into art by the elementary kids.
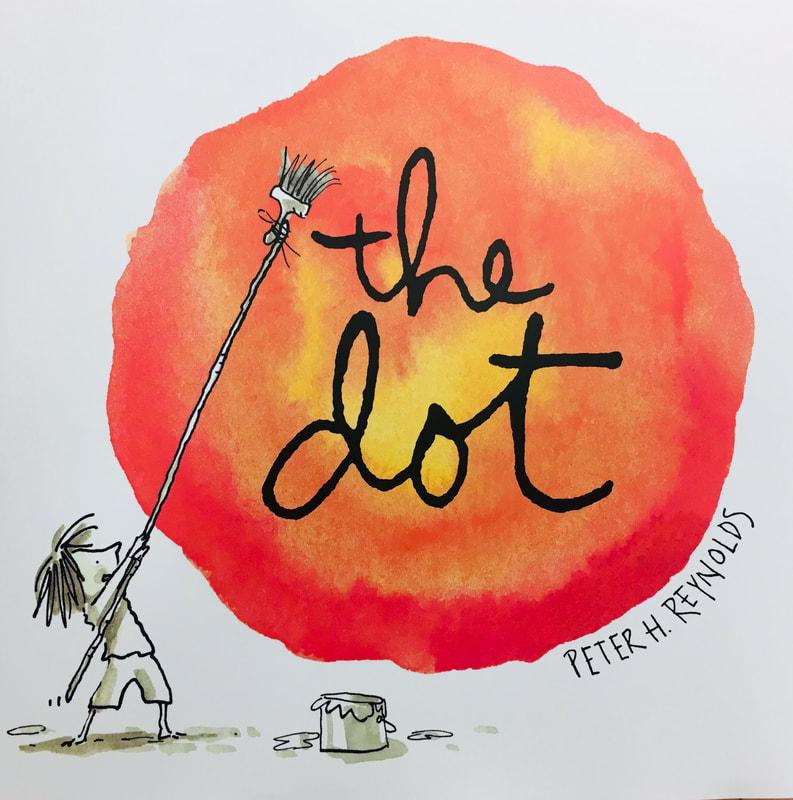
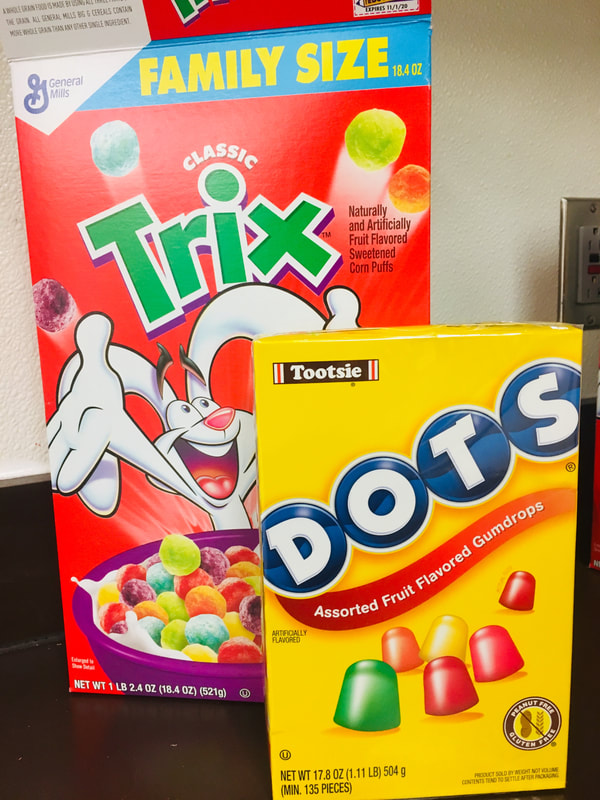
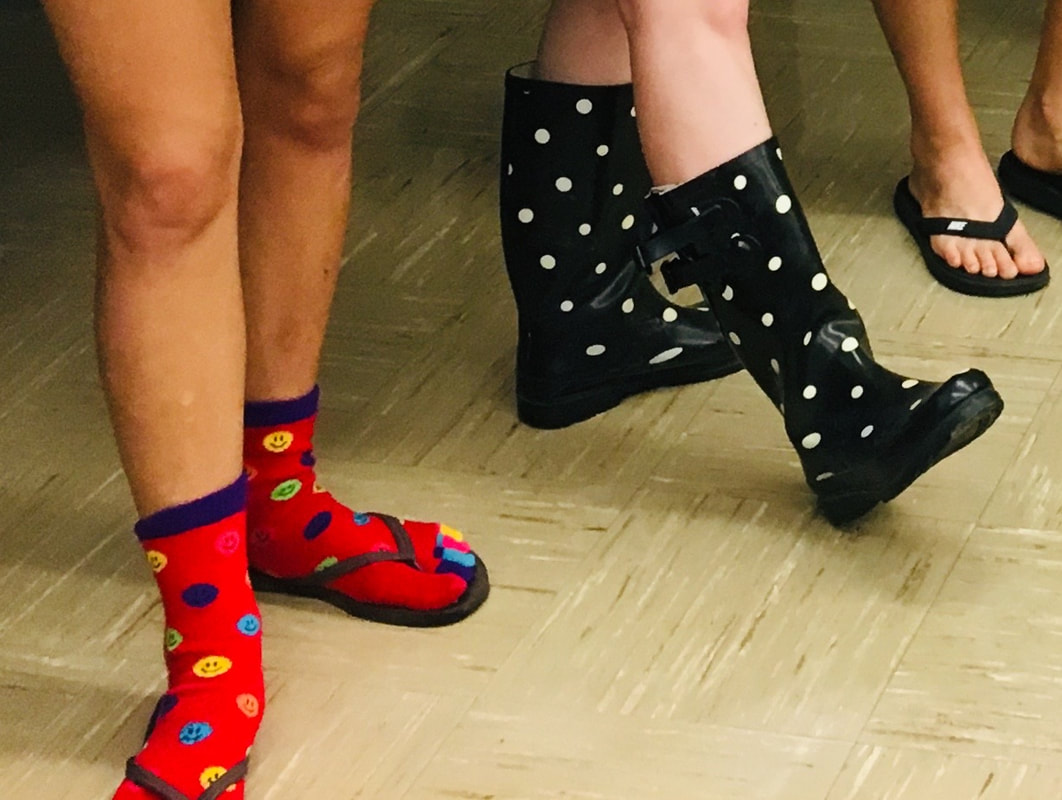
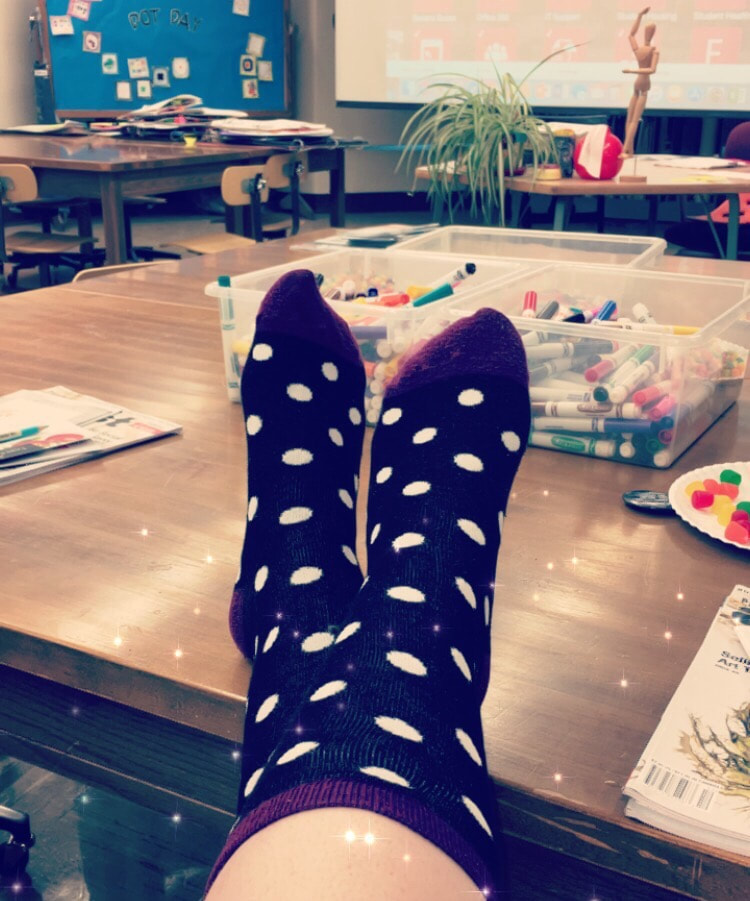
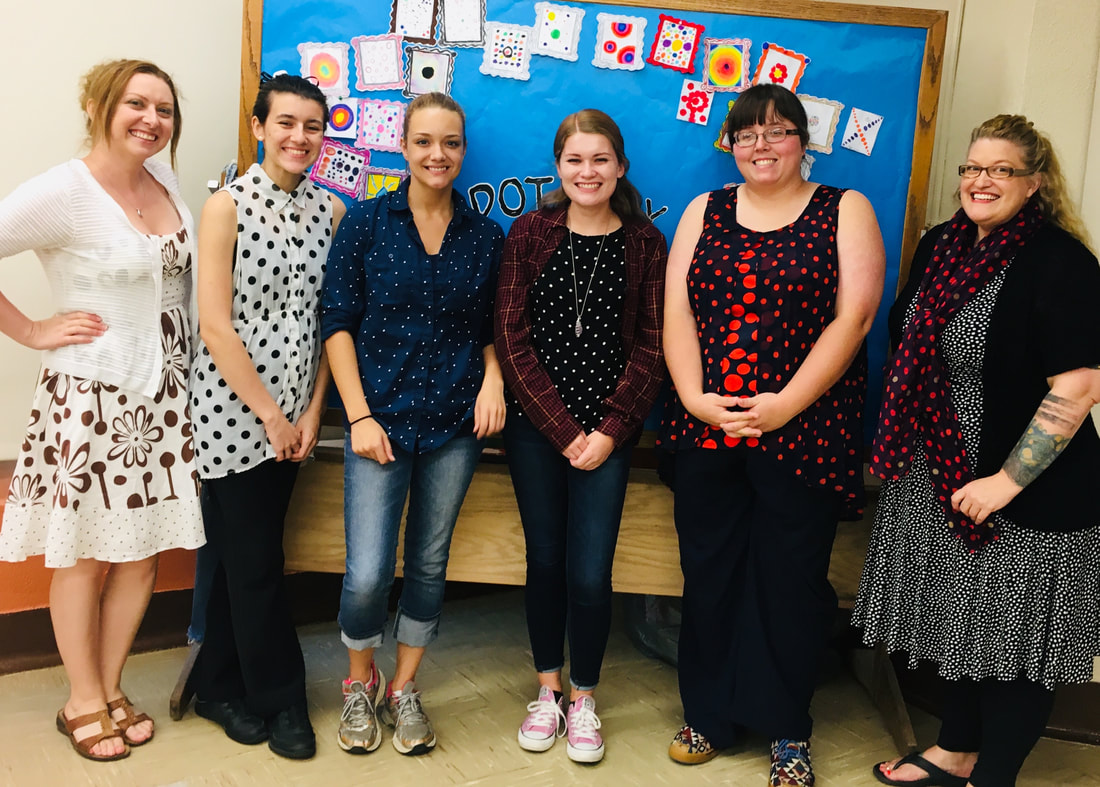
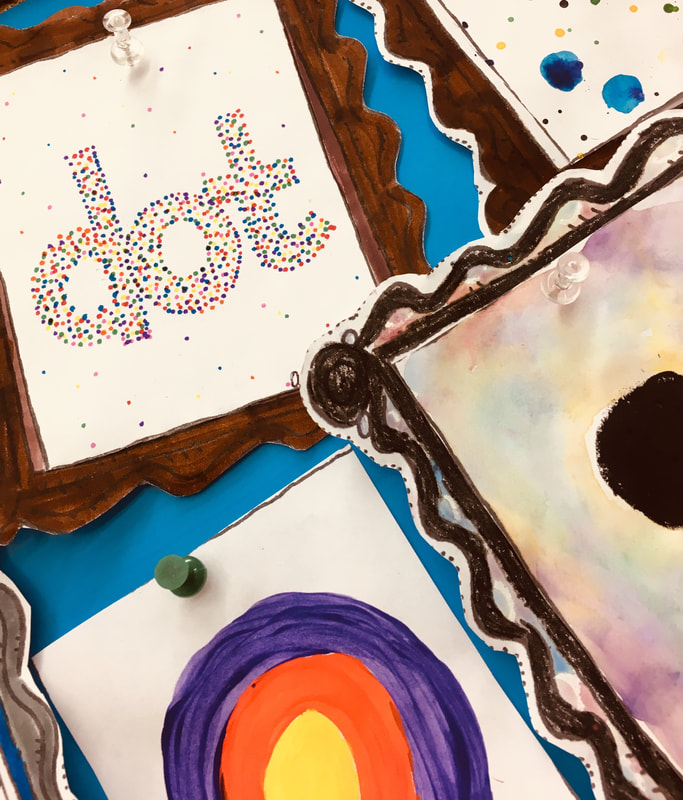
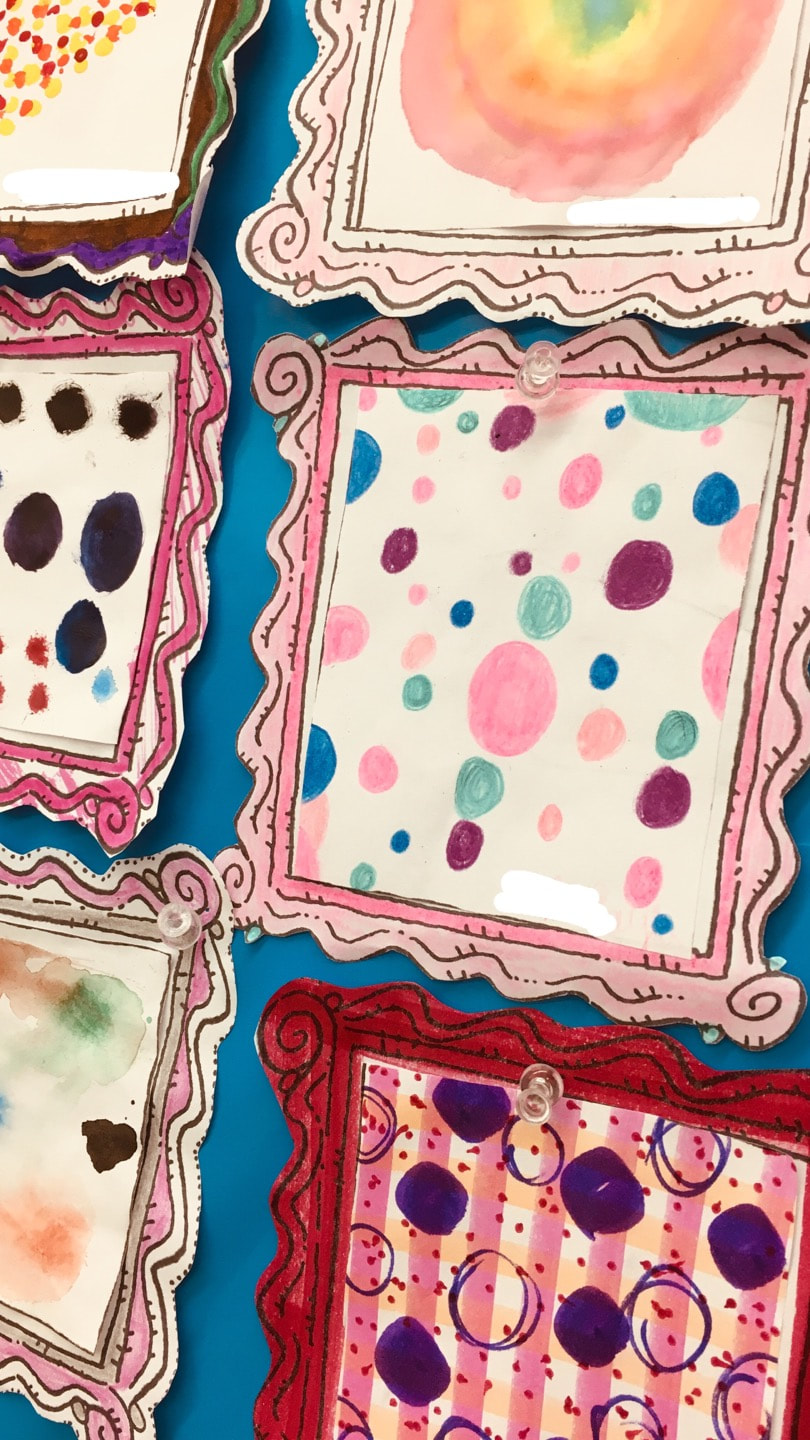
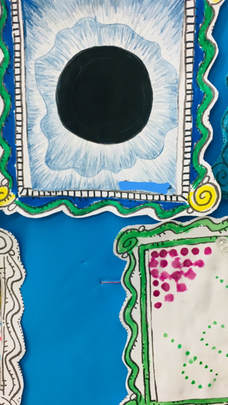
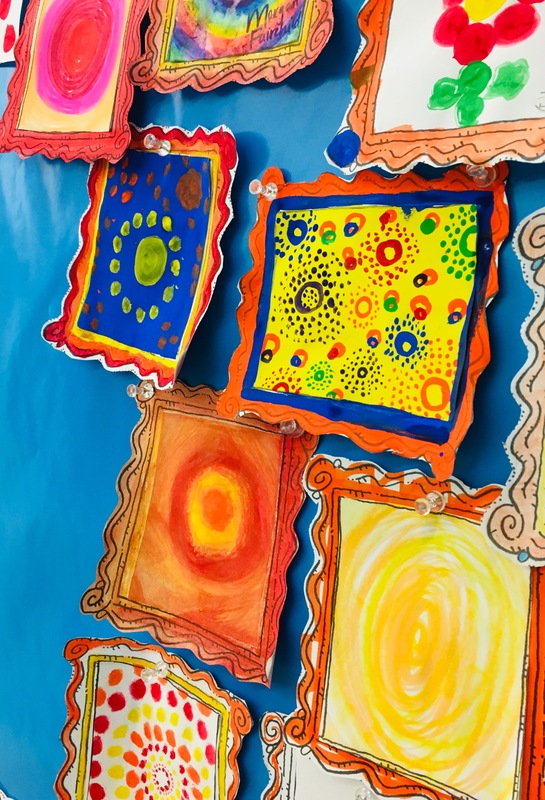
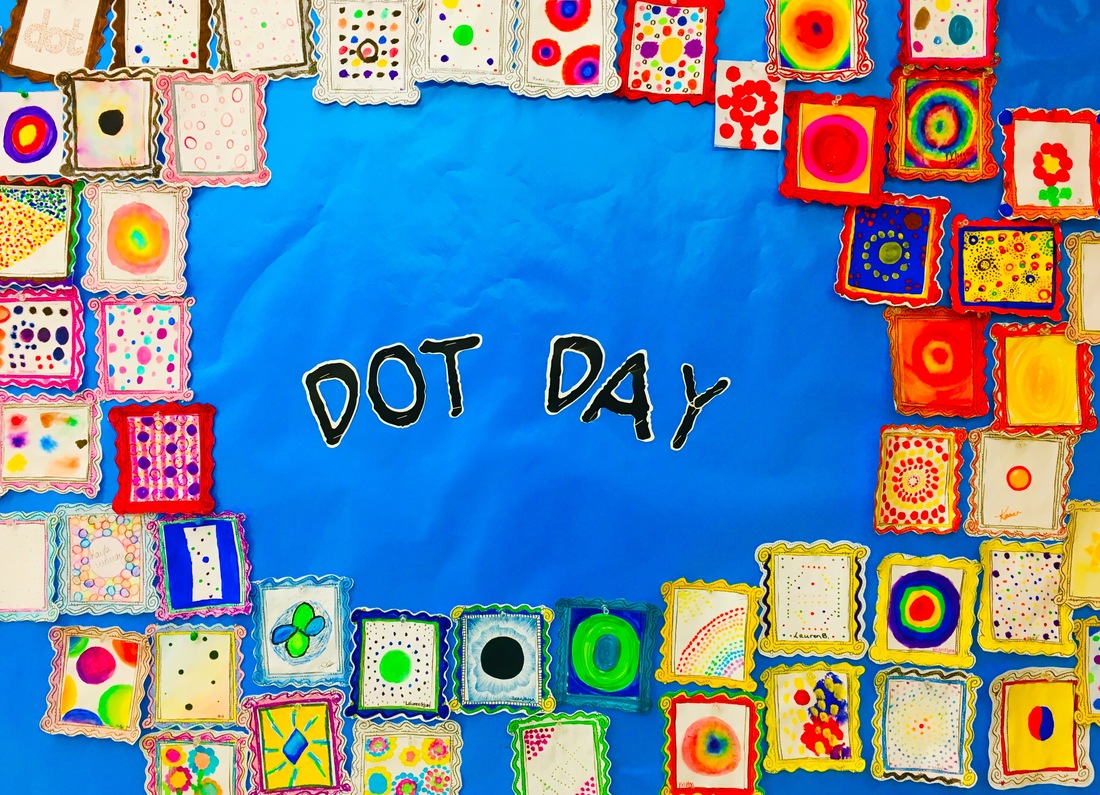
We had a lot of fun, and I hope you will as well. The Dot by Peter Reynolds encourages us to make a mark and see where it takes us. International Dot Day is a day inspired by Peter Reynold’s book and is celebrated each year on September 15th-ish. This year the 15th fell on a weekend, so we celebrated in Art Education class the following week. The day started with students and teachers wearing anything, and everything, with dots. There were polka-dotted rain boots, scarfs, shirts, pajama pants, dresses, and socks! The abundance of dots gave the room a festive feel. I passed out snacks to the students, Dots Candy, and Trix Cereal that not only fit the dot theme but added to the colorful atmosphere. The students watched The Dot video and read the book. Each student table group had discussion questions that they answered together to reflect on the broader themes in the book. Discussion questions can be downloaded here. After the small group table discussions, students learned the Dot Song, singing and doing the actions along with the following youtube video. Each student finished the day creating their mark and displaying them on the bulletin board. It was a great day of creativity, courage, and community!
When I started college way back in the 1990s, I was an Art Therapy major. That never worked out for me because it was too much Psychology and not enough Art. In one of my Art Therapy classes, my professor went over the medical format of SOAP notes. Used primarily in doing patient intakes SOAP notes are an acronym, so each letter stands for a word and in this case SOAP Notes stand for Subjective-Objective-Assessment-Plan.
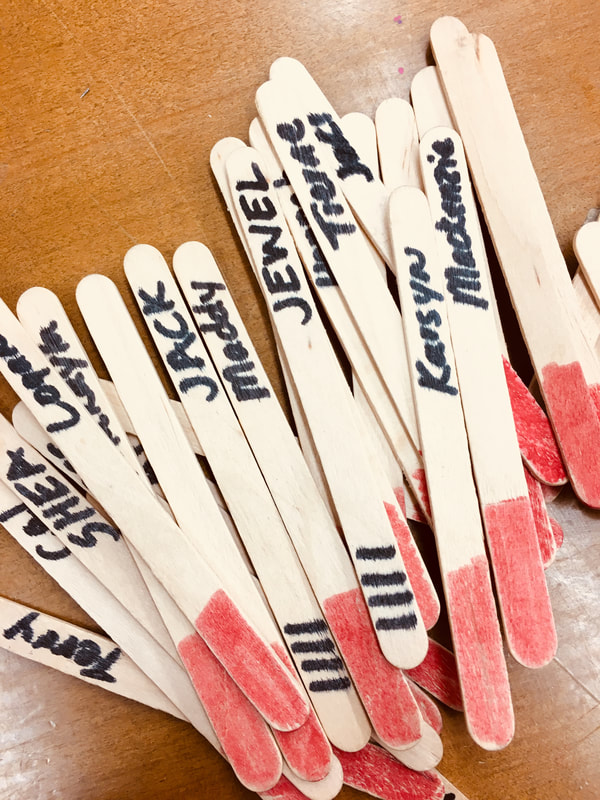
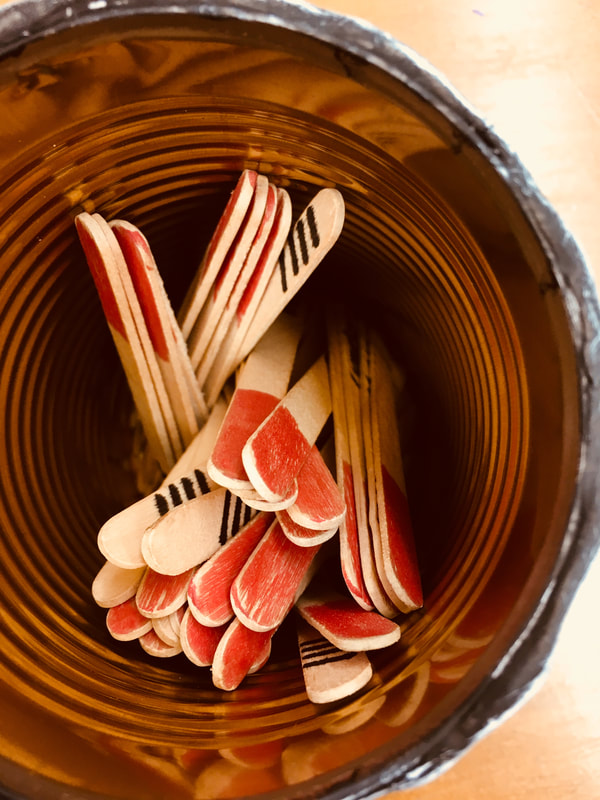
This year I began using the SOAP note format as writing prompts in my art class. I think it is essential for students to be self-reflective before a class critique and the SOAP notes help them gather the information they would like to share with the class about their inspiration and studio processes. As some of you know, leading a class critique can be challenging to get students to go beyond, “I like it” to explain why they like a piece of art, or what prompted them to go in a particular direction or make a decision regarding their artwork. The students writing their answers to the SOAP notes beforehand also focus their attention during the critique on studio practices or patterns they have not thought about previously. Subjective: Here you document your inner experiences of your creativity in class. Here is where you can record your stream of consciousness. You can also document your observations about the research you did, and our previous class discussions. (Example: How is gesture important in my work? What did I learn from the thumbnail sketches I did? Why do my drawings need to look dark and moody for this topic? Etc.) Objective: Here you write feedback that you receive from me (the teacher) during the class, or you can also document peer comments from previous critiques or working sessions. What did you take from this feedback? Assessment: Write what you believe contributed to your most successful moment for this assignment or artwork. Also, write what contributed to your least successful moment in class. In other words, in this portion, you document your diagnosis of yourself in class including research, participation, and studio time. Plan: In this section, you need to state what you feel is the most important plan for you to adopt for next class. What can you do to make your participation in class a better experience? Write a one sentence plan of action for the next class. I hope that SOAP notes are something you will consider implementing in your class critiques, and please share your tips for successful critiques. Sticks of Fate is a creative spin on the classic technique of a teacher calling on students to ask them questions. The teacher has a cup with popsicle sticks each with a student’s name on them. The sticks are stirred around, and the teacher randomly calls on a student to answer a question or contribute in the classroom. There are endless ways the sticks can be used in the classroom, but some important ways would be during discussion, brainstorming, presenting individual or group ideas, or even paring students for projects. When the can is picked up by the teacher and swirled around it gets everyone’s attention because it uses randomness to the teacher’s advantage; therefore, students feel more accountable to not only listening in class but listening to their peers in class to summarize and demonstrate active listening techniques. Sticks of Fate: May the odds be ever in your favor! Resources: Lemov, D. Teach Like a Champion: 49 Techniques that Put Students on the Path to College (2010). San Francisco, Jossey-Bass Publishing |
Professor CharityI teach future art teachers at Emporia State University. Here is what is going on in my classes. Archives
January 2023
Categories
All
|
